Creative Woodworks & crafts 2005-11, страница 69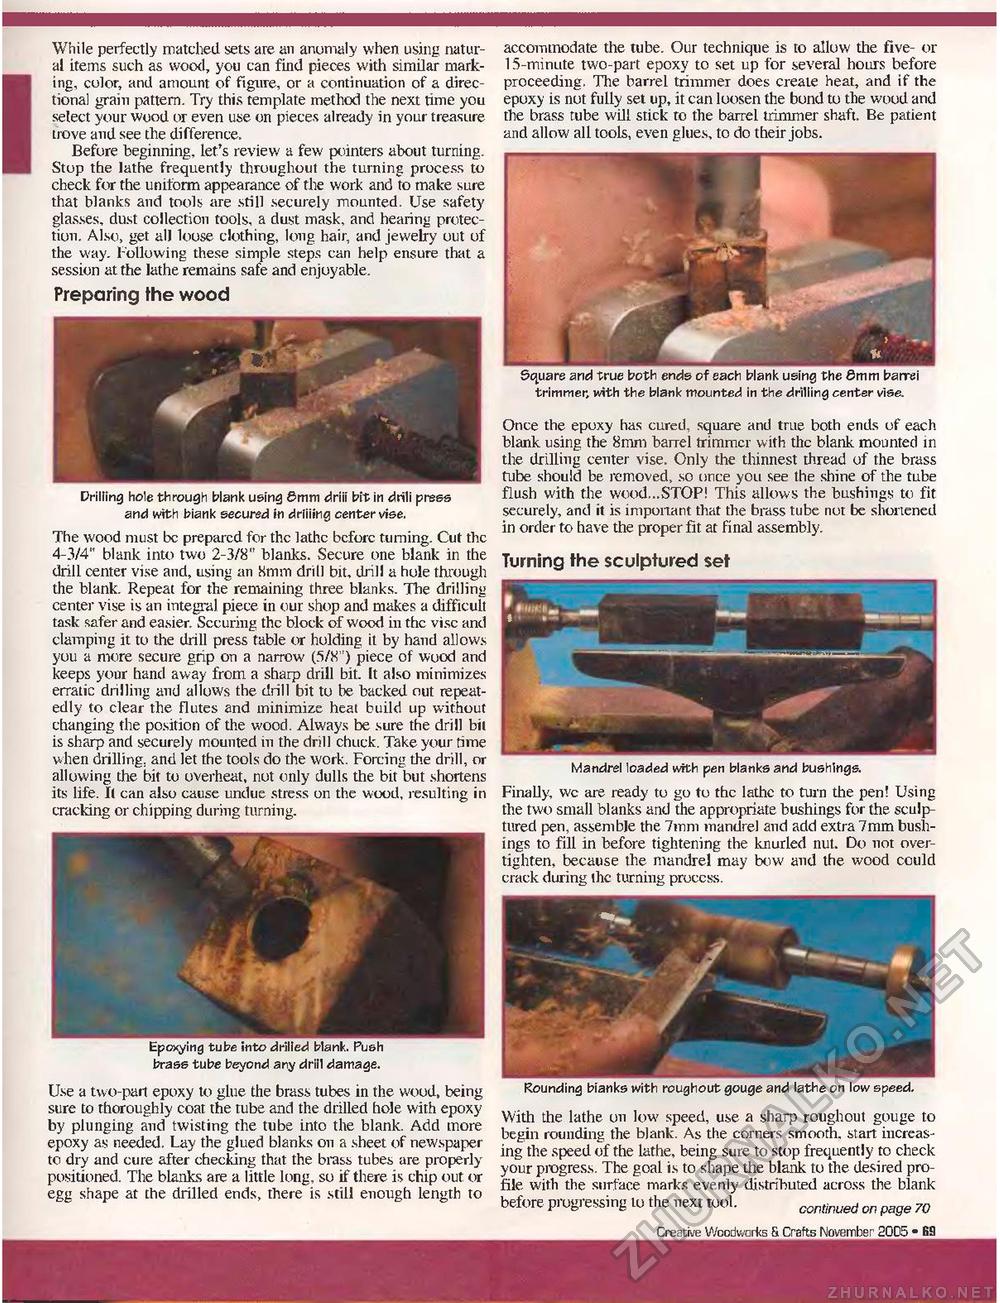
While perfectly matched sets are an anomaly when using natural items such as wood, you can find pieces with similar marking, color, and amount of figure, or a continuation of a directional grain pattern. Try this template method the next time you select your wood or even use on pieces already in your treasure trove and see the difference. Before beginning, let's review a few pointers about turning. Stop the lathe frequently throughout the turning process to check for the unitomi appearance of the work and to make sure that blanks and tools are still securely mounted. Use safety glasses, dust collection tools, a dust mask, and hearing protection. Also, get al) loose clothing, long hair, and jewelry out of the way. Following these simple steps can help ensure that a session at the lathe remains safe and enjoyable. Preparing the wood * jV # 4tC-' v" liii' ■ - ^ Drilling hole through blank using 6mm drift bit in drili press and with blank secured in drilling center vise. The wood must be prepared for the lathe before turning. Cut the 4-3/4" blank into two 2-3/8" blanks. Secure one blank in the drill center vise and, using an 8mm drill bit, drill a hole through the blank. Repeat for the remaining three blanks. The drilling center vise is an integral piece in our shop and makes a difficult task safer and easier. Scouring the block of wood in the vise and clamping it to the drill press table or holding it by hand allows you a more secure grip on a narrow (5/8") piece of wood and keeps your hand away from a sharp drill bit. It also minimizes erratic drilling and allows the drill bit to be backed out repeatedly to clear the flutes and minimize heat build up without changing the position of the wood. Always be sure the drill bit is sharp and securely mounted in the drill chuck. Take your time when drilling, and let the tools do the work. Forcing the drill, or allowing the bit to overheat, not only dulls the bit but shortens its life. It can also cause undue stress on the wood, resulting in cracking or chipping during turning. Epcxying tube into drilled blank. Push brass tube beyond any drill damage. Use a two-part epoxy to glue the brass tubes in the wood, being sure to thoroughly coat the tube and the drilled hole with epoxy by plunging and twisting the tube into the blank. Add more epoxy as needed. Lay the glued blanks on a sheet of newspaper to dry and cure after checking that the brass tubes are properly positioned. The blanks are a little long, so if there is chip out or egg shape at the drilled ends, there is still enough length to accommodate the tube. Our technique is to allow the five- or 15-minute two-part epoxy to set up for several hours before proceeding. The barrel trimmer does create heat, and if the epoxy is not fully set up, it can loosen the bond to the wood and the brass tube will stick to the barrel trimmer shaft. Be patient and allow all tools, even glues, to do their jobs. Square and true both ends of each blank using the 0mm barrei trimmer, with the blank mounted in the drilling center vise. Once the epoxy has cured, square and true both ends of each blank using the 8mm barrel trimmer with the blank mounted in the drilling center vise. Only the thinnest thread of the brass tube should be removed, so once you see the shine of the tube flush with the wood,..STOP! This allows the bushings to fit securely, and it is important that the brass tube not be shortened in order to have the proper fit at final assembly. Turning the sculptured set Mandrel loaded with pen blanks and bushings. Finally, wc are ready to go to the lathe to turn the pen! Using the two small blanks and the appropriate bushings for the sculptured pen, assemble the 7mm mandrel and add extra 7mm bushings to fill in before tightening the knurled nut. Do not overtighten, because the mandrel may bow and the wood could crack during the turning proccss. V mr_ Rounding blanks with roughout gouge and lathe on low speed. With the lathe on low speed, use a sharp roughout gouge to begin rounding the blank. As the corners smooth, start increasing the speed of the lathe, being sure to stop frequently to check your progress. The goal is to shape the blank to the desired profile with the surface marks evenly distributed across the blank before progressing to the next tool. continued on page 70 Creative Woodworks 6. Crafts November 2005 « 69 |


