Creative Woodworks & crafts 2009-04, страница 23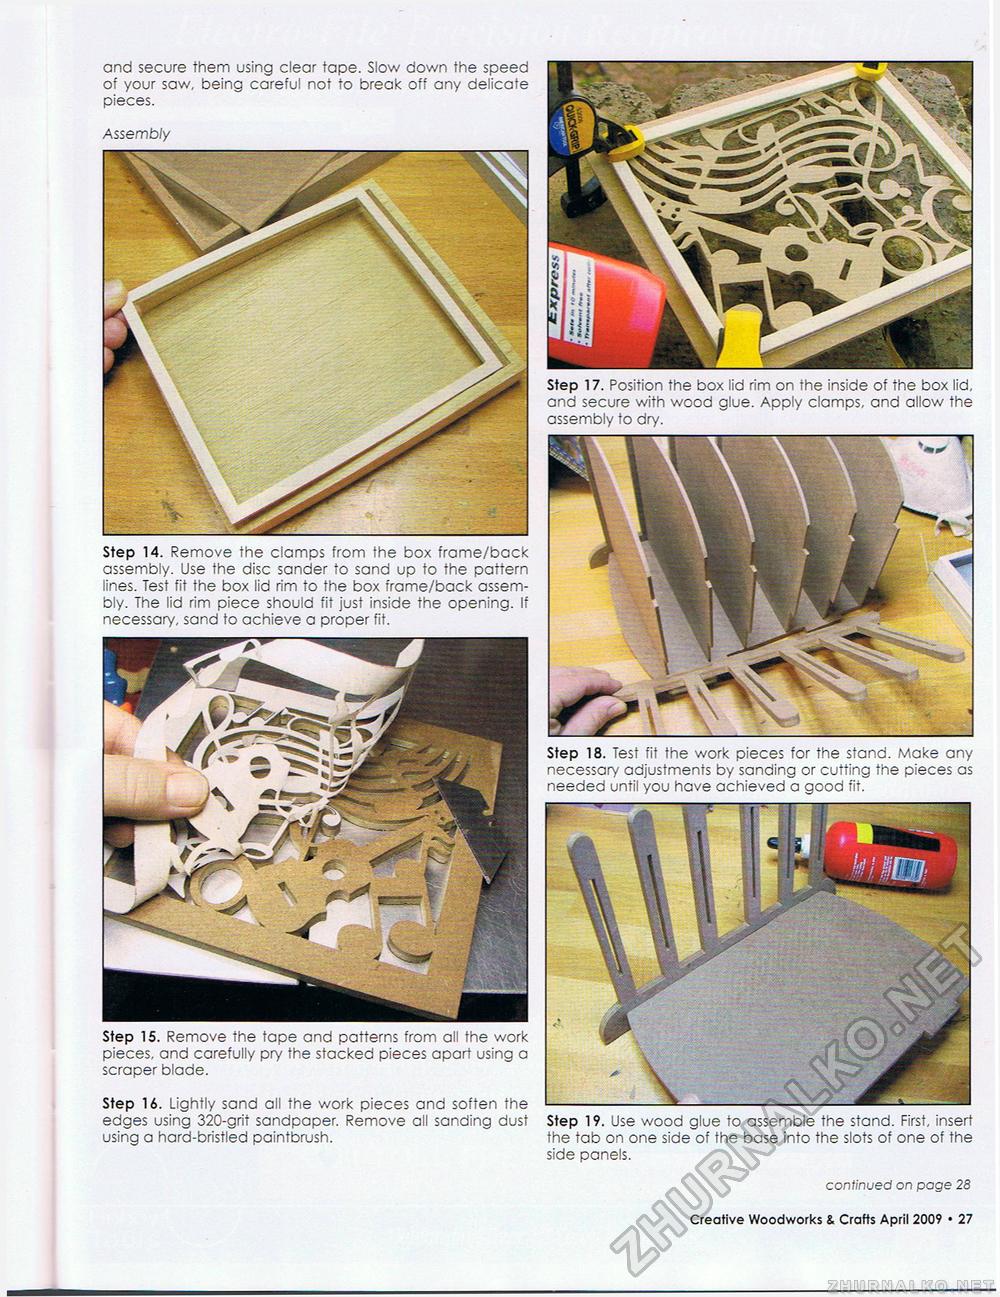
and secure them using clear tape. Slow down the speed of your saw, being careful not to break off any delicate pieces. Assembly Step 17. Position the box lid rim on the inside of the box lid, and secure with wood glue. Apply clamps, and allow the assembly to dry. — Step 14. Remove the clamps from the box frame/back assembly. Use the disc sander to sand up to the pattern lines. Test fit the box lid rim to the box frame/back assembly. The lid rim piece should fit just inside the opening. If necessary, sand to achieve a proper fit. Step 18. Test fit the work pieces for the stand. Make any necessary adjustments by sanding or cutting the pieces as needed until you have achieved a good fit. Step 15. Remove the tape and patterns from all the work pieces, and carefully pry the stacked pieces apart using a scraper blade. Step 16. Lightly sand all the work pieces and soften the edges using 320-grit sandpaper. Remove all sanding dust using a hard-bristled paintbrush. Step 19. Use wood glue to assemble the stand. First, insert the tab on one side of the base into the slots of one of the side panels. continued on page 28 Creative Woodworks & Crafts April 2009 • 11 |


