Creative Woodworks & Crafts-050-1998-winter, страница 62
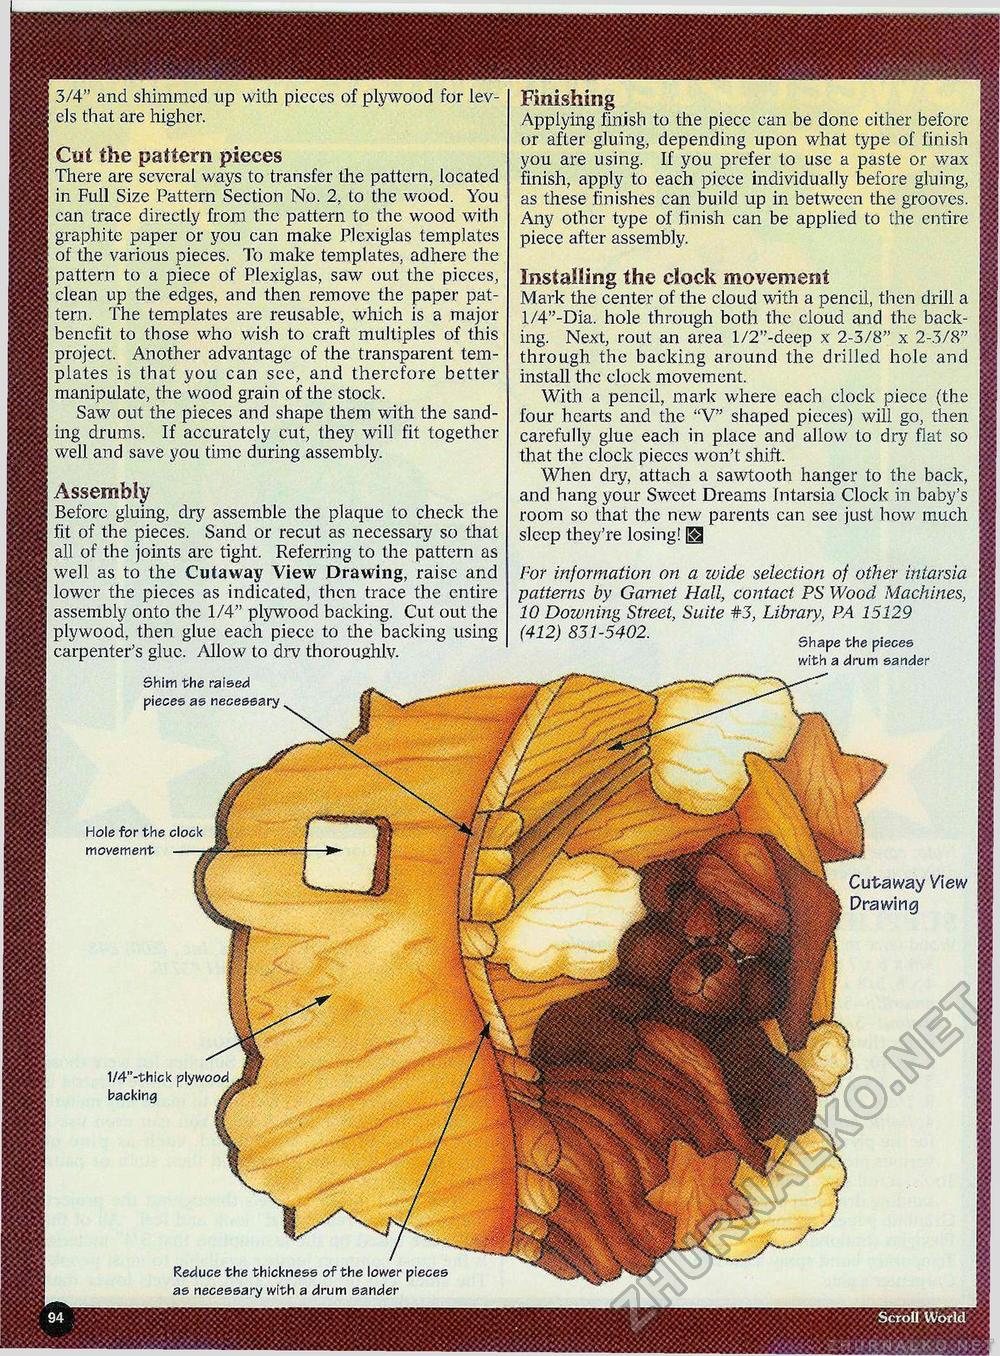
Scroll World 3/4" and shimmed up with picces of plywood for levels that are higher. Cut the pattern pieces There are several ways to transfer the pattern, located in Full Size Pattern Section No. 2. to the wood. You can trace directly from the pattern to the wood with graphite paper or you can make Plexiglas templates of the various pieces. To make templates, adhere the pattern to a piece of Plexiglas, saw out the pieces, clean up the edges, and then remove the paper pattern. The templates are reusable, which is a major benefit to those who wish to craft multiples of this project. Another advantage of the transparent templates is that you can see, and therefore better manipulate, the wood grain of the stock. Saw out the pieces and shape them with the sanding drums. If accurately cut, they will fit together well and save you time during assembly. Assembly Before gluing, dry assemble the plaque to check the fit of the pieces. Sand or recut as necessary so that all of the joints arc tight. Referring to the pattern as well as to the Cutaway View Drawing, raise and lower the pieces as indicated, then trace the entire assembly onto the 1/4" plywood backing. Cut out the plywood, then glue each piece to the backing using carpenter's glue. Allow to drv thoroughly. Shim the raised pieces as necessary ff —* Finishing Applying finish to the piece can be done either before or after gluing, depending upon what type of finish you are using. If you prefer to use a paste or wax finish, apply to each piece individually before gluing, as these finishes can build up in between the grooves. Any other type of finish can be applied to the entire piece after assembly. Installing the clock movement Mark the center of the cloud with a pencil, then drill a l/4"-Dia. hole through both the cloud and the backing. Next, rout an area l/2"-deep x 2-3/8" x 2-3/8" through the backing around the drilled hole and install the clock movement. With a pencil, mark where each clock piecc (the four hearts and the "V" shaped pieces) will go, then carefully glue each in place and allow to dry flat so that the clock pieces won't shift. When dry, attach a sawtooth hanger to the back, and hang your Sweet Dreams Intarsia Clock in baby's room so that the new parents can see just how much sleep they're losing! (31 /•'or information on a wide selection of other intarsia patterns by Garnet Hall, contact PS Wood Machines, 10 Downing Street, Suite #3, Library, PA 15129 (412) 831-5402. . ' Shape the pieces with a drum sander Hole for the clock movement -5 Cutaway View Drawing 1/4"-thick plywood backing A Reduce the thickness of the lower pieces as necessary with a drum sander |


