Creative Woodworks & crafts-103-2004-Holiday, страница 33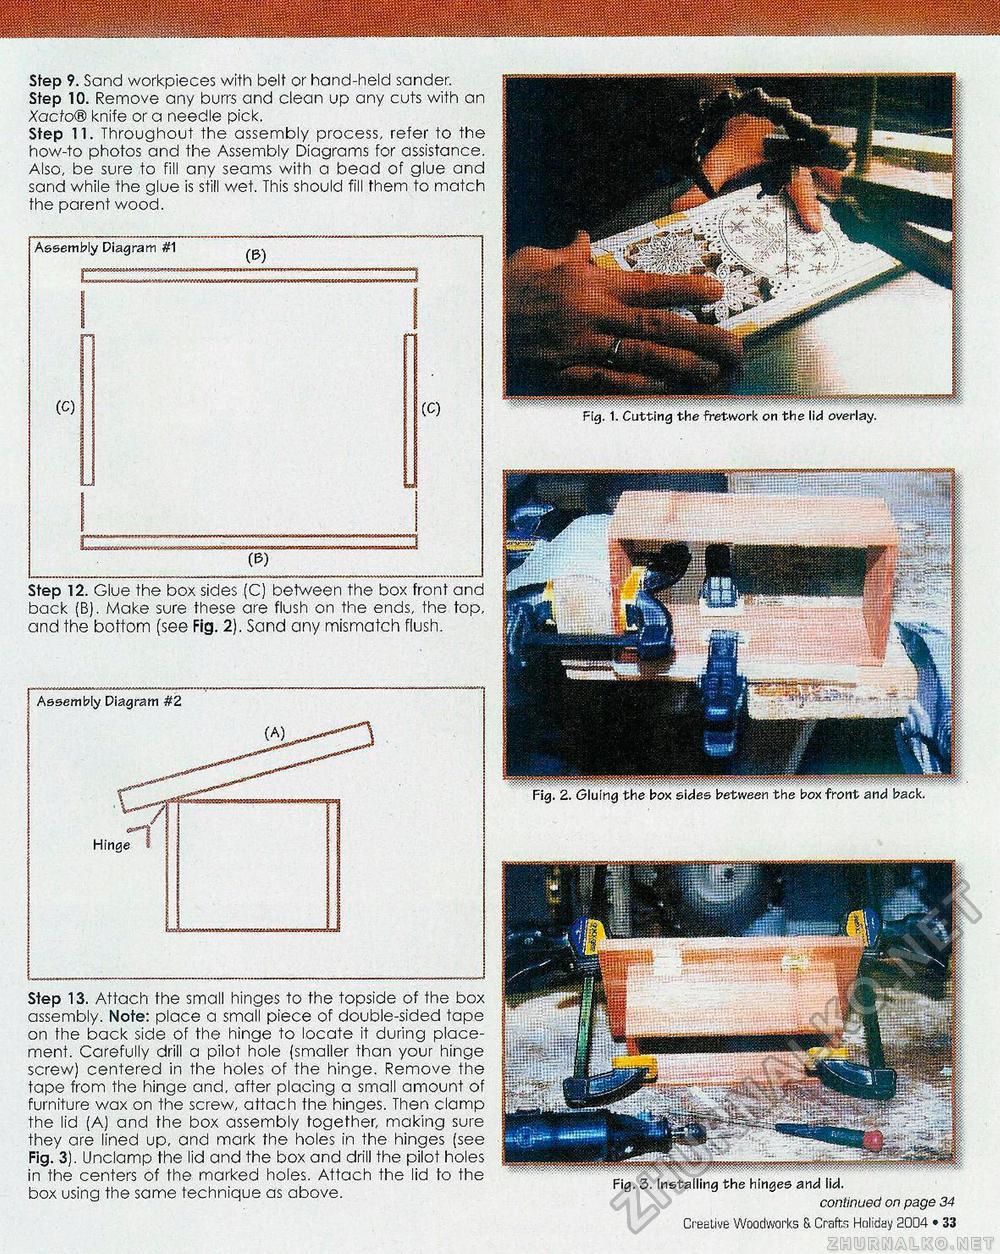
Step 13. Attach the small hinges to the topside of the box assembly. Note: place a small piece of double-sided tape on the back side of the hinge to locate it during placement. Carefully drill a pilot hole {smaller than your hinge screw) centered in the holes of the hinge. Remove the tape from the hinge and, after placing a small amount of furniture wax on the screw, attach the hinges. Then clamp the lid (A) and the box assembly together, making sure they are lined up, and mark the holes in the hinges (see Fig. 3). Unclamp the lid and the box and drill the pilot holes in the centers of the marked holes. Attach the lid to the box using the same technique as above. Fig. 3. Installing the hinges and lid. continued on page 34 Creative Woodworks & Crafts Holiday 2004 ♦ 33 Step 9. Sand workpieces with belt or hand-held sander. Step 10. Remove any burrs and clean up any cuts with an Xacfo® knife or a needle pick. Step 11. Throughout the assembly process, refer to the how-to photos and the Assembly Diagrams for assistance. Also, be sure to fill any seams with a bead of glue and sand while the glue is still wet. This should fill them to match the parent wood. Step 12. Glue the box sides (C) between the box front and back (B). Make sure these are flush on the ends, the top, and the bottom (see Fig. 2). Sand any mismatch flush. Assembly Diagram #1 Assembly Diagram #2 |


