Creative Woodworks & crafts-103-2004-Holiday, страница 8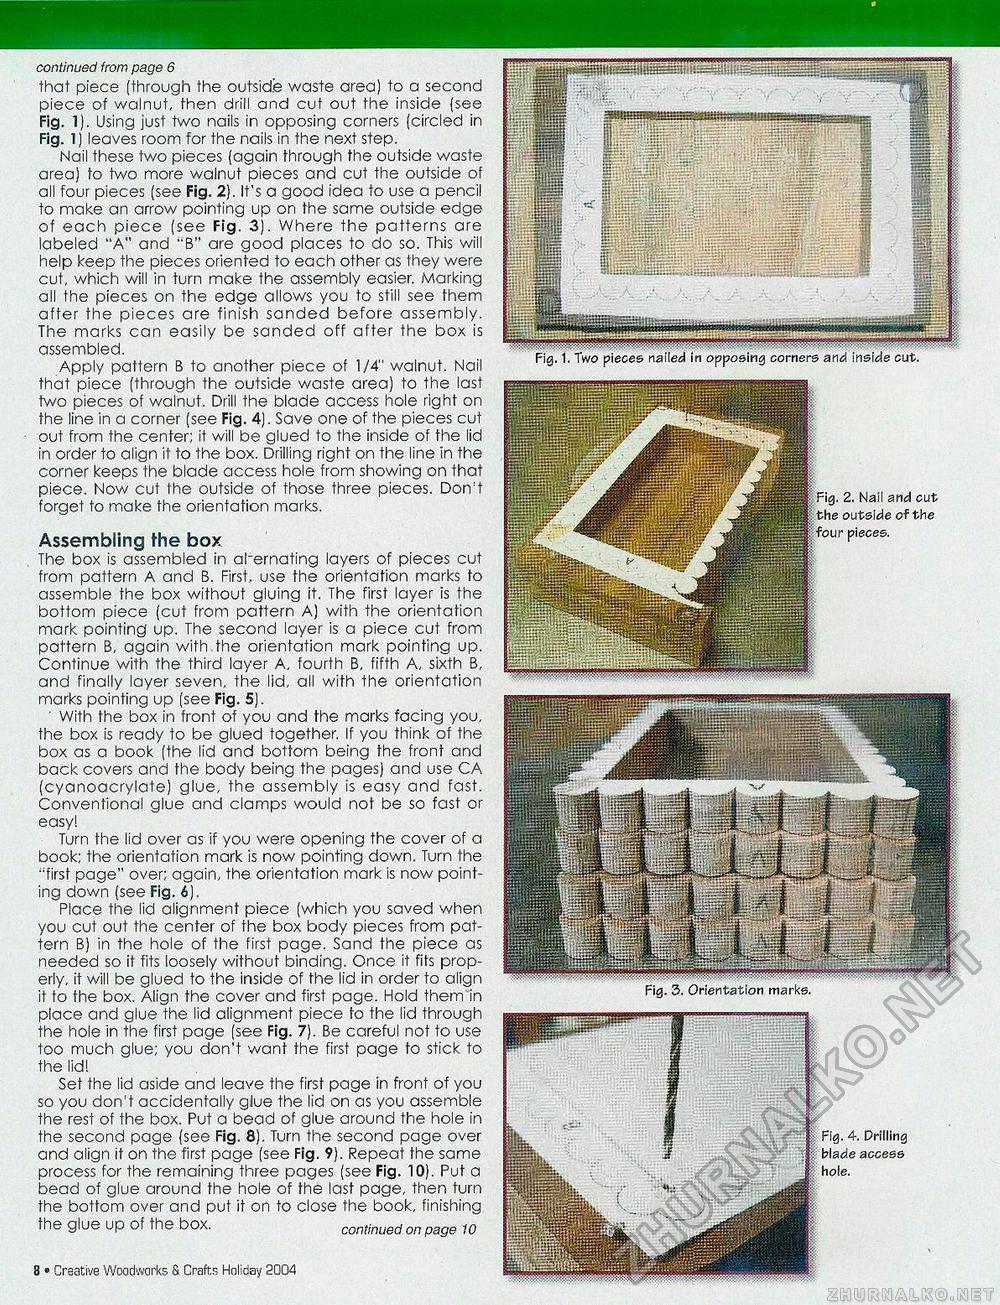
continued from page 6 that piece (through the outside waste area) to a second piece of walnut, fhen drill and cut out the inside (see Fig. 1). Using just two nails in opposing corners (circled in Fig. 1) leaves room for the nails in the next step. Nail these two pieces (again through the outside waste area) to two more walnut pieces and cut the outside of all four pieces (see Fig. 2). It's a good idea to use a pencil to make an arrow pointing up on the same outside edge of each piece (see Fig. 3). Where the patterns are labeled "A" and "B" are good places to do so. This will help keep the pieces oriented to each other as they were cut, which will in turn make the assembly easier. Marking all the pieces on the edge allows you to still see them after the pieces are finish sanded before assembly. The marks can easily be sanded off after the box is assembled. Apply pattern B to another piece of 1/4" walnut. Nail that piece (through the outside waste area) to the last two pieces of walnut. Drill the blade access hole right on the line in a corner (see Fig. 4). Save one of the pieces cut out from the center; it will be glued to the inside of the lid in order to align it to the box. Drilling right on the line in the corner keeps the blade access hole from showing on that piece. Now cut the outside of those three pieces. Don't forget to make the orientation marks. Assembling the box The box is assembled in ahernating layers of pieces cut from pattern A and B. First, use the orientation marks to assemble the box without gluing it. The first layer is the bottom piece (cut from pattern A) with the orientation mark pointing up. The second layer is a piece cut from pattern B, again with the orientation mark pointing up. Continue with the third layer A, fourth B, fifth A, sixth B, and finally layer seven, the lid, all with the orientation marks pointing up (see Fig. 5). ' With the box in front of you and the marks facing you, the box is ready to be glued together. If you think of the box as a book (the lid and bottom being the front and back covers and the body being the pages) and use CA (cyanoacrylate) glue, the assembly is easy and fast. Conventional glue and clamps would not be so fast or easy! Turn the lid over as if you were opening the cover of a book; the orientation mark is now pointing down. Turn the "first page" over; again, the orientation mark is now pointing down (see Fig. 6). Place the lid alignment piece (which you saved when you cut out the center of the box body pieces from pattern B) in the hole of the first page. Sand the piece as needed so it fits loosely without binding. Once it fits properly, it will be glued to the inside of the lid in order to align it to the box. Align the cover and first page. Hold them in place and glue the lid alignment piece to the lid through the hole in the first page (see Fig. 7). Be careful not to use too much glue; you don't want the first page to stick to the lid! Set the lid aside and leave the first page in front of you so you don't accidentally glue the lid on as you assemble the rest of the box. Put a bead of glue around the hole in the second page (see Fig. 8). Turn the second page over and align it on the first page (see Fig. 9). Repeat the same process for the remaining three pages (see Fig. 10). Put a bead of glue around the hole of the last page, then turn the bottom over and put it on to close the book, finishing the glue up of the box. continued on page 10 Creative Woodworks & Craft:; Holiday 2004 • 15 2. Nail and cut outside of the pieces. Fig. 4. Drilling access |


