Creative Woodworks & crafts-111-2005-Holiday, страница 65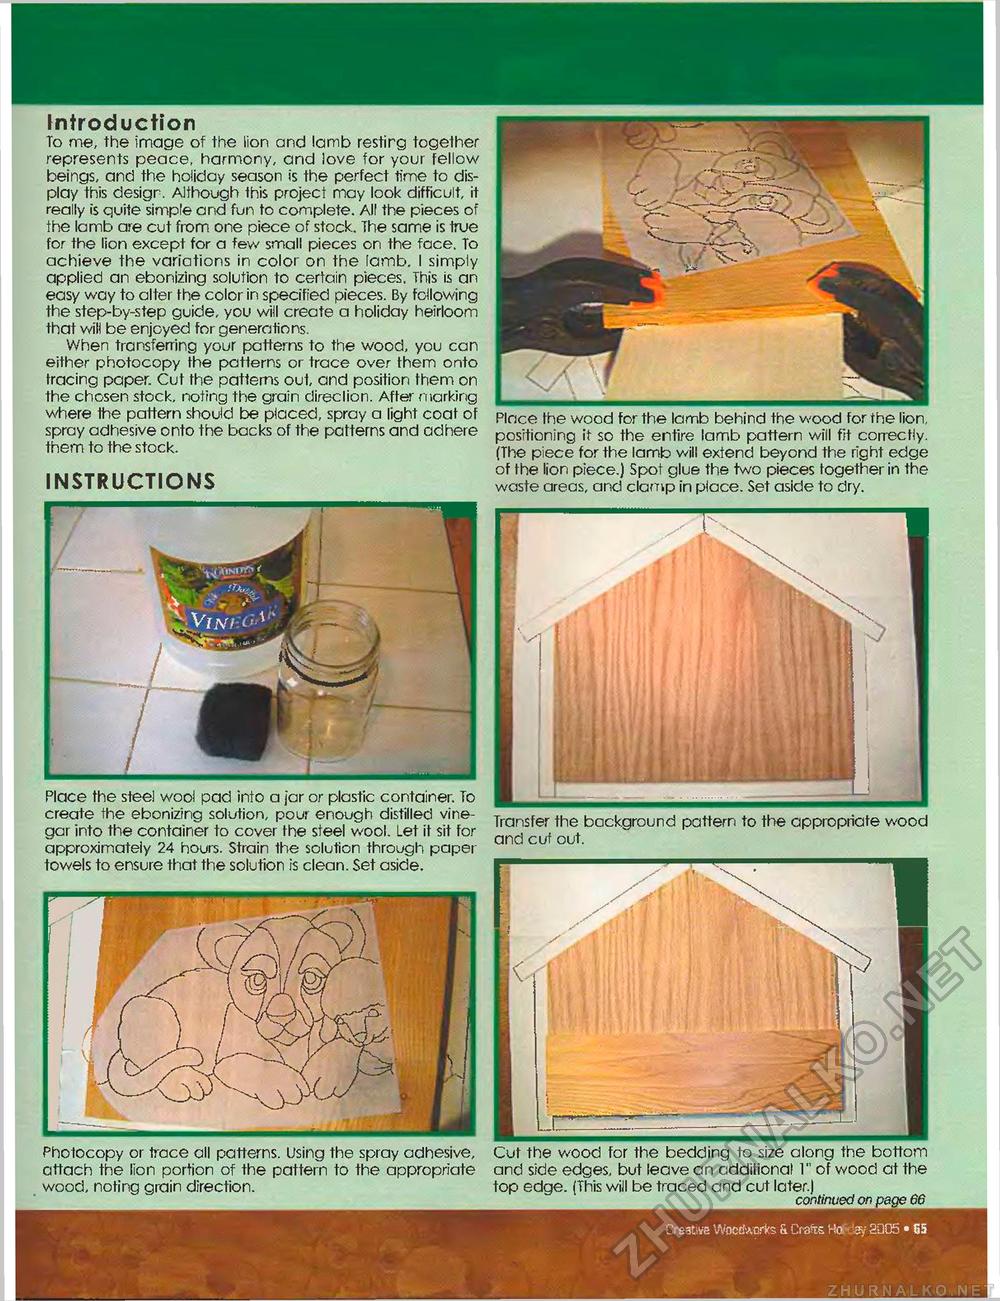
Photocopy or trace ail patterns. Using the spray adhesive, attach the lion portion of the pattern to the appropriate wood, noting grain direction. Transfer the background pattern to the appropriate wood and cut out. Introduction To me, the image of the lion and lamb restirg together represents peace, harmony, and love for your fellow beings, and the holiday season is the perfect time to display this design. Although this project may look difficult, it really is quite simple and fun to complete. All the pieces of the lamb are cut from one piece of stock. The same is true for the lion except for a few small pieces on the face. To achieve the variations in color on the lamb. I simply applied an ebonizing solution to certain pieces. This is an easy way to alter the color in specified pieces. By following the step-by-step guide, you will create a holiday heirloom that will be enjoyed for generations. When transferring your patterns to the wood, you can either photocopy the patterns or trace over them onto tracing paper. Cut the patterns out, and position them on the chosen stock, noting the grain direction. After marking where the pattern should be placed, spray a light coat of spray adhesive onto the backs of the patterns and adhere them to the stock. INSTRUCTIONS Place the wood for the lamb behind the wood for the lion, positioning it so the entire lamb pattern will fit correctly. (The piece for the lamb will extend beyond the right edge of the lion piece.) Spot glue the two pieces together in the waste areas, and clamp in place. Set aside to dry. Place the steel wool pad into a jar or plastic container. To create the ebonizing solution, pour enough distilled vinegar into the container to cover the steel wool. Let it sit for approximately 24 hours. Strain the solution through paper towels to ensure that the solution is clean. Set aside. .r— - " - Cut the wood for the bedding to size along the bottom and side edges, but leave an additional 1" of wood at the top edge. (This will be traced and cut later.) continued on page 66 Creative Woodworks & Crafts Hofday 2005 • 65 |


