Popular Woodworking 2000-02 № 113, страница 60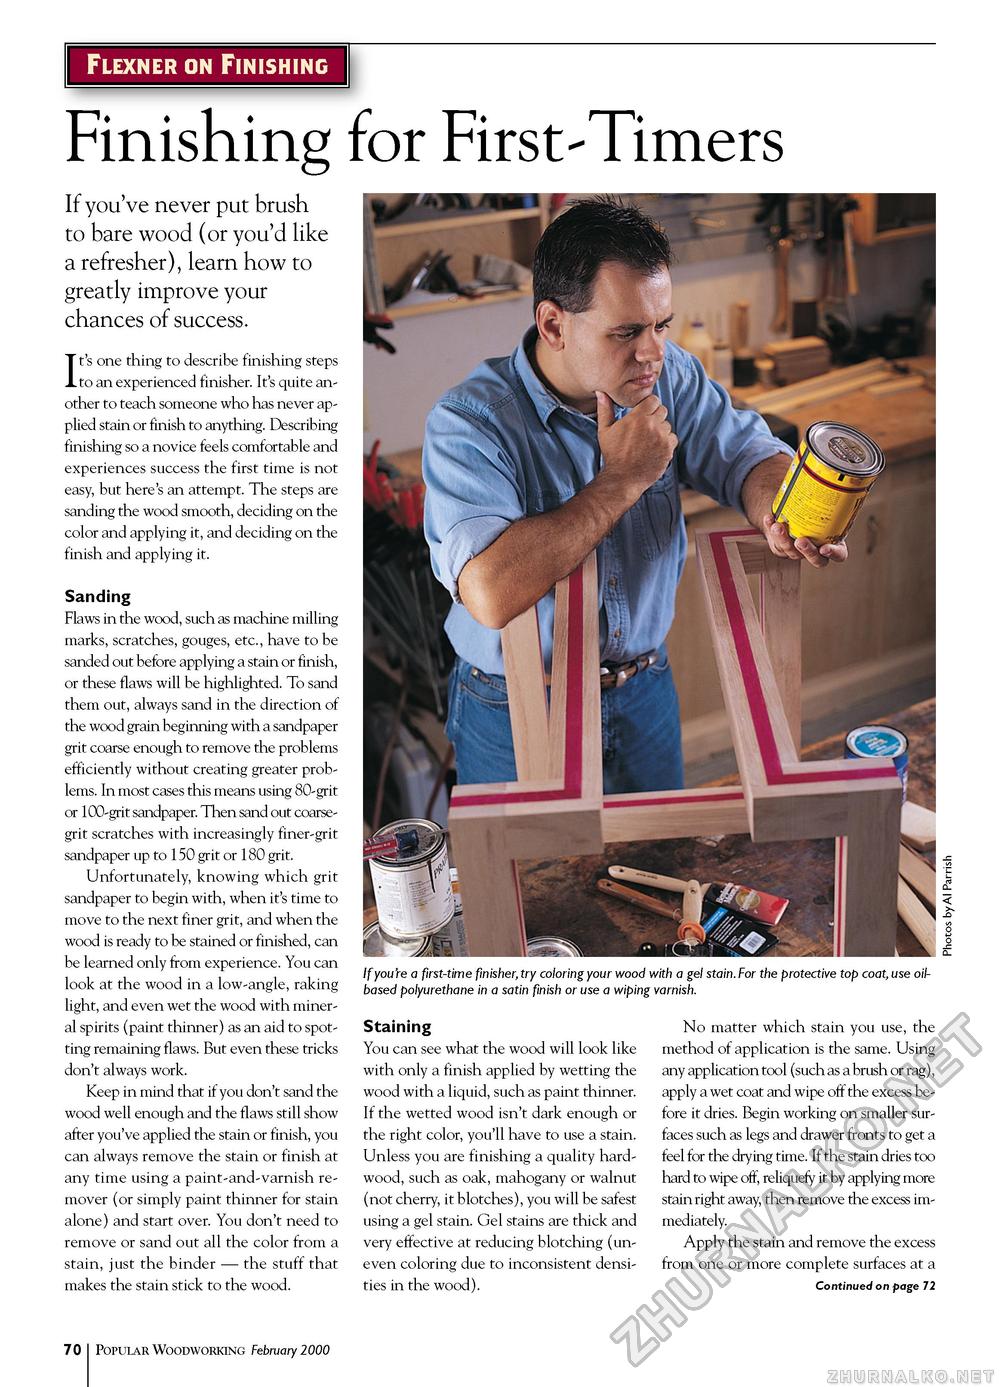
Flexner on Finishing Finishing for First-Timers If you've never put brush to bare wood (or you'd like a refresher), learn how to greatly improve your chances of success. It's one thing to describe finishing steps to an experienced finisher. It's quite another to teach someone who has never applied stain or finish to anything. Describing finishing so a novice feels comfortable and experiences success the first time is not easy, but here's an attempt. The steps are sanding the wood smooth, deciding on the color and applying it, and deciding on the finish and applying it. Sanding Flaws in the wood, such as machine milling marks, scratches, gouges, etc., have to be sanded out before applying a stain or finish, or these flaws will be highlighted. To sand them out, always sand in the direction of the wood grain beginning with a sandpaper grit coarse enough to remove the problems efficiently without creating greater problems. In most cases this means using 80-grit or 100-grit sandpaper. Then sand out coarse-grit scratches with increasingly finer-grit sandpaper up to 150 grit or 180 grit. Unfortunately, knowing which grit sandpaper to begin with, when it's time to move to the next finer grit, and when the wood is ready to be stained or finished, can be learned only from experience. You can look at the wood in a low-angle, raking light, and even wet the wood with mineral spirits (paint thinner) as an aid to spotting remaining flaws. But even these tricks don't always work. Keep in mind that if you don't sand the wood well enough and the flaws still show after you've applied the stain or finish, you can always remove the stain or finish at any time using a paint-and-varnish remover (or simply paint thinner for stain alone) and start over. You don't need to remove or sand out all the color from a stain, just the binder — the stuff that makes the stain stick to the wood. Staining You can see what the wood will look like with only a finish applied by wetting the wood with a liquid, such as paint thinner. If the wetted wood isn't dark enough or the right color, you'll have to use a stain. Unless you are finishing a quality hardwood, such as oak, mahogany or walnut (not cherry, it blotches), you will be safest using a gel stain. Gel stains are thick and very effective at reducing blotching (uneven coloring due to inconsistent densities in the wood). Q_ < O O -C Q_ No matter which stain you use, the method of application is the same. Using any application tool (such as a brush or rag), apply a wet coat and wipe off the excess before it dries. Begin working on smaller surfaces such as legs and drawer fronts to get a feel for the drying time. If the stain dries too hard to wipe off, reliquefy it by applying more stain right away, then remove the excess immediately. Apply the stain and remove the excess from one or more complete surfaces at a Continued on page 72 10 Popular Woodworking February 2000 |


