Popular Woodworking 2000-12 № 119, страница 57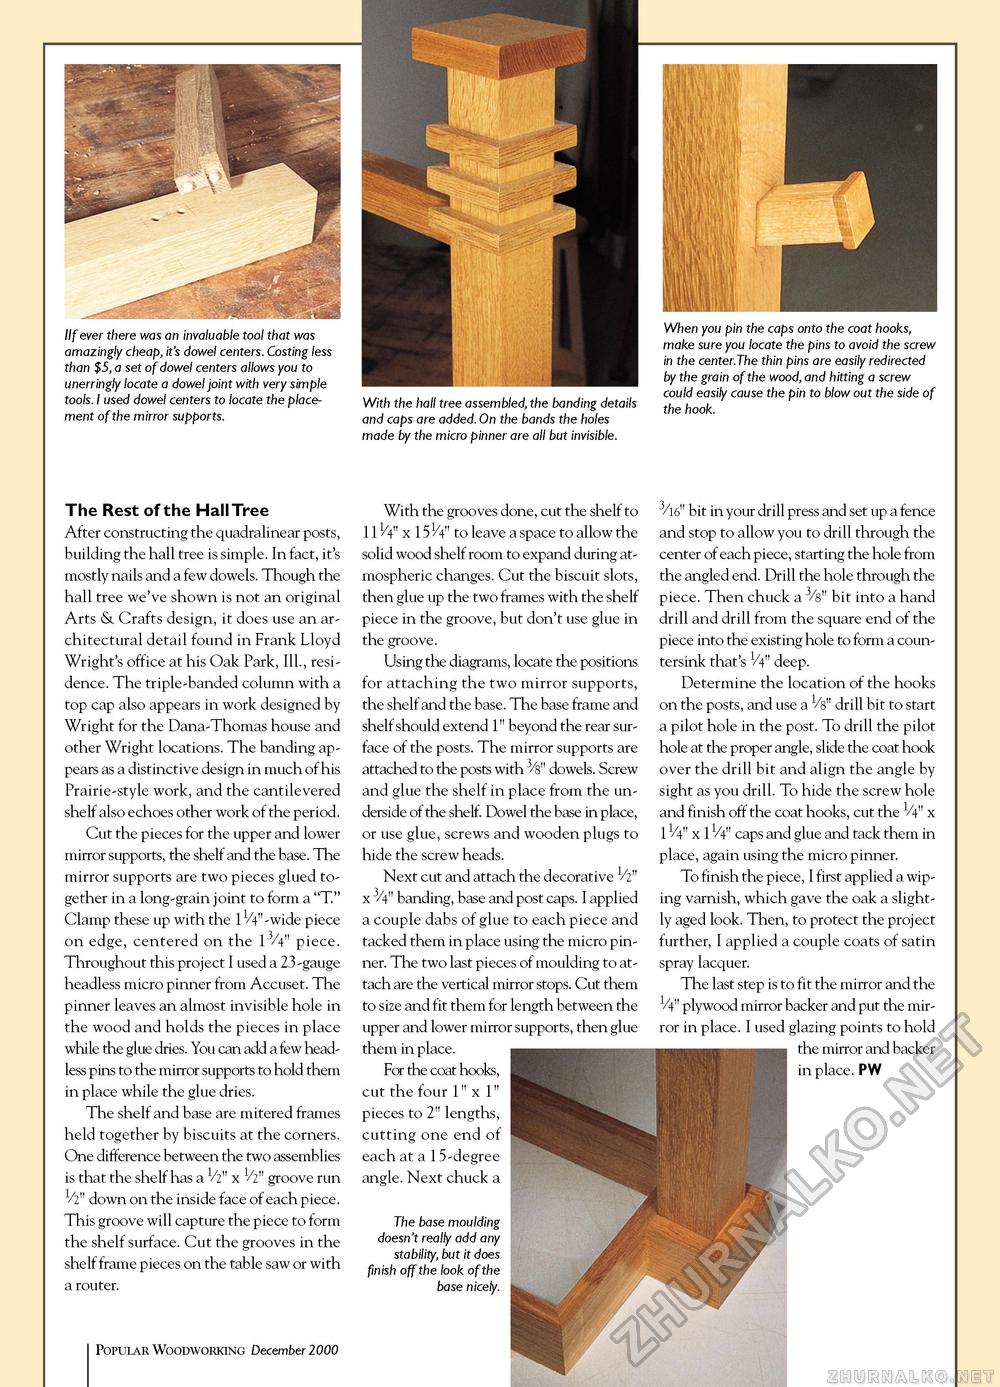
IIf ever there was an invaluable tool that was amazingly cheap, it's dowel centers. Costing less than $5, a set of dowel centers allows you to unerringly locate a dowel joint with very simple tools. I used dowel centers to locate the placement of the mirror supports. When you pin the caps onto the coat hooks, make sure you locate the pins to avoid the screw in the center.The thin pins are easily redirected by the grain of the wood, and hitting a screw could easily cause the pin to blow out the side of the hook. The Rest of the Hall Tree After constructing the quadralinear posts, building the hall tree is simple. In fact, it's mostly nails and a few dowels. Though the hall tree we've shown is not an original Arts & Crafts design, it does use an architectural detail found in Frank Lloyd Wright's office at his Oak Park, Ill., residence. The triple-banded column with a top cap also appears in work designed by Wright for the Dana-Thomas house and other Wright locations. The banding appears as a distinctive design in much of his Prairie-style work, and the cantilevered shelf also echoes other work of the period. Cut the pieces for the upper and lower mirror supports, the shelf and the base. The mirror supports are two pieces glued together in a long-grain joint to form a "T." Clamp these up with the l^'-wide piece on edge, centered on the 13/4" piece. Throughout this project I used a 23-gauge headless micro pinner from Accuset. The pinner leaves an almost invisible hole in the wood and holds the pieces in place while the glue dries. You can add a few headless pins to the mirror supports to hold them in place while the glue dries. The shelf and base are mitered frames held together by biscuits at the corners. One difference between the two assemblies is that the shelf has a V2" x 1/2" groove run V2" down on the inside face of each piece. This groove will capture the piece to form the shelf surface. Cut the grooves in the shelf frame pieces on the table saw or with a router. 57 Popular Woodworking December 1000 With the grooves done, cut the shelf to 111/4" x 151/4" to leave a space to allow the solid wood shelf room to expand during atmospheric changes. Cut the biscuit slots, then glue up the two frames with the shelf piece in the groove, but don't use glue in the groove. Using the diagrams, locate the positions for attaching the two mirror supports, the shelf and the base. The base frame and shelf should extend 1" beyond the rear surface of the posts. The mirror supports are attached to the posts with 3/s" dowels. Screw and glue the shelf in place from the underside of the shelf. Dowel the base in place, or use glue, screws and wooden plugs to hide the screw heads. Next cut and attach the decorative V2" x 3/4" banding, base and post caps. I applied a couple dabs of glue to each piece and tacked them in place using the micro pinner. The two last pieces of moulding to attach are the vertical mirror stops. Cut them to size and fit them for length between the upper and lower mirror supports, then glue them in place. For the coat hooks, cut the four 1" x 1" pieces to 2" lengths, cutting one end of each at a 15-degree angle. Next chuck a The base moulding doesn't really add any stability, but it does finish off the look of the base nicely. 3/16" bit in your drill press and set up a fence and stop to allow you to drill through the center of each piece, starting the hole from the angled end. Drill the hole through the piece. Then chuck a 3/s" bit into a hand drill and drill from the square end of the piece into the existing hole to form a countersink that's 1/4" deep. Determine the location of the hooks on the posts, and use a 1/s" drill bit to start a pilot hole in the post. To drill the pilot hole at the proper angle, slide the coat hook over the drill bit and align the angle by sight as you drill. To hide the screw hole and finish off the coat hooks, cut the V4" x 11/4" x 1V4" caps and glue and tack them in place, again using the micro pinner. To finish the piece, I first applied a wiping varnish, which gave the oak a slightly aged look. Then, to protect the project further, I applied a couple coats of satin spray lacquer. The last step is to fit the mirror and the 1/4" plywood mirror backer and put the mirror in place. I used glazing points to hold the mirror and backer in place. PW |


