Popular Woodworking 2001-08 № 123, страница 21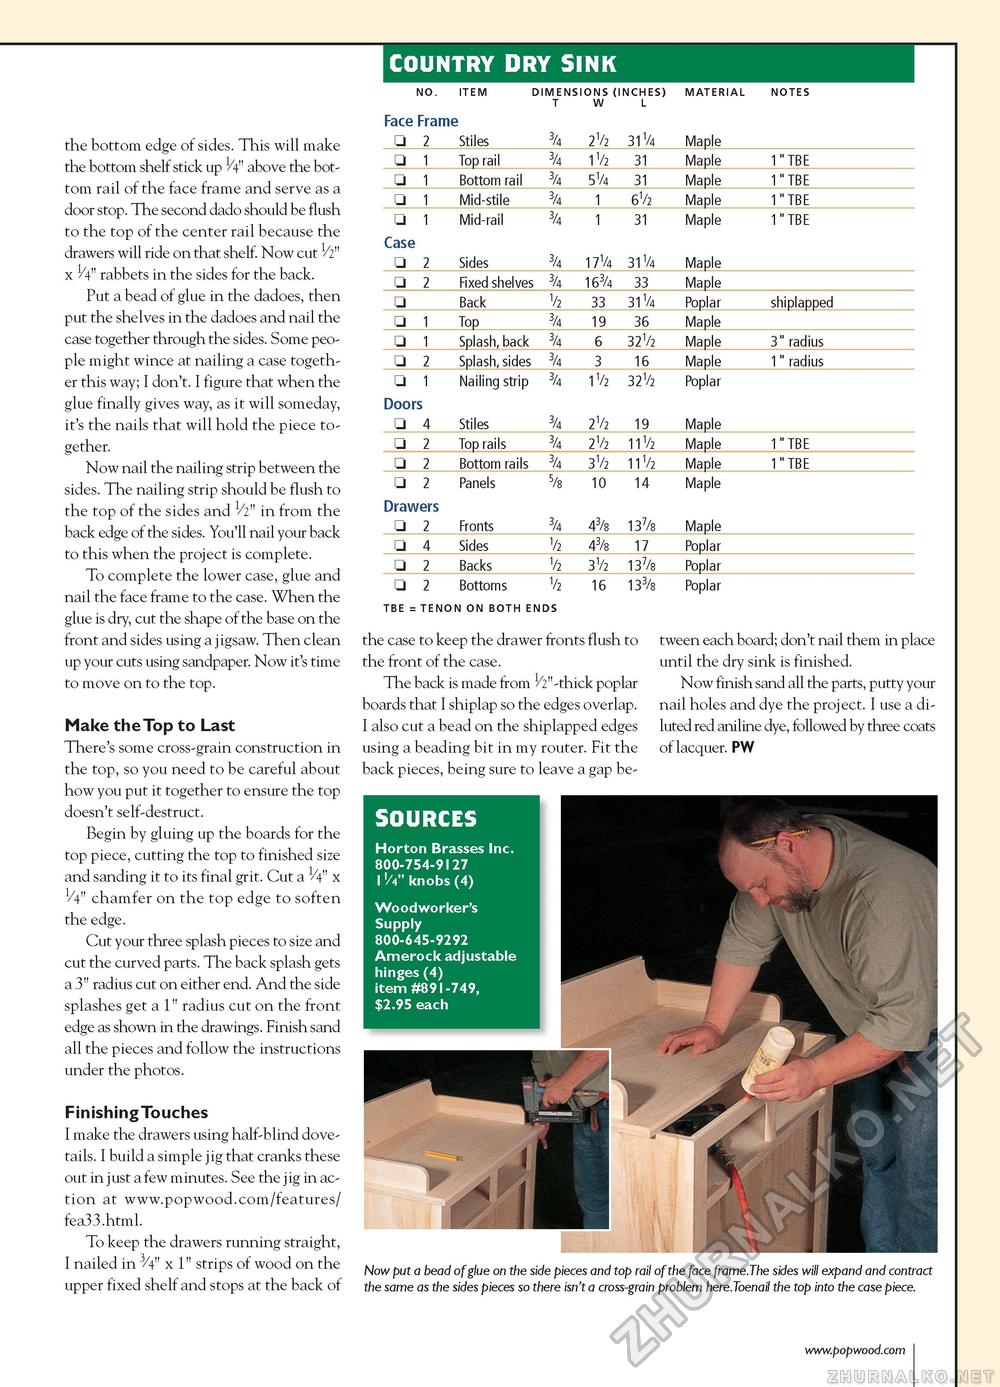
COUNTRY DRY SINK
the bottom edge of sides. This will make the bottom shelf stick up H" above the bottom rail of the face frame and serve as a door stop. The second dado should be flush to the top of the center rail because the drawers will ride on that shelf. Now cut 1/2" x 1/4" rabbets in the sides for the back. Put a bead of glue in the dadoes, then put the shelves in the dadoes and nail the case together through the sides. Some people might wince at nailing a case together this way; I don't. I figure that when the glue finally gives way, as it will someday, it's the nails that will hold the piece together. Now nail the nailing strip between the sides. The nailing strip should be flush to the top of the sides and 1/2" in from the back edge of the sides. You'll nail your back to this when the project is complete. To complete the lower case, glue and nail the face frame to the case. When the glue is dry, cut the shape of the base on the front and sides using a jigsaw. Then clean up your cuts using sandpaper. Now it's time to move on to the top. Make the Top to Last There's some cross-grain construction in the top, so you need to be careful about how you put it together to ensure the top doesn't self-destruct. Begin by gluing up the boards for the top piece, cutting the top to finished size and sanding it to its final grit. Cut a 1/4" x 1/4" chamfer on the top edge to soften the edge. Cut your three splash pieces to size and cut the curved parts. The back splash gets a 3" radius cut on either end. And the side splashes get a 1" radius cut on the front edge as shown in the drawings. Finish sand all the pieces and follow the instructions under the photos. Finishing Touches I make the drawers using half-blind dovetails. I build a simple jig that cranks these out in just a few minutes. See the jig in action at www.popwood.com/features/ fea33.html. To keep the drawers running straight, I nailed in 3/4" x 1" strips of wood on the upper fixed shelf and stops at the back of the case to keep the drawer fronts flush to the front of the case. The back is made from 1/2"-thick poplar boards that I shiplap so the edges overlap. I also cut a bead on the shiplapped edges using a beading bit in my router. Fit the back pieces, being sure to leave a gap be tween each board; don't nail them in place until the dry sink is finished. Now finish sand all the parts, putty your nail holes and dye the project. I use a diluted red aniline dye, followed by three coats of lacquer. PW Horton Brasses Inc. 800-754-9127 11/4" knobs (4) Woodworker's Supply 800-645-9292 Amerock adjustable hinges (4) item #891-749, $2.95 each Now put a bead of glue on the side pieces and top rail of the face frame.The sides will expand and contract the same as the sides pieces so there isn't a cross-grain problem here.Toenail the top into the case piece. |
||||||||||||||||||||||||||||||||||||||||||||||||||||||||||||||||||||||||||||||||||||||||||||||||||||||||||||||||||||||||||||||||||||||||||||||||||||||||||||||||||||||||||||||||||||||


