Popular Woodworking 2001-12 № 125, страница 13
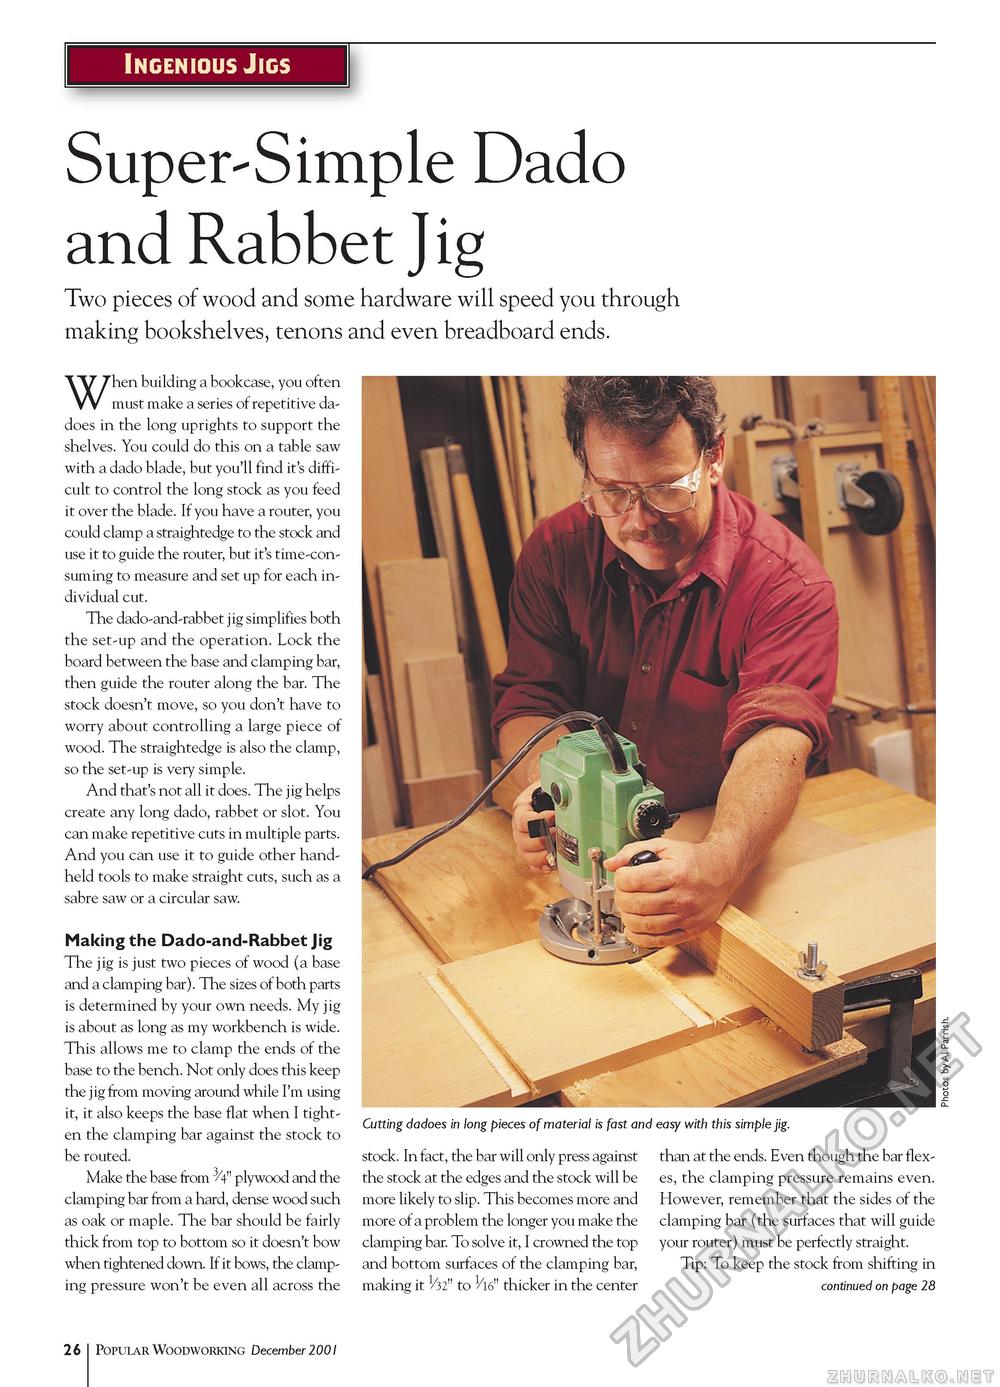
Ingenious Jigs Super-Simple Dado and Rabbet JigTwo pieces of wood and some hardware will speed you through making bookshelves, tenons and even breadboard ends. When building a bookcase, you often must make a series of repetitive dadoes in the long uprights to support the shelves. You could do this on a table saw with a dado blade, but you'll find it's difficult to control the long stock as you feed it over the blade. If you have a router, you could clamp a straightedge to the stock and use it to guide the router, but it's time-consuming to measure and set up for each individual cut. The dado-and-rabbet jig simplifies both the set-up and the operation. Lock the board between the base and clamping bar, then guide the router along the bar. The stock doesn't move, so you don't have to worry about controlling a large piece of wood. The straightedge is also the clamp, so the set-up is very simple. And that's not all it does. The jig helps create any long dado, rabbet or slot. You can make repetitive cuts in multiple parts. And you can use it to guide other handheld tools to make straight cuts, such as a sabre saw or a circular saw. Making the Dado-and-Rabbet Jig The jig is just two pieces of wood (a base and a clamping bar). The sizes of both parts is determined by your own needs. My jig is about as long as my workbench is wide. This allows me to clamp the ends of the base to the bench. Not only does this keep the jig from moving around while I'm using it, it also keeps the base flat when I tighten the clamping bar against the stock to be routed. Make the base from plywood and the clamping bar from a hard, dense wood such as oak or maple. The bar should be fairly thick from top to bottom so it doesn't bow when tightened down. If it bows, the clamping pressure won't be even all across the stock. In fact, the bar will only press against the stock at the edges and the stock will be more likely to slip. This becomes more and more of a problem the longer you make the clamping bar. To solve it, I crowned the top and bottom surfaces of the clamping bar, making it V32" to 1/l6" thicker in the center than at the ends. Even though the bar flexes, the clamping pressure remains even. However, remember that the sides of the clamping bar (the surfaces that will guide your router) must be perfectly straight. Tip: To keep the stock from shifting in continued on page 28 26 PopularWoodworking December 1001 |


