Popular Woodworking 2001-12 № 125, страница 33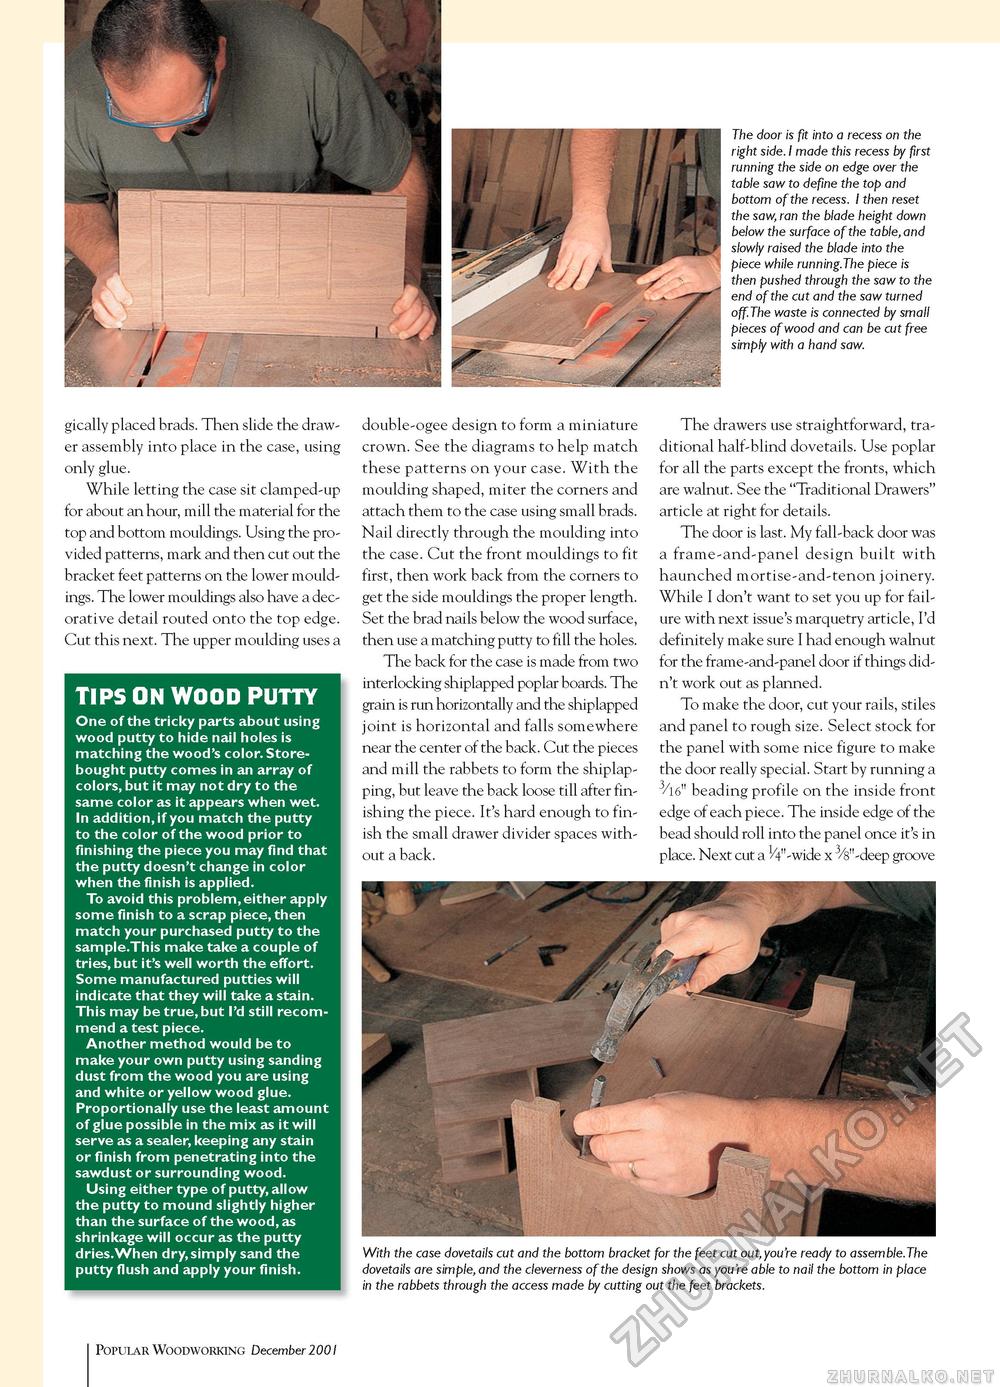
The door is fit into a recess on the right side. I made this recess by first running the side on edge over the table saw to define the top and bottom of the recess. I then reset the saw, ran the blade height down below the surface of the table, and slowly raised the blade into the piece while running.The piece is then pushed through the saw to the end of the cut and the saw turned off.The waste is connected by small pieces of wood and can be cut free simply with a hand saw. gically placed brads. Then slide the drawer assembly into place in the case, using only glue. While letting the case sit clamped-up for about an hour, mill the material for the top and bottom mouldings. Using the provided patterns, mark and then cut out the bracket feet patterns on the lower mouldings. The lower mouldings also have a decorative detail routed onto the top edge. Cut this next. The upper moulding uses a double-ogee design to form a miniature crown. See the diagrams to help match these patterns on your case. With the moulding shaped, miter the corners and attach them to the case using small brads. Nail directly through the moulding into the case. Cut the front mouldings to fit first, then work back from the corners to get the side mouldings the proper length. Set the brad nails below the wood surface, then use a matching putty to fill the holes. The back for the case is made from two interlocking shiplapped poplar boards. The grain is run horizontally and the shiplapped joint is horizontal and falls somewhere near the center of the back. Cut the pieces and mill the rabbets to form the shiplap-ping, but leave the back loose till after finishing the piece. It's hard enough to finish the small drawer divider spaces without a back. The drawers use straightforward, traditional half-blind dovetails. Use poplar for all the parts except the fronts, which are walnut. See the "Traditional Drawers" article at right for details. The door is last. My fall-back door was a frame-and-panel design built with haunched mortise-and-tenon joinery. While I don't want to set you up for failure with next issue's marquetry article, I'd definitely make sure I had enough walnut for the frame-and-panel door if things didn't work out as planned. To make the door, cut your rails, stiles and panel to rough size. Select stock for the panel with some nice figure to make the door really special. Start by running a 3/l6" beading profile on the inside front edge of each piece. The inside edge of the bead should roll into the panel once it's in place. Next cut a 1/4"-wide x 3/8"-deep groove With the case dovetails cut and the bottom bracket for the feet cut out,you're ready to assemble.The dovetails are simple, and the cleverness of the design shows as you're able to nail the bottom in place in the rabbets through the access made by cutting out the feet brackets. TiPS ON WOOD PUTTY One of the tricky parts about using wood putty to hide nail holes is matching the wood's color. Store-bought putty comes in an array of colors, but it may not dry to the same color as it appears when wet. In addition, if you match the putty to the color of the wood prior to finishing the piece you may find that the putty doesn't change in color when the finish is applied. To avoid this problem, either apply some finish to a scrap piece, then match your purchased putty to the sample.This make take a couple of tries, but it's well worth the effort. Some manufactured putties will indicate that they will take a stain. This may be true, but I'd still recommend a test piece. Another method would be to make your own putty using sanding dust from the wood you are using and white or yellow wood glue. Proportionally use the least amount of glue possible in the mix as it will serve as a sealer, keeping any stain or finish from penetrating into the sawdust or surrounding wood. Using either type of putty, allow the putty to mound slightly higher than the surface of the wood, as shrinkage will occur as the putty dries.When dry,simply sand the putty flush and apply your finish. 33 Popular Woodworking December 2001 |


