Popular Woodworking 2002-02 № 126, страница 32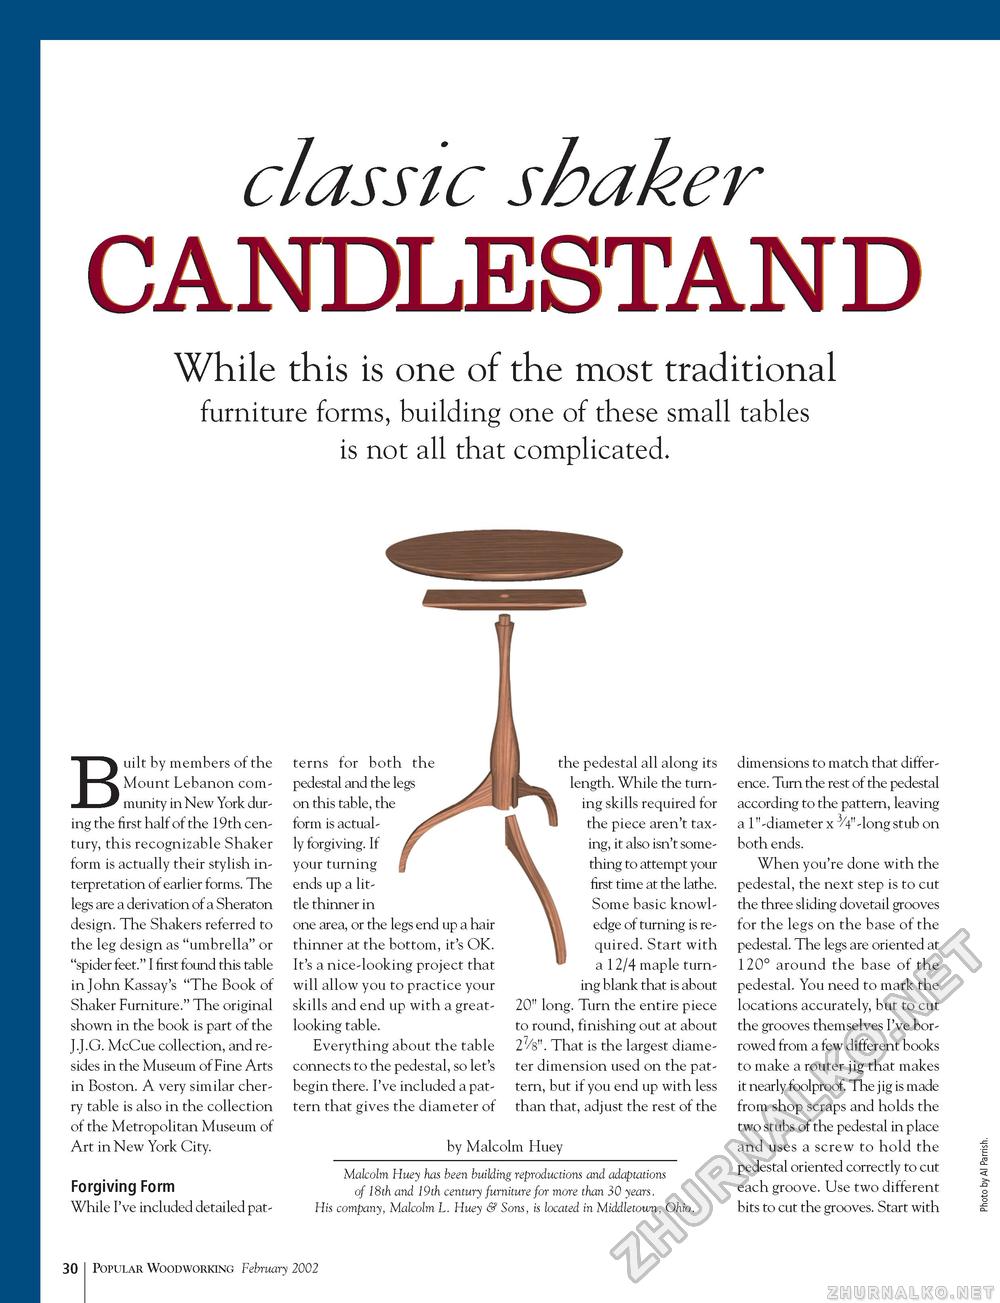
classic shaker CANDLESTAND While this is one of the most traditional furniture forms, building one of these small tables is not all that complicated. Built by members of the Mount Lebanon community in New York during the first half of the 19 th century, this recognizable Shaker form is actually their stylish interpretation of earlier forms. The legs are a derivation of a Sheraton design. The Shakers referred to the leg design as "umbrella" or "spider feet." I first found this table in John Kassay's "The Book of Shaker Furniture." The original shown in the book is part of the J.J.G. McCue collection, and resides in the Museum of Fine Arts in Boston. A very similar cherry table is also in the collection of the Metropolitan Museum of Art in New York City. Forgiving Form While I've included detailed pat terns for both the pedestal and the legs on this table, the form is actually forgiving. If your turning ends up a little thinner in one area, or the legs end up a hair thinner at the bottom, it's OK. It's a nice-looking project that will allow you to practice your skills and end up with a great-looking table. Everything about the table connects to the pedestal, so let's begin there. I've included a pattern that gives the diameter of jl the pedestal all along its length. While the turn* ing skills required for t\\ ™ the piece aren't taxing, it also isn't something to attempt your first time at the lathe. Some basic knowledge of turning is required. Start with a 12/4 maple turning blank that is about 20" long. Turn the entire piece to round, finishing out at about 27/b" . That is the largest diameter dimension used on the pattern, but if you end up with less than that, adjust the rest of the by Malcolm Huey Malcolm Huey has been building reproductions and adaptations of 18th and 19th century furniture for more than 30 years. His company, Malcolm L. Huey & Sons, is located in Middletown, Ohio. dimensions to match that difference. Turn the rest of the pedestal according to the pattern, leaving a 1"-diameter x 3/4"-long stub on both ends. When you're done with the pedestal, the next step is to cut the three sliding dovetail grooves for the legs on the base of the pedestal. The legs are oriented at 120° around the base of the pedestal. You need to mark the locations accurately, but to cut the grooves themselves I've borrowed from a few different books to make a router jig that makes it nearly foolproof. The jig is made from shop scraps and holds the two stubs of the pedestal in place and uses a screw to hold the pedestal oriented correctly to cut each groove. Use two different bits to cut the grooves. Start with 30 Popular Woodworking February 2002 |


