Popular Woodworking 2002-02 № 126, страница 56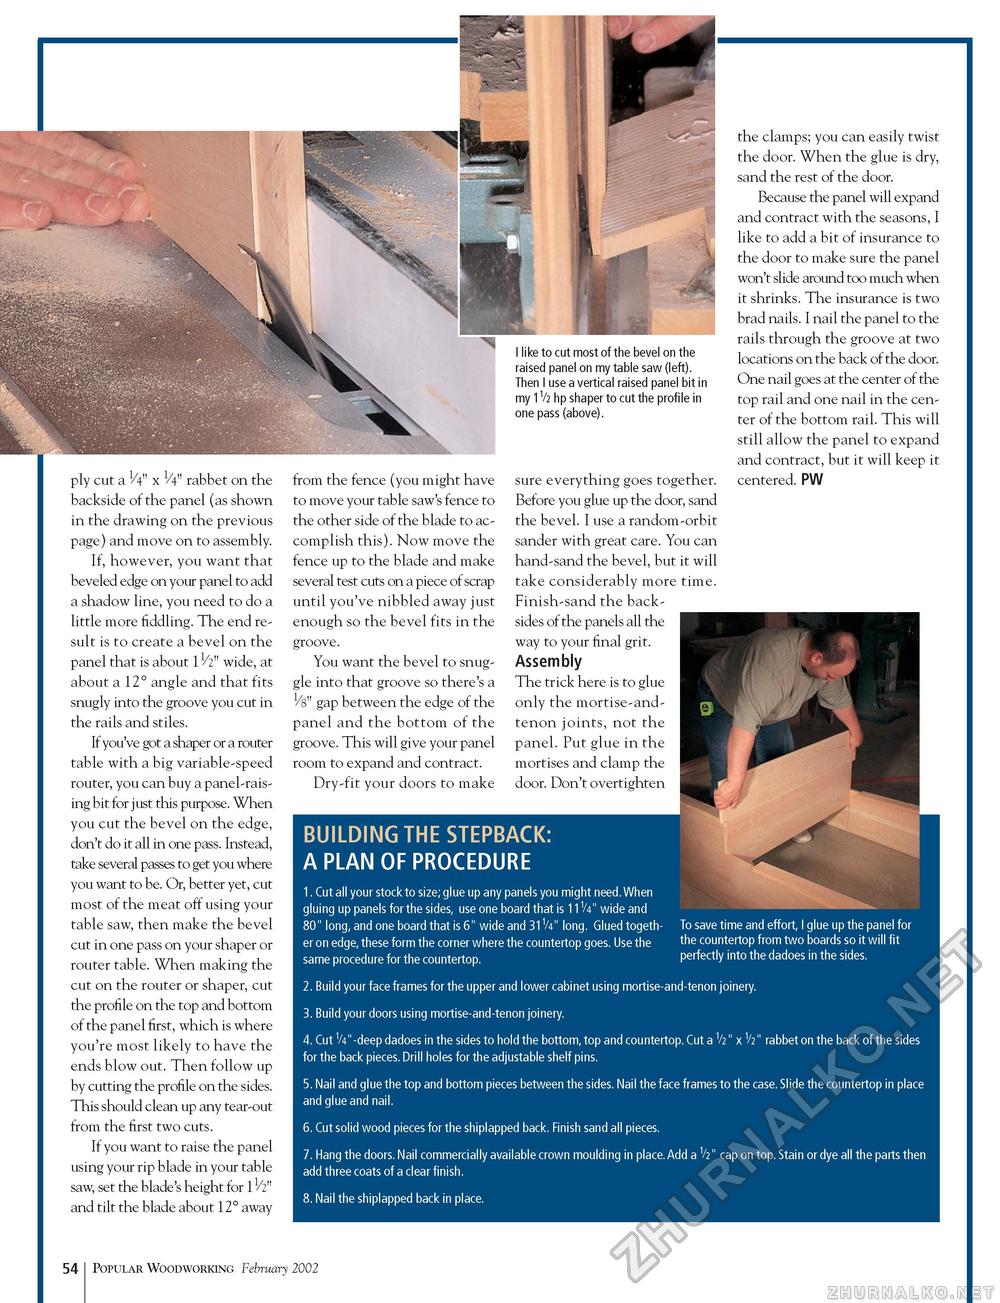
ply cut a 1/4" x 1/4" rabbet on the backside of the panel (as shown in the drawing on the previous page) and move on to assembly. If, however, you want that beveled edge on your panel to add a shadow line, you need to do a little more fiddling. The end result is to create a bevel on the panel that is about 11/2" wide, at about a 12° angle and that fits snugly into the groove you cut in the rails and stiles. If you've got a shaper or a router table with a big variable-speed router, you can buy a panel-raising bit for just this purpose. When you cut the bevel on the edge, don't do it all in one pass. Instead, take several passes to get you where you want to be. Or, better yet, cut most of the meat off using your table saw, then make the bevel cut in one pass on your shaper or router table. When making the cut on the router or shaper, cut the profile on the top and bottom of the panel first, which is where you're most likely to have the ends blow out. Then follow up by cutting the profile on the sides. This should clean up any tear-out from the first two cuts. If you want to raise the panel using your rip blade in your table saw, set the blade's height for 11/2n and tilt the blade about 12° away from the fence (you might have to move your table saw's fence to the other side of the blade to accomplish this). Now move the fence up to the blade and make several test cuts on a piece of scrap until you've nibbled away just enough so the bevel fits in the groove. You want the bevel to snuggle into that groove so there's a 1/8" gap between the edge of the panel and the bottom of the groove. This will give your panel room to expand and contract. Dry-fit your doors to make I like to cut most of the bevel on the raised panel on my table saw (left). Then I use a vertical raised panel bit in my 1V2 hp shaper to cut the profile in one pass (above). sure everything goes together. Before you glue up the door, sand the bevel. I use a random-orbit sander with great care. You can hand-sand the bevel, but it will take considerably more time. Finish-sand the backsides of the panels all the way to your final grit. Assembly The trick here is to glue only the mortise-and-tenon joints, not the panel. Put glue in the mortises and clamp the door. Don't overtighten the clamps; you can easily twist the door. When the glue is dry, sand the rest of the door. Because the panel will expand and contract with the seasons, I like to add a bit of insurance to the door to make sure the panel won't slide around too much when it shrinks. The insurance is two brad nails. I nail the panel to the rails through the groove at two locations on the back of the door. One nail goes at the center of the top rail and one nail in the center of the bottom rail. This will still allow the panel to expand and contract, but it will keep it centered. PW BUILDING THE STEPBACK: A PLAN OF PROCEDURE 1. Cut all your stockto size; glue up any panels you might need. When gluing up panels for the sides, use one board that is 11V4" wide and 80" long, and one board that is 6" wide and 31V4" long. Glued togeth- To save time and effort, I glue up the panel for er on edge, these form the corner where the countertop goes. Use the the countertop from two boards so it will fit same procedure for the countertop. perfectly into the dadoes in the sides. 2. Build your face frames for the upper and lower cabinet using mortise-and-tenon joinery. 3. Build your doors using mortise-and-tenon joinery. 4. Cut VV'-deep dadoes in the sides to hold the bottom, top and countertop. Cut a V2" x V211 rabbet on the back of the sides for the back pieces. Drill holes for the adjustable shelf pins. 5. Nail and glue the top and bottom pieces between the sides. Nail the face frames to the case. Slide the countertop in place and glue and nail. 6. Cut solid wood pieces for the shiplapped back. Finish sand all pieces. 7. Hang the doors. Nail commercially available crown moulding in place.Add a V2" cap on top. Stain or dye all the parts then add three coats of a clear finish. 8. Nail the shiplapped back in place. 54 Popular Woodworking February 2002 |


