Popular Woodworking 2002-04 № 127, страница 44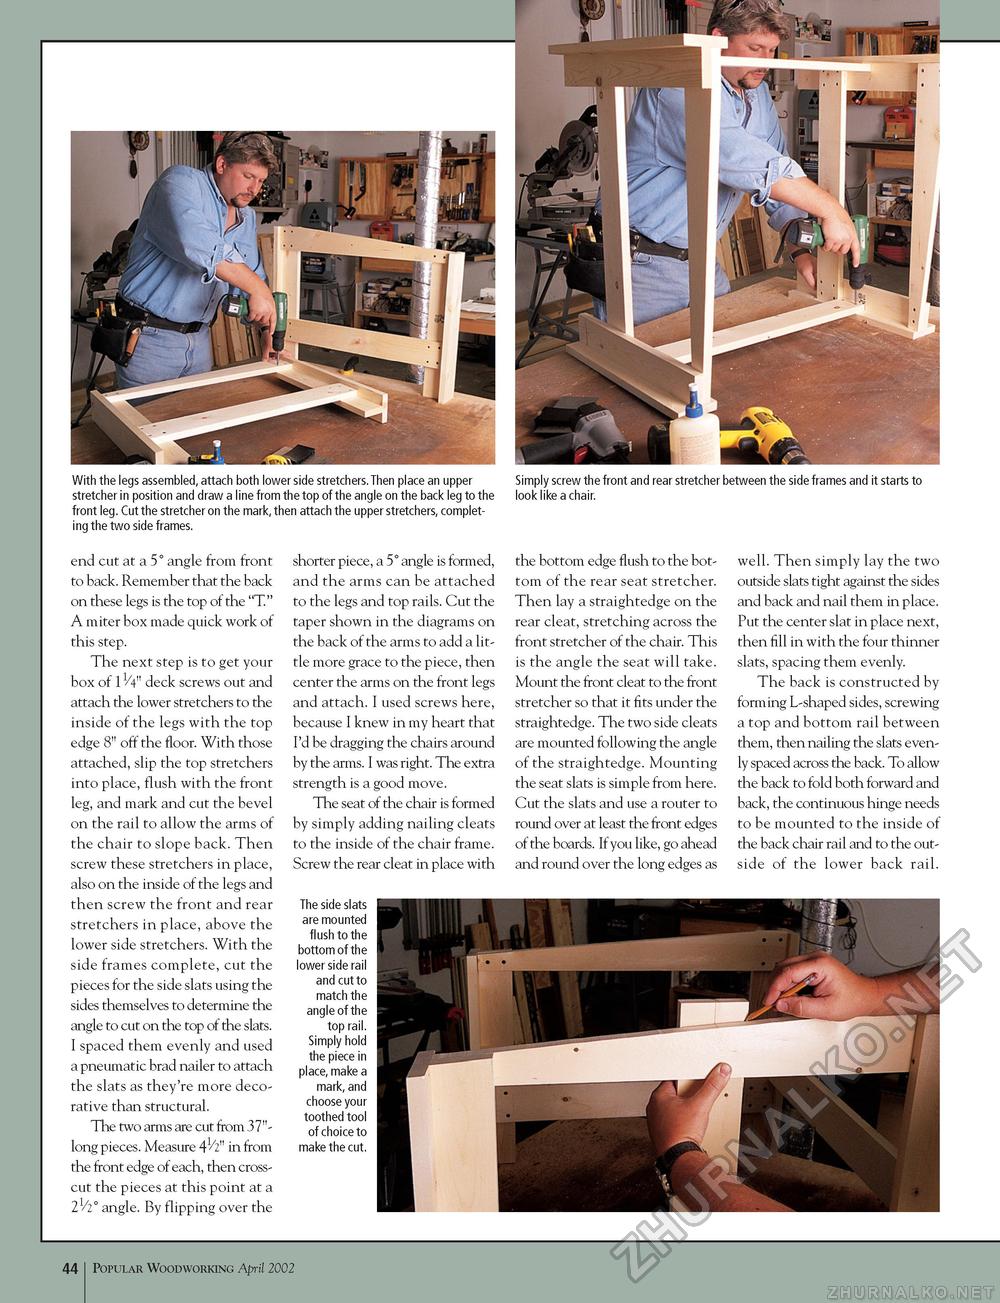
With the legs assembled, attach both lower side stretchers. Then place an upper stretcher in position and draw a line from the top of the angle on the back leg to the front leg. Cut the stretcher on the mark, then attach the upper stretchers, completing the two side frames. Simply screw the front and rear stretcher between the side frames and it starts to look like a chair. end cut at a 5° angle from front to back. Remember that the back on these legs is the top of the "T." A miter box made quick work of this step. The next step is to get your box of 1V4" deck screws out and attach the lower stretchers to the inside of the legs with the top edge 8" off the floor. With those attached, slip the top stretchers into place, flush with the front leg, and mark and cut the bevel on the rail to allow the arms of the chair to slope back. Then screw these stretchers in place, also on the inside of the legs and then screw the front and rear stretchers in place, above the lower side stretchers. With the side frames complete, cut the pieces for the side slats using the sides themselves to determine the angle to cut on the top of the slats. I spaced them evenly and used a pneumatic brad nailer to attach the slats as they're more decorative than structural. The two arms are cut from 37"-long pieces. Measure 41/2" in from the front edge of each, then crosscut the pieces at this point at a 21/z° angle. By flipping over the shorter piece, a 5° angle is formed, and the arms can be attached to the legs and top rails. Cut the taper shown in the diagrams on the back of the arms to add a little more grace to the piece, then center the arms on the front legs and attach. I used screws here, because I knew in my heart that I'd be dragging the chairs around by the arms. I was right. The extra strength is a good move. The seat of the chair is formed by simply adding nailing cleats to the inside of the chair frame. Screw the rear cleat in place with The side slats are mounted flush to the bottom of the lower side rail and cut to match the angle of the top rail. Simply hold the piece in place, make a mark, and choose your toothed tool of choice to make the cut. the bottom edge flush to the bottom of the rear seat stretcher. Then lay a straightedge on the rear cleat, stretching across the front stretcher of the chair. This is the angle the seat will take. Mount the front cleat to the front stretcher so that it fits under the straightedge. The two side cleats are mounted following the angle of the straightedge. Mounting the seat slats is simple from here. Cut the slats and use a router to round over at least the front edges of the boards. If you like, go ahead and round over the long edges as well. Then simply lay the two outside slats tight against the sides and back and nail them in place. Put the center slat in place next, then fill in with the four thinner slats, spacing them evenly. The back is constructed by forming L-shaped sides, screwing a top and bottom rail between them, then nailing the slats evenly spaced across the back. To allow the back to fold both forward and back, the continuous hinge needs to be mounted to the inside of the back chair rail and to the outside of the lower back rail. 44 Popular Woodworking April 2002 |


