Popular Woodworking 2002-04 № 127, страница 46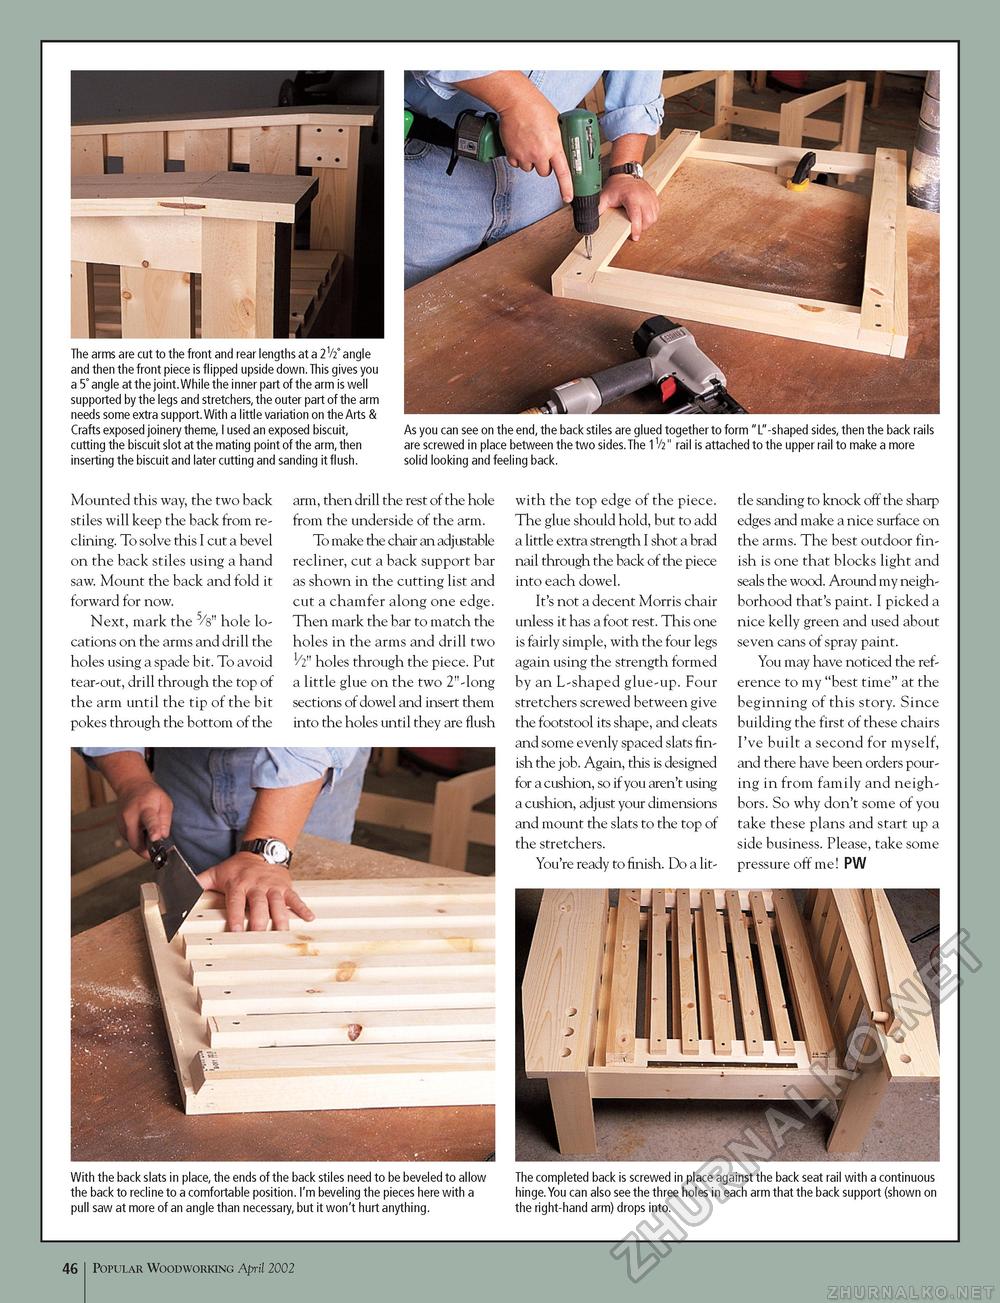
The arms are cut to the front and rear lengths at a 2V2° angle and then the front piece is flipped upside down. This gives you a 5°angle atthejoint.Whilethe innerpartofthearm iswell supported by the legs and stretchers, the outer part of the arm needs someextra support.With a littlevariation on the Arts & Crafts exposed joinery theme, I used an exposed biscuit, cutting the biscuit slot at the mating point of the arm, then inserting the biscuitand latercutting and sanding it flush. As you can see on the end, the back stiles are glued together to form "L"-shaped sides, then the back rails are screwed in place between the two sides.The 1V2" rail is attached to the upper rail to make a more solid looking and feeling back. Mounted this way, the two back stiles will keep the back from reclining. To solve this I cut a bevel on the back stiles using a hand saw. Mount the back and fold it forward for now. Next, mark the 5/s" hole locations on the arms and drill the holes using a spade bit. To avoid tear-out, drill through the top of the arm until the tip of the bit pokes through the bottom of the arm, then drill the rest of the hole from the underside of the arm. To make the chair an adjustable recliner, cut a back support bar as shown in the cutting list and cut a chamfer along one edge. Then mark the bar to match the holes in the arms and drill two holes through the piece. Put a little glue on the two 2"-long sections of dowel and insert them into the holes until they are flush with the top edge of the piece. The glue should hold, but to add a little extra strength I shot a brad nail through the back of the piece into each dowel. It's not a decent Morris chair unless it has a foot rest. This one is fairly simple, with the four legs again using the strength formed by an L-shaped glue-up. Four stretchers screwed between give the footstool its shape, and cleats and some evenly spaced slats finish the job. Again, this is designed for a cushion, so if you aren't using a cushion, adjust your dimensions and mount the slats to the top of the stretchers. You're ready to finish. Do a lit tle sanding to knock off the sharp edges and make a nice surface on the arms. The best outdoor finish is one that blocks light and seals the wood. Around my neighborhood that's paint. I picked a nice kelly green and used about seven cans of spray paint. You may have noticed the reference to my "best time" at the beginning of this story. Since building the first of these chairs I've built a second for myself, and there have been orders pouring in from family and neighbors. So why don't some of you take these plans and start up a side business. Please, take some pressure off me! PW With the back slats in place, the ends of the back stiles need to be beveled to allow the back to recline to a comfortable position. I'm beveling the pieces here with a pull saw at more of an angle than necessary, but it won't hurt anything. The completed back is screwed in place against the back seat rail with a continuous hinge.You can also see the three holes in each arm that the back support (shown on the right-hand arm) drops into. 46 Popular Woodworking April 2002 |


