Popular Woodworking 2002-04 № 127, страница 74
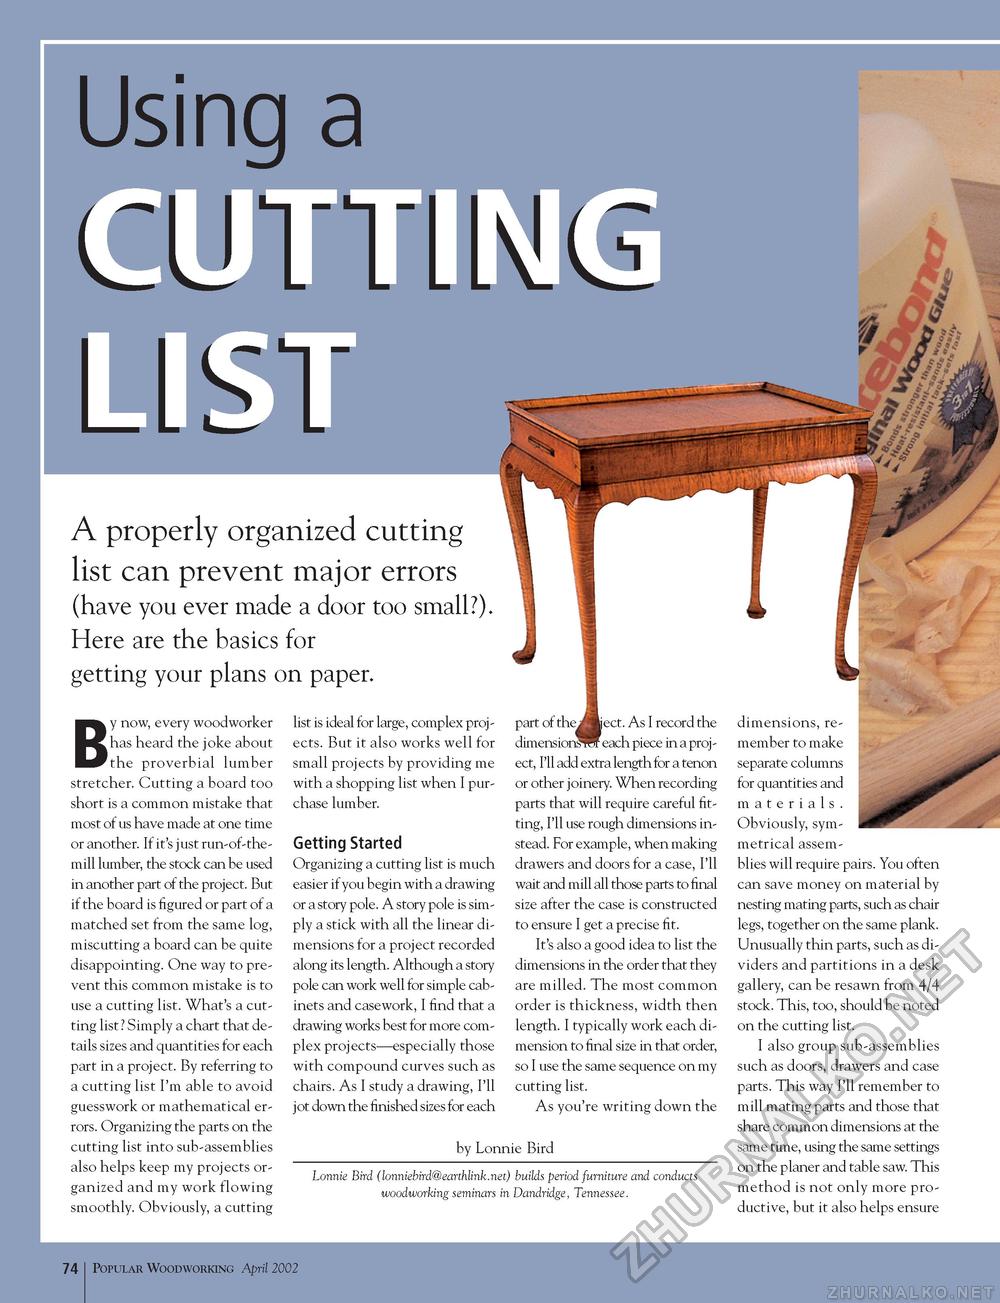
Using a CUTTING LIST A properly organized cutting list can prevent major errors (have you ever made a door too small?). Here are the basics for getting your plans on paper. By now, every woodworker has heard the joke about the proverbial lumber stretcher. Cutting a board too short is a common mistake that most of us have made at one time or another. If it's just run-of-the-mill lumber, the stock can be used in another part of the project. But if the board is figured or part of a matched set from the same log, miscutting a board can be quite disappointing. One way to prevent this common mistake is to use a cutting list. What's a cutting list? Simply a chart that details sizes and quantities for each part in a project. By referring to a cutting list I'm able to avoid guesswork or mathematical errors. Organizing the parts on the cutting list into sub-assemblies also helps keep my projects organized and my work flowing smoothly. Obviously, a cutting list is ideal for large, complex projects. But it also works well for small projects by providing me with a shopping list when I purchase lumber. Getting Started Organizing a cutting list is much easier if you begin with a drawing or a story pole. A story pole is simply a stick with all the linear dimensions for a project recorded along its length. Although a story pole can work well for simple cabinets and casework, I find that a drawing works best for more complex projects—especially those with compound curves such as chairs. As I study a drawing, I'll jot down the finished sizes for each partofthejjl ject. As I record the each piece in a proj -ect, I'll add extra length for a tenon or other joinery. When recording parts that will require careful fitting, I'll use rough dimensions instead. For example, when making drawers and doors for a case, I'll wait and mill all those parts to final size after the case is constructed to ensure I get a precise fit. It's also a good idea to list the dimensions in the order that they are milled. The most common order is thickness, width then length. I typically work each dimension to final size in that order, so I use the same sequence on my cutting list. As you're writing down the by Lonnie Bird Lonnie Bird (lonniebird@earthlink.net) builds period furniture and conducts woodworking seminars in Dandridge, Tennessee. dimensions, remember to make separate columns for quantities and materials. Obviously, symmetrical assemblies will require pairs. You often can save money on material by nesting mating parts, such as chair legs, together on the same plank. Unusually thin parts, such as dividers and partitions in a desk gallery, can be resawn from 4/4 stock. This, too, should be noted on the cutting list. I also group sub-assemblies such as doors, drawers and case parts. This way I'll remember to mill mating parts and those that share common dimensions at the same time, using the same settings on the planer and table saw. This method is not only more productive, but it also helps ensure 74 Popular Woodworking April 2002 |


