Popular Woodworking 2002-04 № 127, страница 82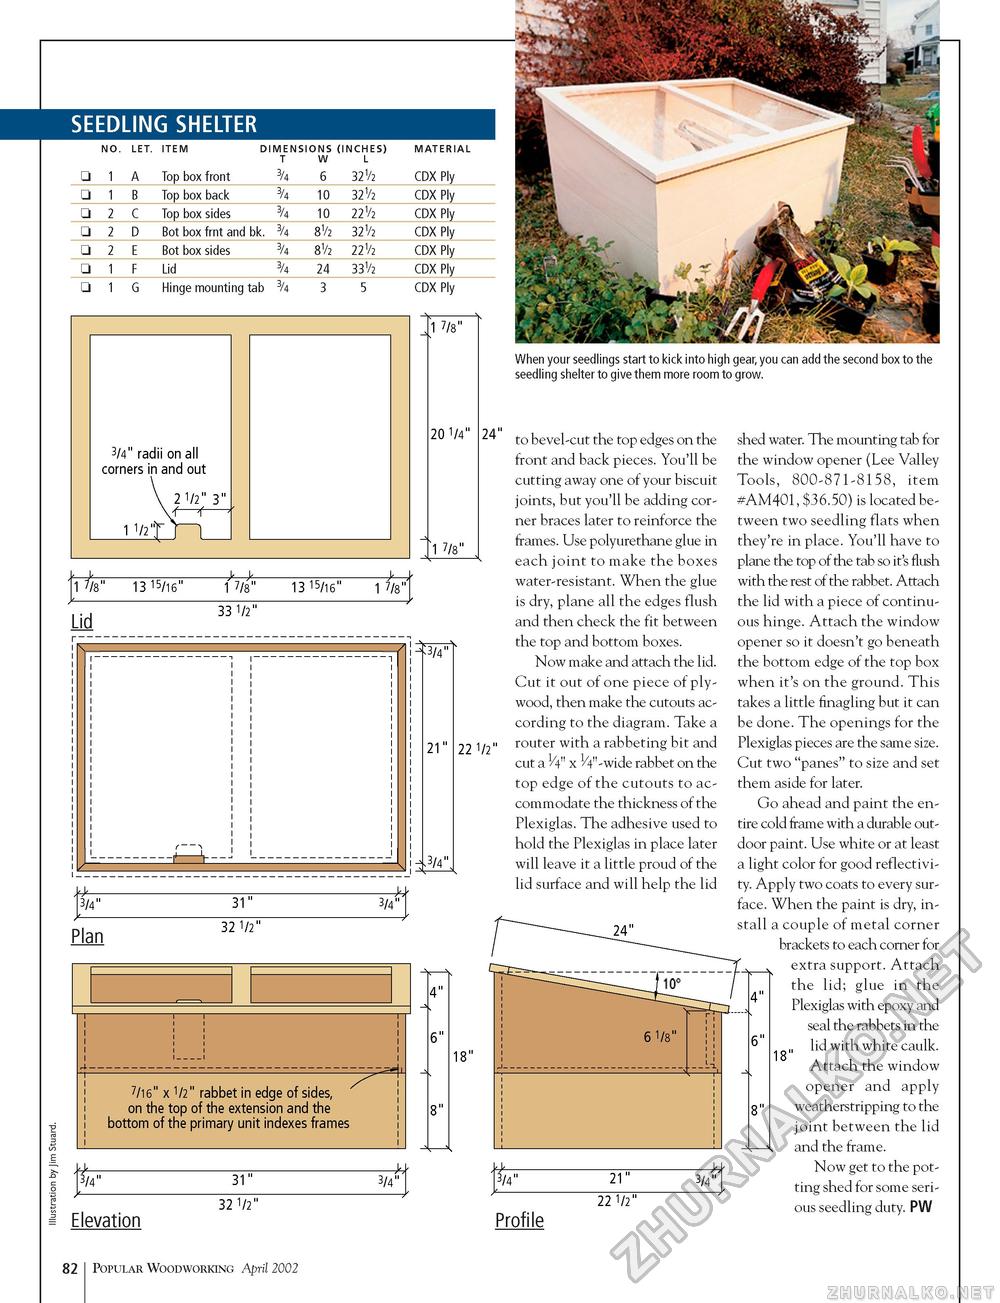
SEEDLING SHELTER
1 7/8" 3/4" radii on all corners in and out 1 1/2" 1 7/8" 13 15/16" -h-hr 1 7/8" 13 15/16" 1 7/8" Lid 33 1/2" 3/4" 31" 3/4" Plan 32 1/2" 7/16" x 1/2" rabbet in edge of sides, ' on the top of the extension and the bottom of the primary unit indexes frames 3/4" 31" 3/4" Elevation 32 1/2" 1 7/8" 20 1/4" 1 7/8" 3/4" 21" 3/4". 22 1/2" 4" 6" When your seedlings start to kick into high gear, you can add the second box to the seedling shelter to give them more room to grow. 24" to bevel-cut the top edges on the front and back pieces. You'll be cutting away one of your biscuit joints, but you'll be adding corner braces later to reinforce the frames. Use polyurethane glue in each joint to make the boxes water-resistant. When the glue is dry, plane all the edges flush and then check the fit between the top and bottom boxes. Now make and attach the lid. Cut it out of one piece of plywood, then make the cutouts according to the diagram. Take a router with a rabbeting bit and cut a H" x 1/4"-wide rabbet on the top edge of the cutouts to accommodate the thickness of the Plexiglas. The adhesive used to hold the Plexiglas in place later will leave it a little proud of the lid surface and will help the lid Profile 22 1/2 shed water. The mounting tab for the window opener (Lee Valley Tools, 800-871-8158, item #AM401, $36.50) is located between two seedling flats when they're in place. You'll have to plane the top of the tab so it's flush with the rest of the rabbet. Attach the lid with a piece of continuous hinge. Attach the window opener so it doesn't go beneath the bottom edge of the top box when it's on the ground. This takes a little finagling but it can be done. The openings for the Plexiglas pieces are the same size. Cut two "panes" to size and set them aside for later. Go ahead and paint the entire cold frame with a durable outdoor paint. Use white or at least a light color for good reflectivity. Apply two coats to every surface. When the paint is dry, install a couple of metal corner brackets to each corner for extra support. Attach the lid; glue in the Plexiglas with epoxy and seal the rabbets in the lid with white caulk. Attach the window opener and apply weatherstripping to the joint between the lid and the frame. Now get to the potting shed for some serious seedling duty. PW 82 Popular Woodworking April 2002 |
||||||||||||||||||||||||||||||||||||||||||||||||||||||||


