Popular Woodworking 2002-06 № 128, страница 55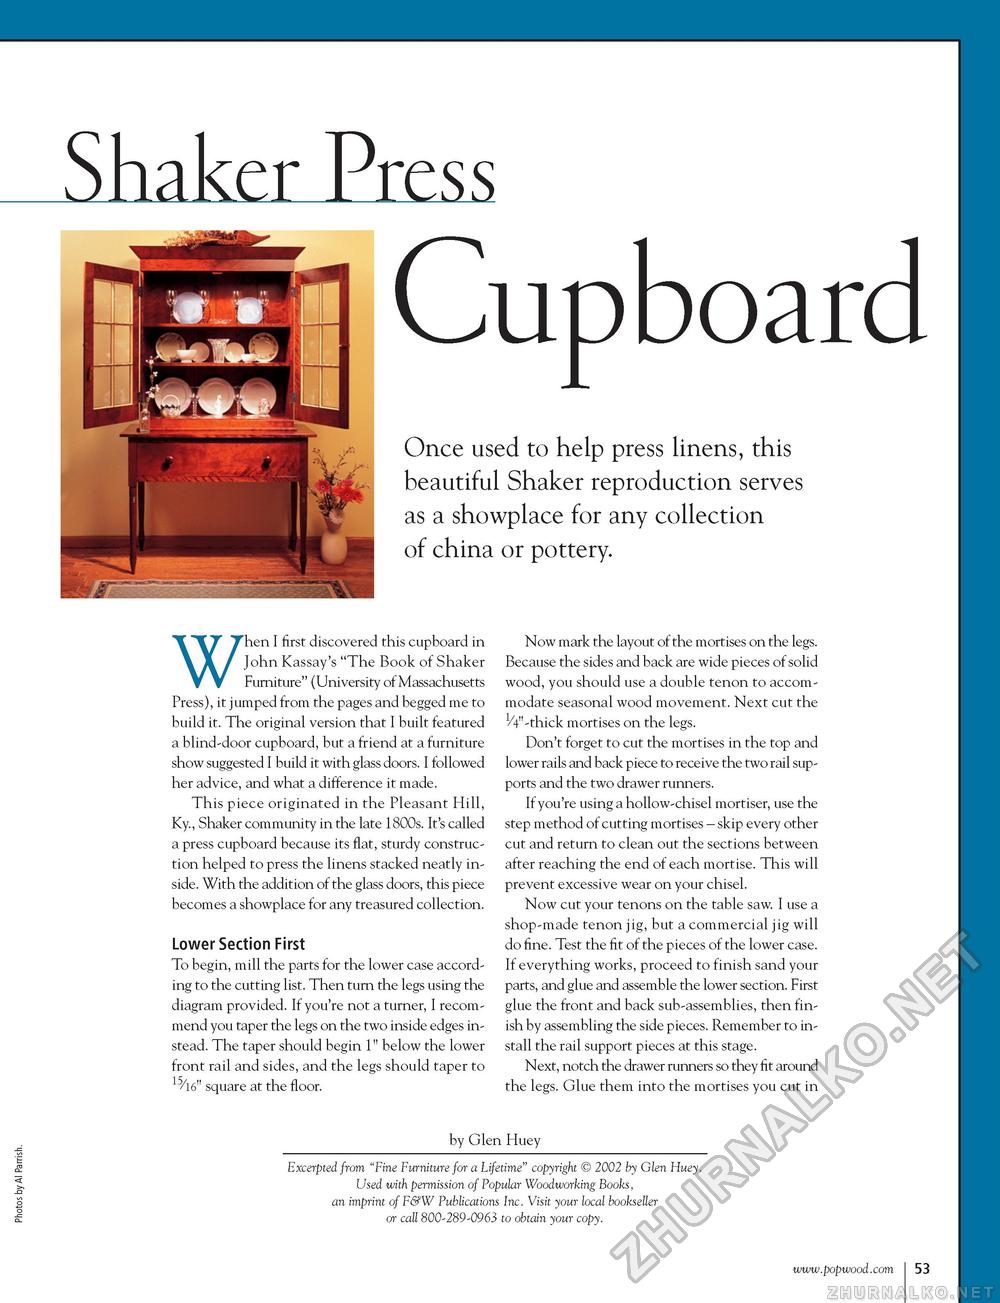
S haker Cupboard Once used to help press linens, this beautiful Shaker reproduction serves as a showplace for any collection of china or pottery. When I first discovered this cupboard in John Kassay's "The Book of Shaker Furniture" (University of Massachusetts Press), it jumped from the pages and begged me to build it. The original version that I built featured a blind-door cupboard, but a friend at a furniture show suggested I build it with glass doors. I followed her advice, and what a difference it made. This piece originated in the Pleasant Hill, Ky., Shaker community in the late 1800s. It's called a press cupboard because its flat, sturdy construction helped to press the linens stacked neatly inside. With the addition of the glass doors, this piece becomes a showplace for any treasured collection. Lower Section First To begin, mill the parts for the lower case according to the cutting list. Then turn the legs using the diagram provided. If you're not a turner, I recommend you taper the legs on the two inside edges instead. The taper should begin 1" below the lower front rail and sides, and the legs should taper to square at the floor. Now mark the layout of the mortises on the legs. Because the sides and back are wide pieces of solid wood, you should use a double tenon to accommodate seasonal wood movement. Next cut the 1/4"-thick mortises on the legs. Don't forget to cut the mortises in the top and lower rails and back piece to receive the two rail supports and the two drawer runners. If you're using a hollow-chisel mortiser, use the step method of cutting mortises - skip every other cut and return to clean out the sections between after reaching the end of each mortise. This will prevent excessive wear on your chisel. Now cut your tenons on the table saw. I use a shop-made tenon jig, but a commercial jig will do fine. Test the fit of the pieces of the lower case. If everything works, proceed to finish sand your parts, and glue and assemble the lower section. First glue the front and back sub-assemblies, then finish by assembling the side pieces. Remember to install the rail support pieces at this stage. Next, notch the drawer runners so they fit around the legs. Glue them into the mortises you cut in by Glen Huey Excerpted from "Fine Furniture for a Lifetime" copyright © 2002 by Glen Huey. Used with permission of Popular Woodworking Books, an imprint of F&W Publications Inc. Visit your local bookseller or call 800-289-0963 to obtain your copy. 53 |


