Popular Woodworking 2002-10 № 130, страница 8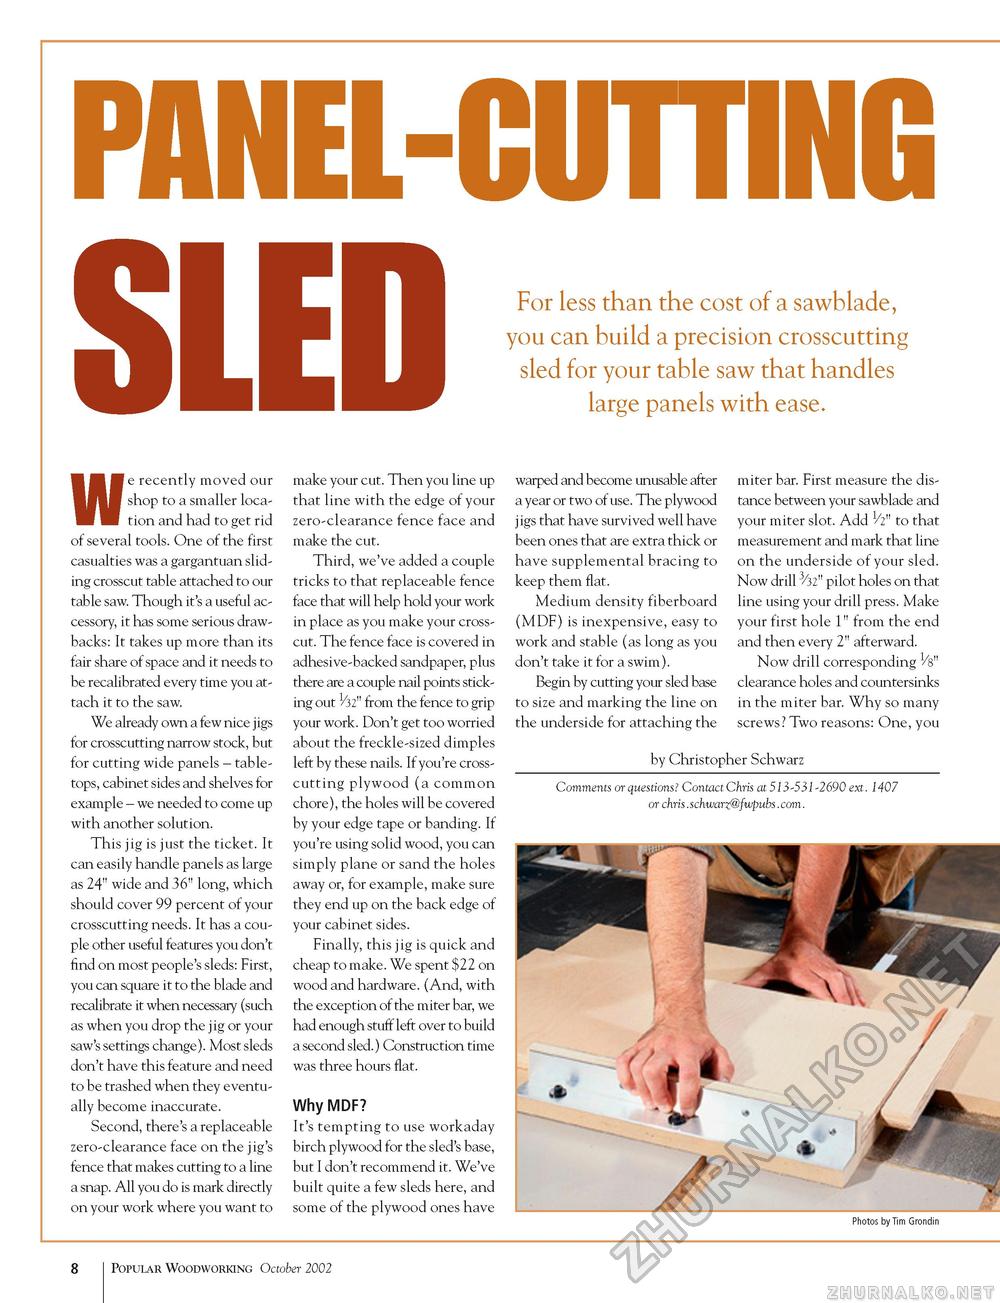
PANEL-CUTTING SLEDWe recently moved our shop to a smaller location and had to get rid of several tools. One of the first casualties was a gargantuan sliding crosscut table attached to our table saw. Though it's a useful accessory, it has some serious drawbacks: It takes up more than its fair share of space and it needs to be recalibrated every time you attach it to the saw. We already own a few nice jigs for crosscutting narrow stock, but for cutting wide panels - table-tops, cabinet sides and shelves for example - we needed to come up with another solution. This jig is just the ticket. It can easily handle panels as large as 24" wide and 36" long, which should cover 99 percent of your crosscutting needs. It has a couple other useful features you don't find on most people's sleds: First, you can square it to the blade and recalibrate it when necessary (such as when you drop the jig or your saw's settings change). Most sleds don't have this feature and need to be trashed when they eventually become inaccurate. Second, there's a replaceable zero-clearance face on the jig's fence that makes cutting to a line a snap. All you do is mark directly on your work where you want to For less than the cost of a sawblade, you can build a precision crosscutting sled for your table saw that handles large panels with ease. make your cut. Then you line up that line with the edge of your zero-clearance fence face and make the cut. Third, we've added a couple tricks to that replaceable fence face that will help hold your work in place as you make your crosscut. The fence face is covered in adhesive-backed sandpaper, plus there are a couple nail points sticking out 1/32" from the fence to grip your work. Don't get too worried about the freckle-sized dimples left by these nails. If you're cross-cutting plywood (a common chore), the holes will be covered by your edge tape or banding. If you're using solid wood, you can simply plane or sand the holes away or, for example, make sure they end up on the back edge of your cabinet sides. Finally, this jig is quick and cheap to make. We spent $22 on wood and hardware. (And, with the exception of the miter bar, we had enough stuff left over to build a second sled.) Construction time was three hours flat. Why MDF? It's tempting to use workaday birch plywood for the sled's base, but I don't recommend it. We've built quite a few sleds here, and some of the plywood ones have warped and become unusable after a year or two of use. The plywood jigs that have survived well have been ones that are extra thick or have supplemental bracing to keep them flat. Medium density fiberboard (MDF) is inexpensive, easy to work and stable (as long as you don't take it for a swim). Begin by cutting your sled base to size and marking the line on the underside for attaching the miter bar. First measure the distance between your sawblade and your miter slot. Add 1/2" to that measurement and mark that line on the underside of your sled. Now drill 3/32" pilot holes on that line using your drill press. Make your first hole 1" from the end and then every 2" afterward. Now drill corresponding Vs" clearance holes and countersinks in the miter bar. Why so many screws? Two reasons: One, you by Christopher Schwarz Comments or questions? Contact Chris at 513-531-2690 ext. 1407 or chris.schwarz@fwpubs.com. Photos by Tim Grondin 8 Popular Woodworking October 2002 |


