Popular Woodworking 2002-10 № 130, страница 10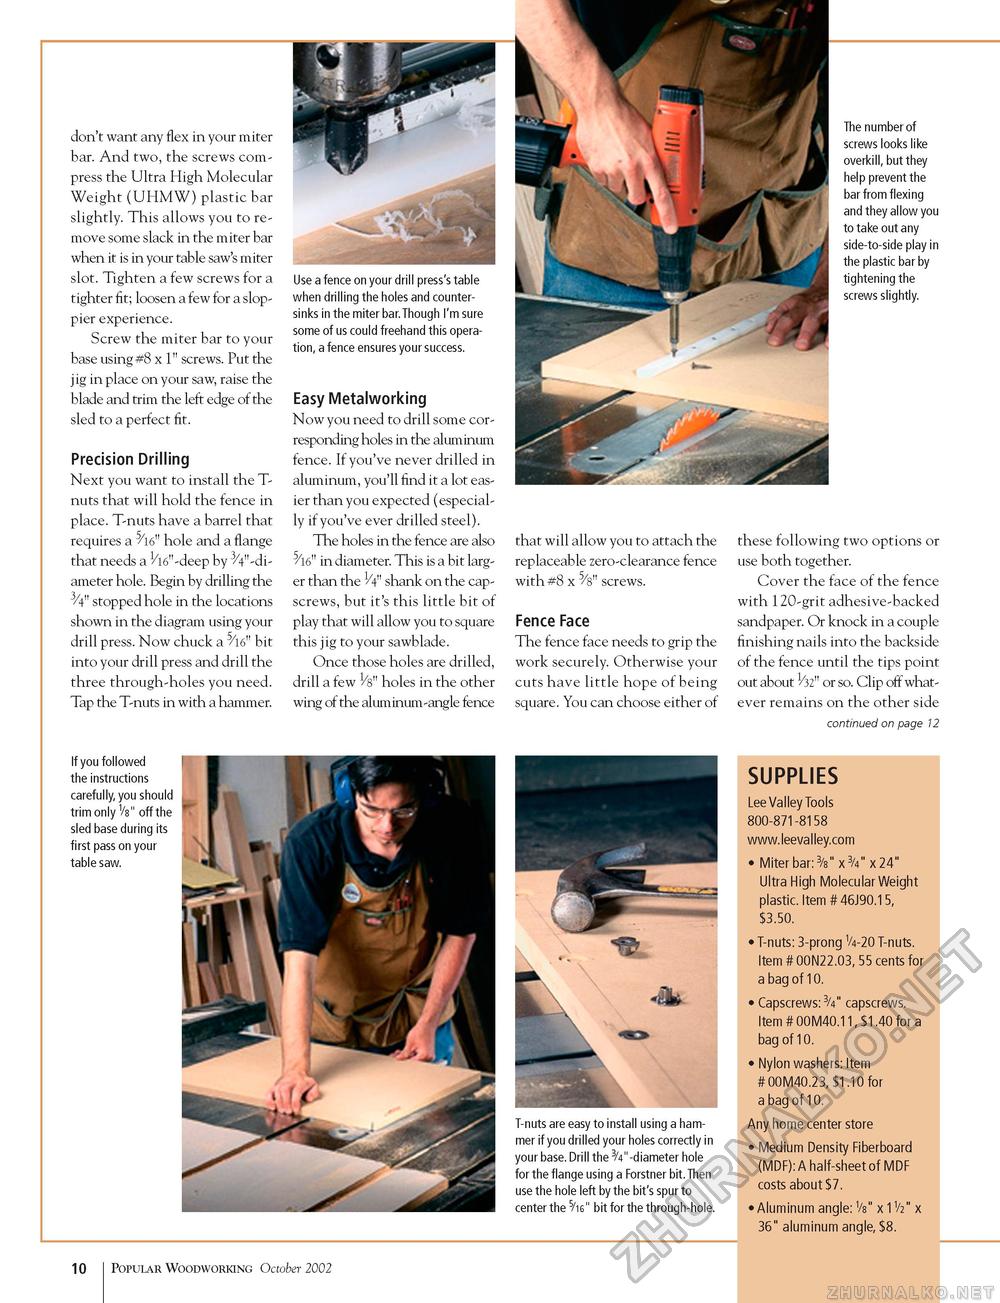
don't want any flex in your miter bar. And two, the screws compress the Ultra High Molecular Weight (UHMW) plastic bar slightly. This allows you to remove some slack in the miter bar when it is in your table saw's miter slot. Tighten a few screws for a tighter fit; loosen a few for a sloppier experience. Screw the miter bar to your base using #8 x 1" screws. Put the jig in place on your saw, raise the blade and trim the left edge of the sled to a perfect fit. Precision Drilling Next you want to install the T-nuts that will hold the fence in place. T-nuts have a barrel that requires a 516" hole and a flange that needs a V-deep by 3/4"-di-ameter hole. Begin by drilling the 3/4" stopped hole in the locations shown in the diagram using your drill press. Now chuck a 5/l6" bit into your drill press and drill the three through-holes you need. Tap the T-nuts in with a hammer. Use a fence on your drill press's table when drilling the holes and countersinks in the miter bar.Though I'm sure some of us could freehand this operation, a fence ensures your success. Easy Metalworking Now you need to drill some corresponding holes in the aluminum fence. If you've never drilled in aluminum, you'll find it a lot easier than you expected (especially if you've ever drilled steel). The holes in the fence are also in diameter. This is a bit larger than the 1/4" shank on the cap-screws, but it's this little bit of play that will allow you to square this jig to your sawblade. Once those holes are drilled, drill a few VS" holes in the other wing of the aluminum-angle fence The number of screws looks like overkill, but they help prevent the bar from flexing and they allow you to take out any side-to-side play in the plastic bar by tightening the screws slightly. that will allow you to attach the replaceable zero-clearance fence with #8 x 5/8" screws. Fence Face The fence face needs to grip the work securely. Otherwise your cuts have little hope of being square. You can choose either of these following two options or use both together. Cover the face of the fence with 120-grit adhesive-backed sandpaper. Or knock in a couple finishing nails into the backside of the fence until the tips point out about 1/32" or so. Clip off whatever remains on the other side continued on page 12 If you followed the instructions carefully, you should trim only Vs" off the sled base during its first pass on your table saw. T-nuts are easy to install using a hammer if you drilled your holes correctly in your base. Drill the 3/4"-diameter hole for the flange using a Forstner bit. Then use the hole left by the bit's spur to center the 5/i6" bit for the through-hole. SUPPLIES Lee Valley Tools 800-871-8158 www.leevalley.com • Miter bariV x V x 24" Ultra High Molecular Weight plastic. Item # 46J90.15, $3.50. • T-nuts: 3-prong V4-20 T-nuts. Item # 00N22.03, 55 cents for a bag of 10. • Capscrews:3/4" capscrews. Item # 00M40.11,$1.40 for a bag of 10. • Nylon washers: Item # 00M40.23, $1.10 for a bag of 10. Any home center store • Medium Density Fiberboard (MDF): A half-sheet of MDF costs about $7. • Aluminum angle: W' x 1V2" x 36" aluminum angle, $8. 10 Popular Woodworking October 2002 |


