Popular Woodworking 2002-10 № 130, страница 80
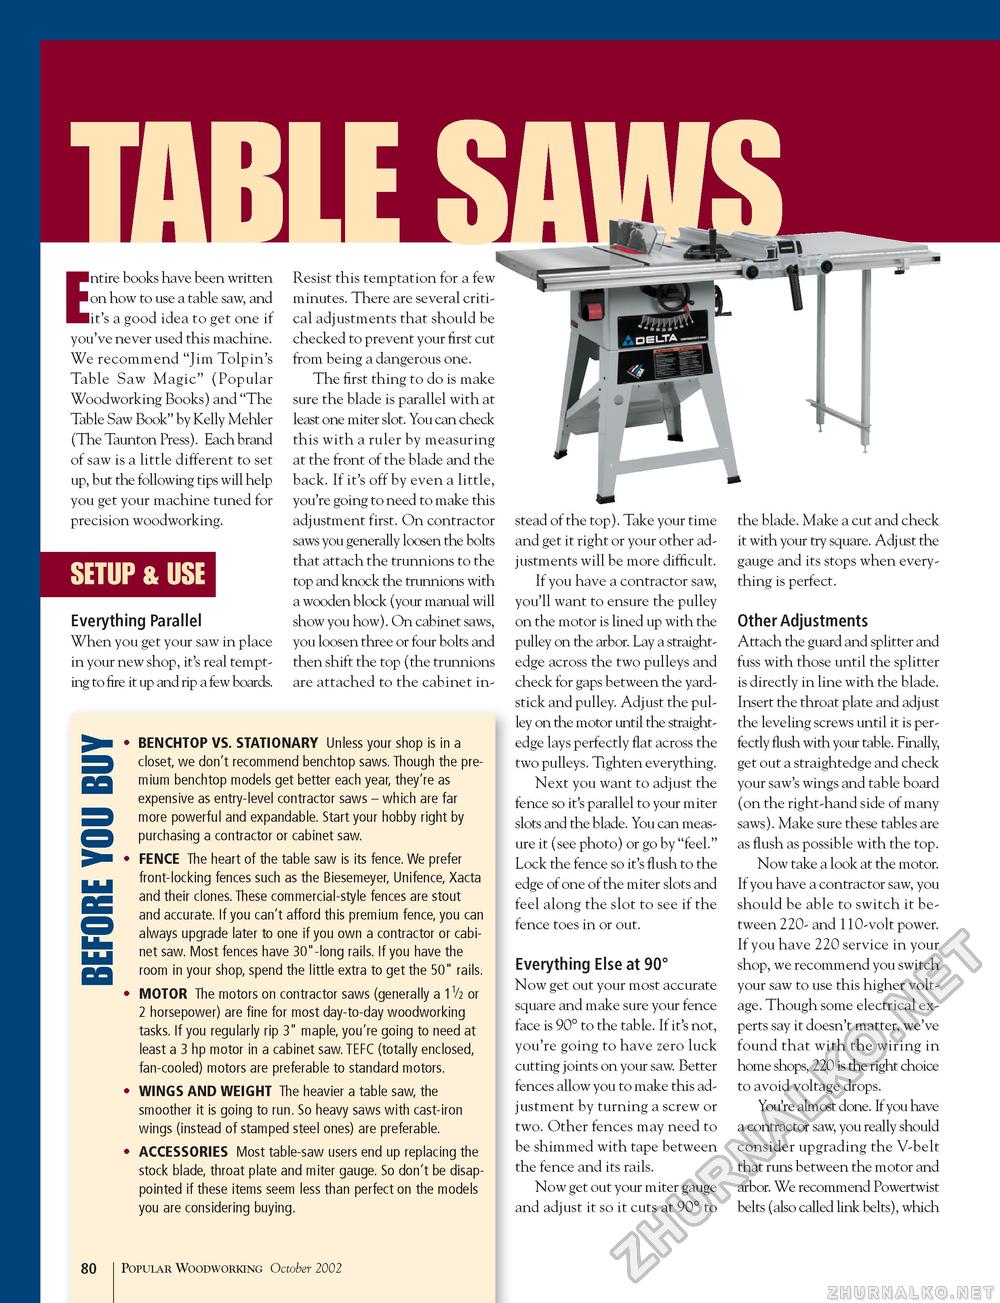
I I I Entire books have been written on how to use a table saw, and it's a good idea to get one if you've never used this machine. We recommend "Jim Tolpin's Table Saw Magic" (Popular Woodworking Books) and "The Table Saw Book" by Kelly Mehler (The Taunton Press). Each brand of saw is a little different to set up, but the following tips will help you get your machine tuned for precision woodworking. SETUP & USE Everything Parallel When you get your saw in place in your new shop, it's real tempting to fire it up and rip a few boards. Resist this temptation for a few minutes. There are several critical adjustments that should be checked to prevent your first cut from being a dangerous one. The first thing to do is make sure the blade is parallel with at least one miter slot. You can check this with a ruler by measuring at the front of the blade and the back. If it's off by even a little, you Ye going to need to make this adjustment first. On contractor saws you generally loosen the bolts that attach the trunnions to the top and knock the trunnions with a wooden block (your manual will show you how). On cabinet saws, you loosen three or four bolts and then shift the top (the trunnions are attached to the cabinet in BENCHTOP VS. STATIONARY Unless your shop is in a closet, we don't recommend benchtop saws. Though the premium benchtop models get better each year, they're as expensive as entry-level contractor saws - which are far more powerful and expandable. Start your hobby right by purchasing a contractor or cabinet saw. FENCE The heart of the table saw is its fence. We prefer front-locking fences such as the Biesemeyer, Unifence, Xacta and their clones. These commercial-style fences are stout and accurate. If you can't afford this premium fence, you can always upgrade later to one if you own a contractor or cabinet saw. Most fences have 30"-long rails. If you have the room in your shop, spend the little extra to get the 50" rails. MOTOR The motors on contractor saws (generally a 1V2 or 2 horsepower) are fine for most day-to-day woodworking tasks. If you regularly rip 3" maple, you're going to need at least a 3 hp motor in a cabinet saw. TEFC (totally enclosed, fan-cooled) motors are preferable to standard motors. WINGS AND WEIGHT The heavier a table saw, the smoother it is going to run. So heavy saws with cast-iron wings (instead of stamped steel ones) are preferable. ACCESSORIES Most table-saw users end up replacing the stock blade, throat plate and miter gauge. So don't be disappointed if these items seem less than perfect on the models you are considering buying. stead of the top). Take your time and get it right or your other adjustments will be more difficult. If you have a contractor saw, you'll want to ensure the pulley on the motor is lined up with the pulley on the arbor. Lay a straightedge across the two pulleys and check for gaps between the yardstick and pulley. Adjust the pulley on the motor until the straightedge lays perfectly flat across the two pulleys. Tighten everything. Next you want to adjust the fence so it's parallel to your miter slots and the blade. You can measure it (see photo) or go by "feel." Lock the fence so it's flush to the edge of one of the miter slots and feel along the slot to see if the fence toes in or out. Everything Else at 90° Now get out your most accurate square and make sure your fence face is 90° to the table. If it's not, you're going to have zero luck cutting joints on your saw. Better fences allow you to make this adjustment by turning a screw or two. Other fences may need to be shimmed with tape between the fence and its rails. Now get out your miter gauge and adjust it so it cuts at 90° to the blade. Make a cut and check it with your try square. Adjust the gauge and its stops when everything is perfect. Other Adjustments Attach the guard and splitter and fuss with those until the splitter is directly in line with the blade. Insert the throat plate and adjust the leveling screws until it is perfectly flush with your table. Finally, get out a straightedge and check your saw's wings and table board (on the right-hand side of many saws). Make sure these tables are as flush as possible with the top. Now take a look at the motor. If you have a contractor saw, you should be able to switch it between 220- and 110-volt power. If you have 220 service in your shop, we recommend you switch your saw to use this higher voltage. Though some electrical experts say it doesn't matter, we've found that with the wiring in home shops, 220 is the right choice to avoid voltage drops. You're almost done. If you have a contractor saw, you really should consider upgrading the V-belt that runs between the motor and arbor. We recommend Powertwist belts (also called link belts), which 80 Popular Woodworking October 2002 |


