Popular Woodworking 2002-10 № 130, страница 88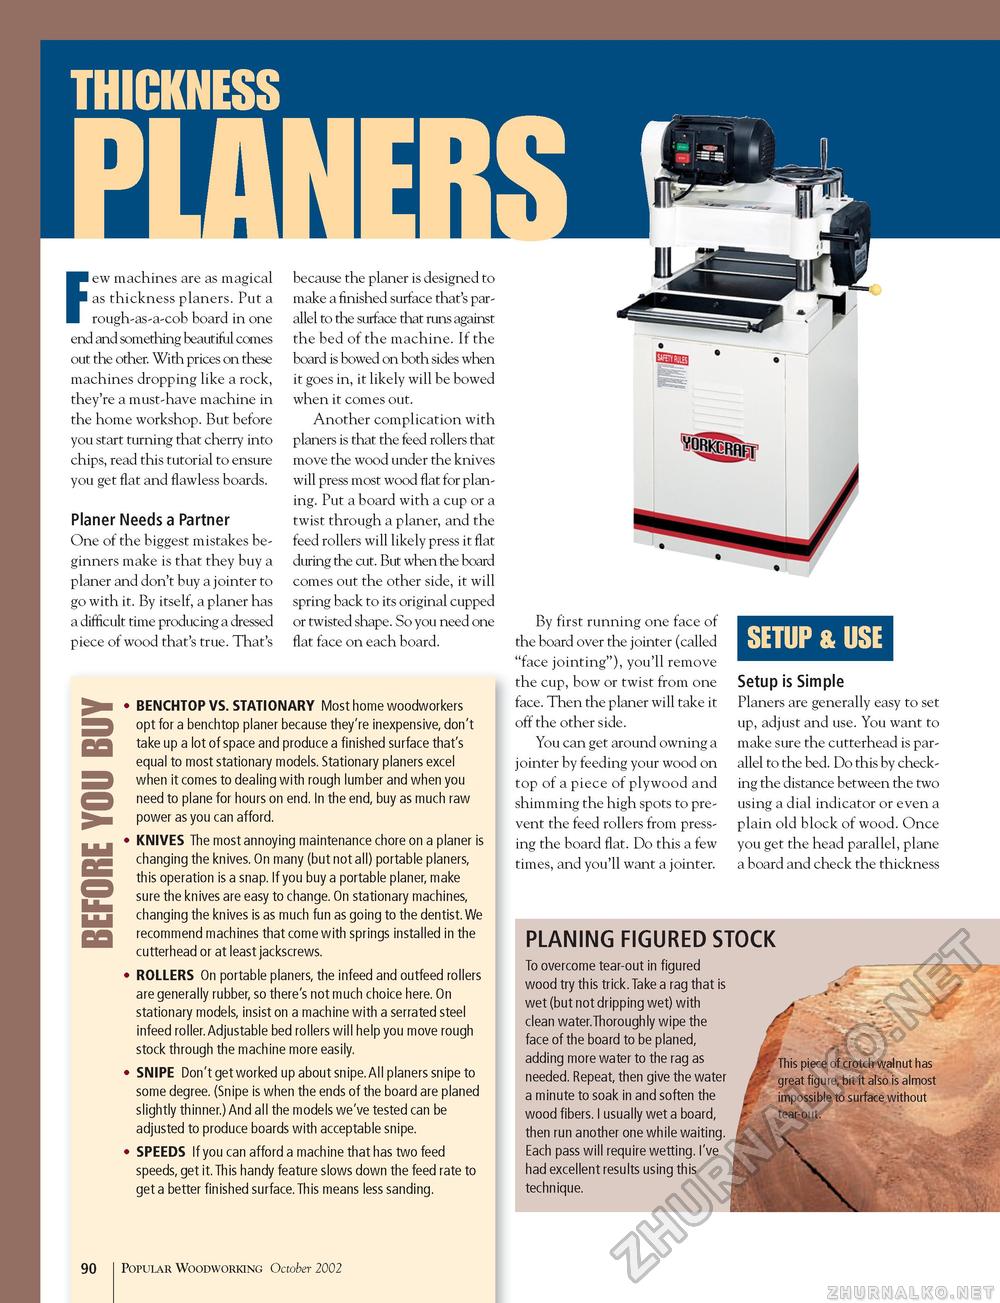
SSI Few machines are as magical as thickness planers. Put a rough-as-a-cob board in one end and something beautiful comes out the other. With prices on these machines dropping like a rock, they're a must-have machine in the home workshop. But before you start turning that cherry into chips, read this tutorial to ensure you get flat and flawless boards. Planer Needs a Partner One of the biggest mistakes beginners make is that they buy a planer and don't buy a jointer to go with it. By itself, a planer has a difficult time producing a dressed piece of wood that's true. That's because the planer is designed to make a finished surface that's parallel to the surface that runs against the bed of the machine. If the board is bowed on both sides when it goes in, it likely will be bowed when it comes out. Another complication with planers is that the feed rollers that move the wood under the knives will press most wood flat for planing. Put a board with a cup or a twist through a planer, and the feed rollers will likely press it flat during the cut. But when the board comes out the other side, it will spring back to its original cupped or twisted shape. So you need one flat face on each board. BENCHTOP VS. STATIONARY Most home woodworkers opt for a benchtop planer because they're inexpensive, don't take up a lot of space and produce a finished surface that's equal to most stationary models. Stationary planers excel when it comes to dealing with rough lumber and when you need to plane for hours on end. In the end, buy as much raw power as you can afford. KNIVES The most annoying maintenance chore on a planer is changing the knives. On many (but not all) portable planers, this operation is a snap. If you buy a portable planer, make sure the knives are easy to change. On stationary machines, changing the knives is as much fun as going to the dentist.We recommend machines that come with springs installed in the cutterhead or at least jackscrews. ROLLERS On portable planers, the infeed and outfeed rollers are generally rubber, so there's not much choice here. On stationary models, insist on a machine with a serrated steel infeed roller. Adjustable bed rollers will help you move rough stock through the machine more easily. SNIPE Don't get worked up about snipe.All planers snipe to some degree. (Snipe is when the ends of the board are planed slightly thinner.) And all the models we've tested can be adjusted to produce boards with acceptable snipe. SPEEDS If you can afford a machine that has two feed speeds, get it. This handy feature slows down the feed rate to get a better finished surface.This means less sanding. By first running one face of the board over the jointer (called "face jointing"), you'll remove the cup, bow or twist from one face. Then the planer will take it off the other side. You can get around owning a jointer by feeding your wood on top of a piece of plywood and shimming the high spots to prevent the feed rollers from pressing the board flat. Do this a few times, and you'll want a jointer. SETUP & USE Setup is Simple Planers are generally easy to set up, adjust and use. You want to make sure the cutterhead is parallel to the bed. Do this by checking the distance between the two using a dial indicator or even a plain old block of wood. Once you get the head parallel, plane a board and check the thickness PLANING FIGURED STOCK To overcome tear-out in figured wood try this trick. Take a rag that is wet (but not dripping wet) with clean water.Thoroughly wipe the face of the board to be planed, adding more water to the rag as needed. Repeat, then give the water a minute to soak in and soften the wood fibers. I usually wet a board, then run another one while waiting. Each pass will require wetting. I've had excellent results using this technique. This piece of crotch walnut has great figure, bit it also is almost impossible to surface without tear-out. 90 Popular Woodworking October 2002 |


