Popular Woodworking 2003-06 № 134, страница 56
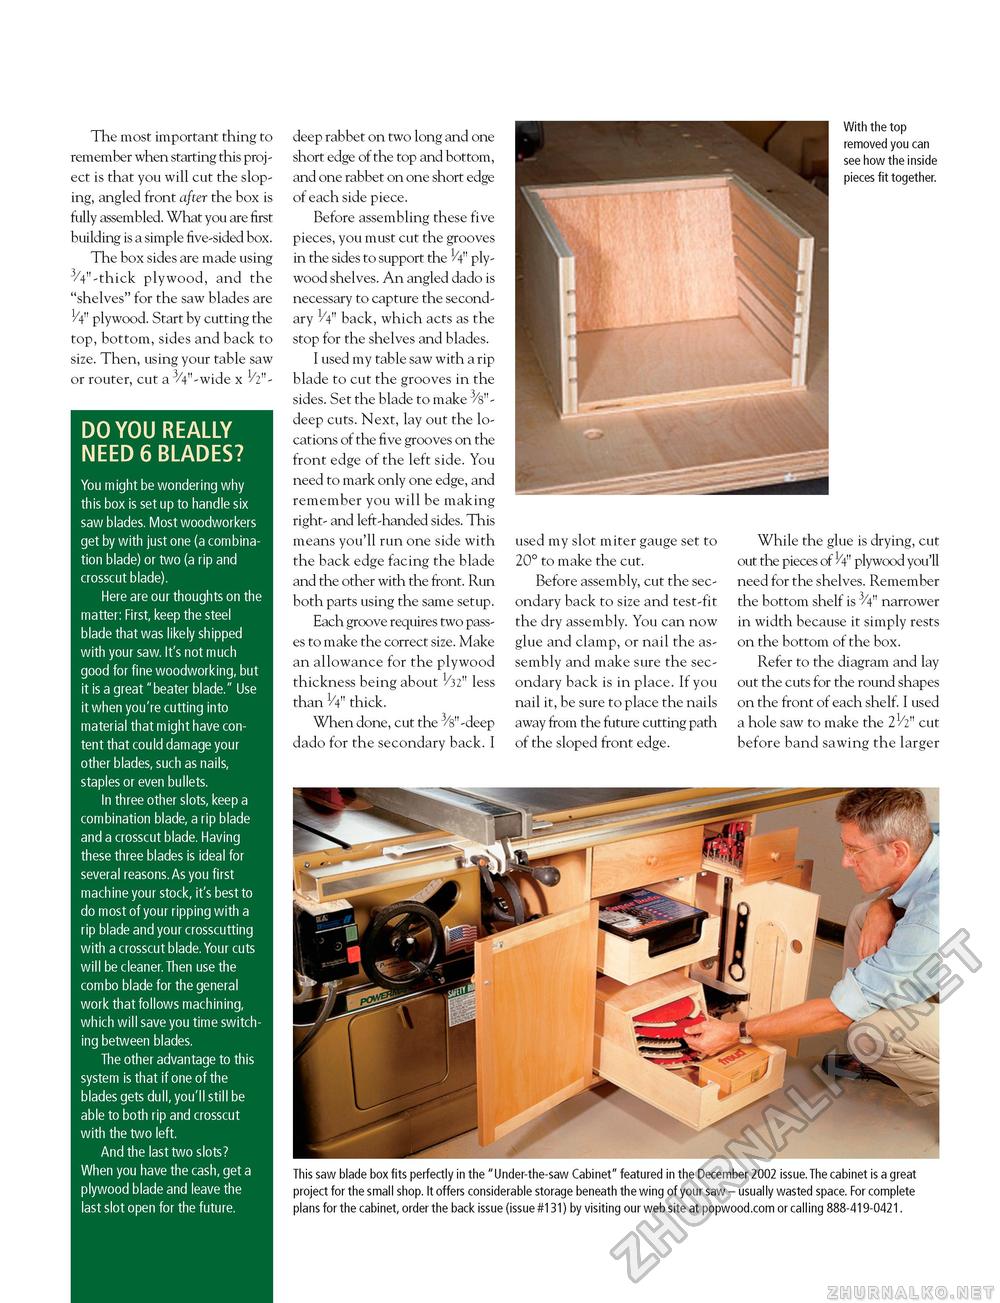
The most important thing to remember when starting this project is that you will cut the sloping, angled front after the box is fully assembled. What you are first building is a simple five-sided box. The box sides are made using 3/4"-thick plywood, and the "shelves" for the saw blades are 1/4" plywood. Start by cutting the top, bottom, sides and back to size. Then, using your table saw or router, cut a 3/4"-wide x 1/2"- DO YOU REALLY NEED 6 BLADES? You might be wondering why this box is set up to handle six saw blades. Most woodworkers get by with just one (a combination blade) or two (a rip and crosscut blade). Here are our thoughts on the matter: First, keep the steel blade that was likely shipped with your saw. It's not much good for fine woodworking, but it is a great "beater blade." Use it when you're cutting into material that might have content that could damage your other blades, such as nails, staples or even bullets. In three other slots, keep a combination blade, a rip blade and a crosscut blade. Having these three blades is ideal for several reasons.As you first machine your stock, it's best to do most of your ripping with a rip blade and your crosscutting with a crosscut blade.Your cuts will be cleaner. Then use the combo blade for the general work that follows machining, which will save you time switching between blades. The other advantage to this system is that if one of the blades gets dull, you'll still be able to both rip and crosscut with the two left. And the last two slots? When you have the cash, get a plywood blade and leave the last slot open for the future. deep rabbet on two long and one short edge of the top and bottom, and one rabbet on one short edge of each side piece. Before assembling these five pieces, you must cut the grooves in the sides to support the 1/4" plywood shelves. An angled dado is necessary to capture the secondary V4" back, which acts as the stop for the shelves and blades. I used my table saw with a rip blade to cut the grooves in the sides. Set the blade to make 3/s"-deep cuts. Next, lay out the locations of the five grooves on the front edge of the left side. You need to mark only one edge, and remember you will be making right- and left-handed sides. This means you'll run one side with the back edge facing the blade and the other with the front. Run both parts using the same setup. Each groove requires two passes to make the correct size. Make an allowance for the plywood thickness being about 1/32" less than 1/4" thick. When done, cut the 3/8"-deep dado for the secondary back. I used my slot miter gauge set to 20° to make the cut. Before assembly, cut the secondary back to size and test-fit the dry assembly. You can now glue and clamp, or nail the assembly and make sure the secondary back is in place. If you nail it, be sure to place the nails away from the future cutting path of the sloped front edge. While the glue is drying, cut out the pieces of H" plywood you'll need for the shelves. Remember the bottom shelf is 3/4" narrower in width because it simply rests on the bottom of the box. Refer to the diagram and lay out the cuts for the round shapes on the front of each shelf. I used a hole saw to make the 21/2" cut before band sawing the larger This saw blade box fits perfectly in the "Under-the-saw Cabinet" featured in the December 2002 issue.The cabinet is a great project for the small shop. It offers considerable storage beneath the wing of your saw - usually wasted space. For complete plans for the cabinet, order the back issue (issue #131) by visiting our web site at popwood.com or calling 888-419-0421. |


