Popular Woodworking 2003-06 № 134, страница 59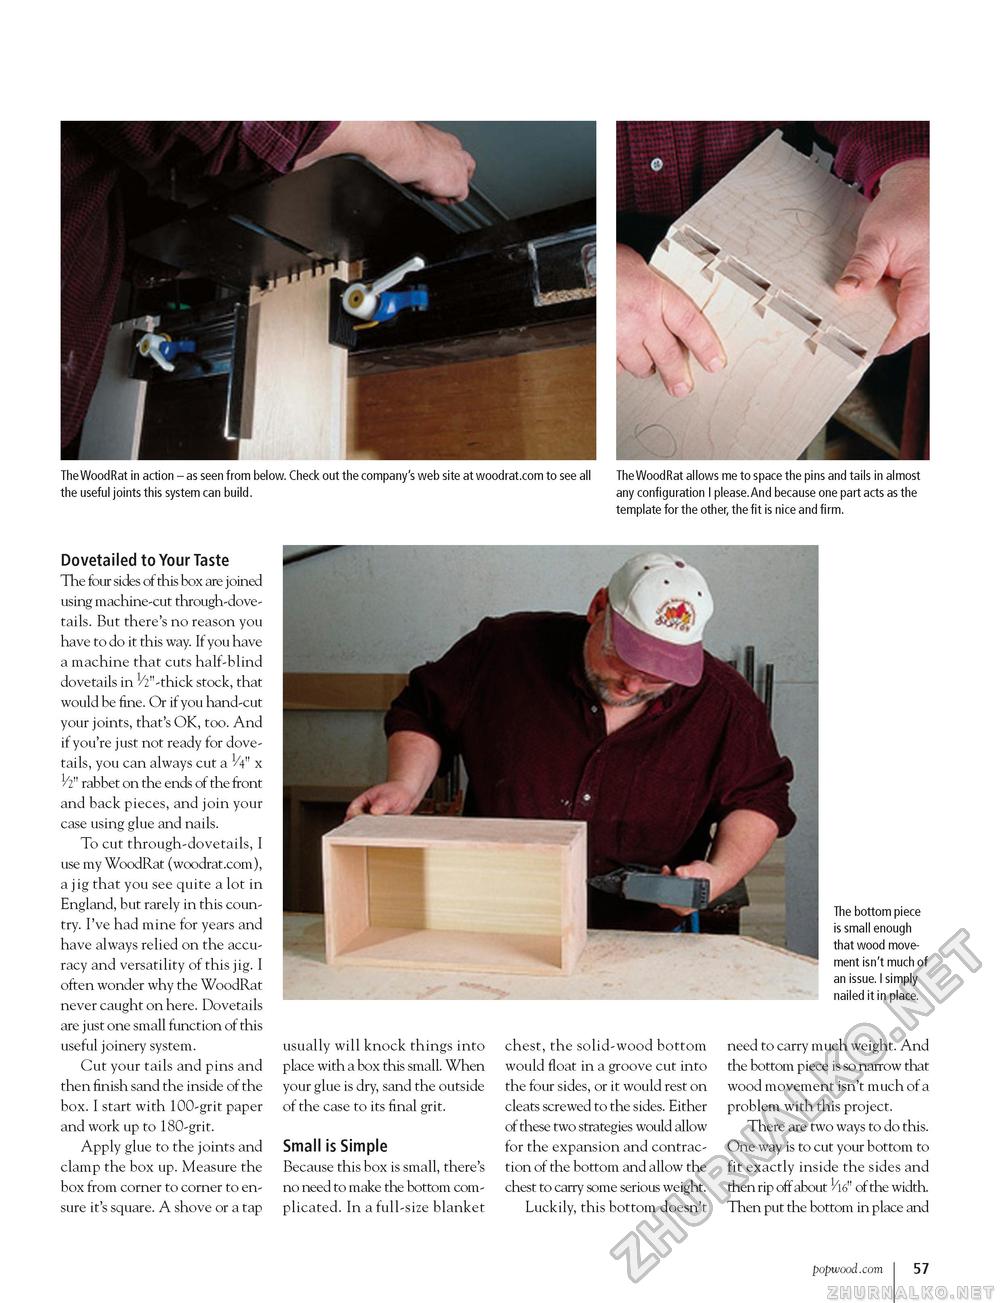
The WoodRat in action - as seen from below. Check out the company's web site at woodrat.com to see all the useful joints this system can build. The WoodRat allows me to space the pins and tails in almost any configuration I please.And because one part acts as the template for the other, the fit is nice and firm. The bottom piece is small enough that wood movement isn't much of an issue. I simply nailed it in place. Dovetailed to Your Taste The four sides of this box are joined using machine-cut through-dovetails. But there's no reason you have to do it this way. If you have a machine that cuts half-blind dovetails in 1/2"-thick stock, that would be fine. Or if you hand-cut your joints, that's OK, too. And if you're just not ready for dovetails, you can always cut a V4" x 1/2" rabbet on the ends of the front and back pieces, and join your case using glue and nails. To cut through-dovetails, I use my WoodRat (woodrat.com), a jig that you see quite a lot in England, but rarely in this country. I've had mine for years and have always relied on the accuracy and versatility of this jig. I often wonder why the WoodRat never caught on here. Dovetails are just one small function of this useful joinery system. Cut your tails and pins and then finish sand the inside of the box. I start with 100-grit paper and work up to 180-grit. Apply glue to the joints and clamp the box up. Measure the box from corner to corner to ensure it's square. A shove or a tap usually will knock things into place with a box this small. When your glue is dry, sand the outside of the case to its final grit. Small is Simple Because this box is small, there's no need to make the bottom complicated. In a full-size blanket chest, the solid-wood bottom would float in a groove cut into the four sides, or it would rest on cleats screwed to the sides. Either of these two strategies would allow for the expansion and contraction of the bottom and allow the chest to carry some serious weight. Luckily, this bottom doesn't need to carry much weight. And the bottom piece is so narrow that wood movement isn't much of a problem with this project. There are two ways to do this. One way is to cut your bottom to fit exactly inside the sides and then rip off about 1/l6" of the width. Then put the bottom in place and popwood.com 57 |


