Popular Woodworking 2003-06 № 134, страница 61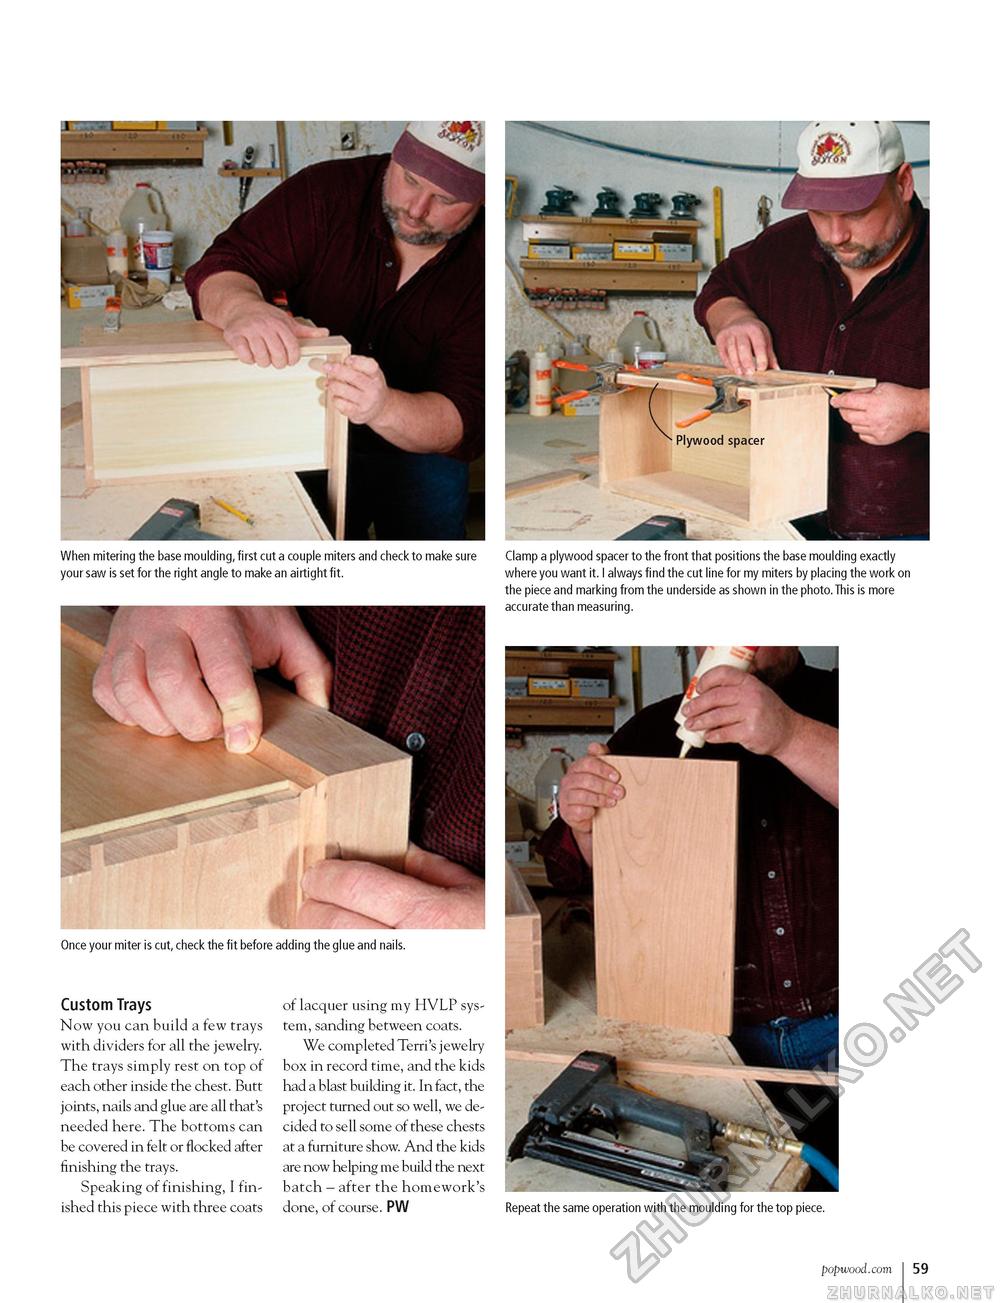
When mitering the base moulding, first cut a couple miters and check to make sure your saw is set for the right angle to make an airtight fit. Once your miter is cut, check the fit before adding the glue and nails. Custom Trays Now you can build a few trays with dividers for all the jewelry. The trays simply rest on top of each other inside the chest. Butt joints, nails and glue are all that's needed here. The bottoms can be covered in felt or flocked after finishing the trays. Speaking of finishing, I finished this piece with three coats of lacquer using my HVLP system, sanding between coats. We completed Terri's jewelry box in record time, and the kids had a blast building it. In fact, the project turned out so well, we decided to sell some of these chests at a furniture show. And the kids are now helping me build the next batch - after the homework's done, of course. PW Clamp a plywood spacer to the front that positions the base moulding exactly where you want it. I always find the cut line for my miters by placing the work on the piece and marking from the underside as shown in the photo. This is more accurate than measuring. Repeat the same operation with the moulding for the top piece. popwood.com 59 |


