Popular Woodworking 2003-08 № 135, страница 64
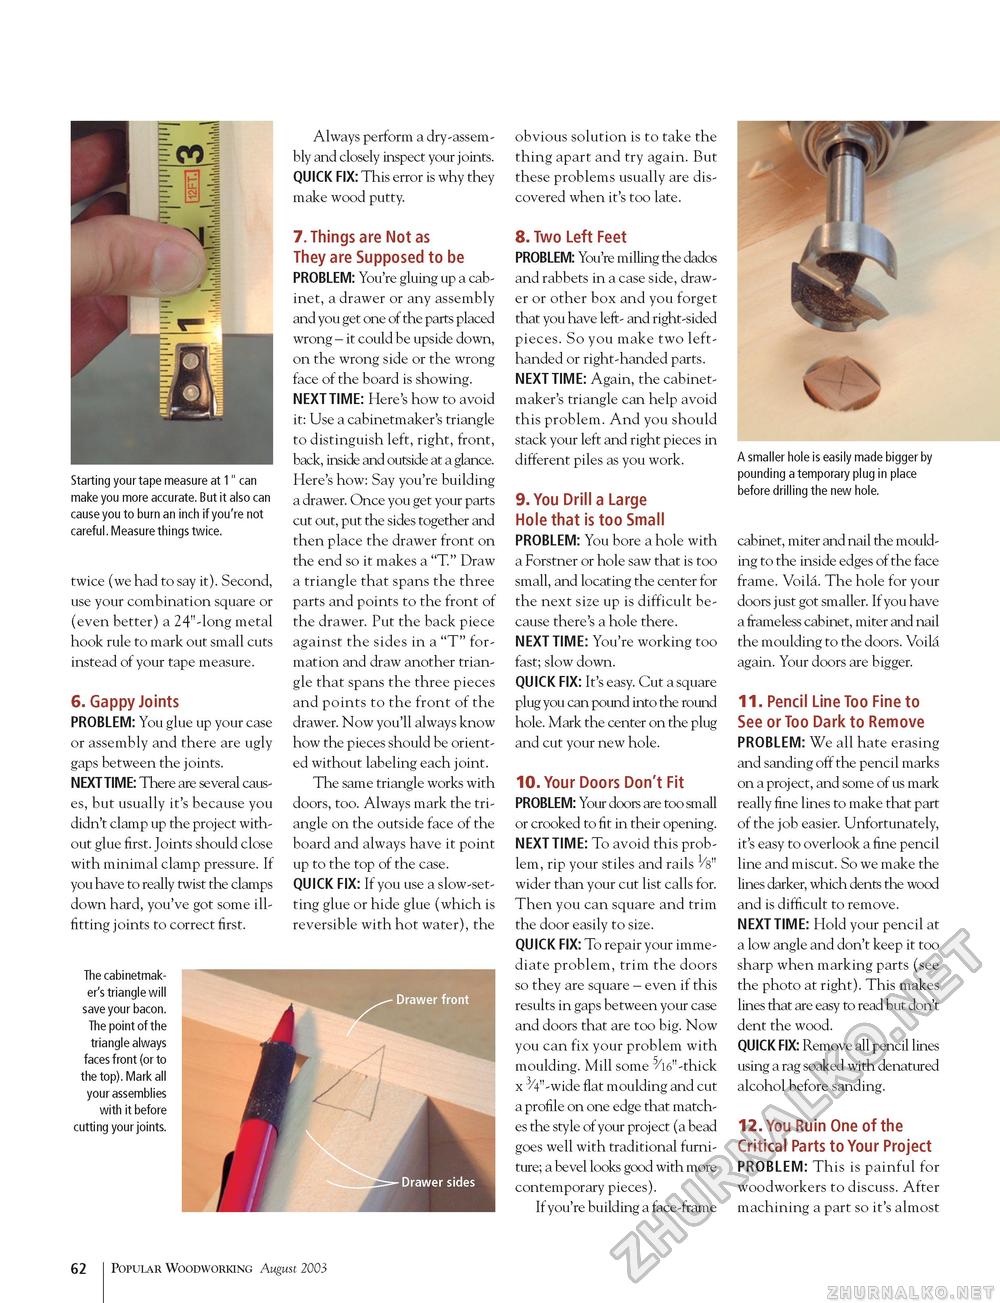
Starting your tape measure at 1" can make you more accurate. But it also can cause you to burn an inch if you're not careful. Measure things twice. twice (we had to say it). Second, use your combination square or (even better) a 24"-long metal hook rule to mark out small cuts instead of your tape measure. 6. Gappy Joints PROBLEM: You glue up your case or assembly and there are ugly gaps between the joints. NEXT TIME: There are several causes, but usually it's because you didn't clamp up the project without glue first. Joints should close with minimal clamp pressure. If you have to really twist the clamps down hard, you've got some ill-fitting joints to correct first. The cabinetmaker's triangle will save your bacon. The point of the triangle always faces front (or to the top). Mark all your assemblies with it before cutting your joints. Always perform a dry-assembly and closely inspect your joints. QUICK FIX: This error is why they make wood putty. 7. Things are Not as They are Supposed to be PROBLEM: You're gluing up a cabinet, a drawer or any assembly and you get one of the parts placed wrong - it could be upside down, on the wrong side or the wrong face of the board is showing. NEXT TIME: Here's how to avoid it: Use a cabinetmaker's triangle to distinguish left, right, front, back, inside and outside at a glance. Here's how: Say you're building a drawer. Once you get your parts cut out, put the sides together and then place the drawer front on the end so it makes a "T." Draw a triangle that spans the three parts and points to the front of the drawer. Put the back piece against the sides in a "T" formation and draw another triangle that spans the three pieces and points to the front of the drawer. Now you'll always know how the pieces should be oriented without labeling each joint. The same triangle works with doors, too. Always mark the triangle on the outside face of the board and always have it point up to the top of the case. QUICK FIX: If you use a slow-setting glue or hide glue (which is reversible with hot water), the obvious solution is to take the thing apart and try again. But these problems usually are discovered when it's too late. 8. Two Left Feet PROBLEM: You're milling the dados and rabbets in a case side, drawer or other box and you forget that you have left- and right-sided pieces. So you make two left-handed or right-handed parts. NEXT TIME: Again, the cabinetmaker's triangle can help avoid this problem. And you should stack your left and right pieces in different piles as you work. 9. You Drill a Large Hole that is too Small PROBLEM: You bore a hole with a Forstner or hole saw that is too small, and locating the center for the next size up is difficult because there's a hole there. NEXT TIME: You're working too fast; slow down. QUICK FIX: It's easy. Cut a square plug you can pound into the round hole. Mark the center on the plug and cut your new hole. 10. Your Doors Don't Fit PROBLEM: Your doors are too small or crooked to fit in their opening. NEXT TIME: To avoid this problem, rip your stiles and rails Vs" wider than your cut list calls for. Then you can square and trim the door easily to size. QUICK FIX: To repair your immediate problem, trim the doors so they are square - even if this results in gaps between your case and doors that are too big. Now you can fix your problem with moulding. Mill some 5/16"-thick x 3/4"-wide flat moulding and cut a profile on one edge that matches the style of your project (a bead goes well with traditional furniture; a bevel looks good with more contemporary pieces). If you're building a face-frame A smaller hole is easily made bigger by pounding a temporary plug in place before drilling the new hole. cabinet, miter and nail the moulding to the inside edges of the face frame. Voila. The hole for your doors just got smaller. If you have a frameless cabinet, miter and nail the moulding to the doors. Voila again. Your doors are bigger. 11. Pencil Line Too Fine to See or Too Dark to Remove PROBLEM: We all hate erasing and sanding off the pencil marks on a project, and some of us mark really fine lines to make that part of the job easier. Unfortunately, it's easy to overlook a fine pencil line and miscut. So we make the lines darker, which dents the wood and is difficult to remove. NEXT TIME: Hold your pencil at a low angle and don't keep it too sharp when marking parts (see the photo at right). This makes lines that are easy to read but don't dent the wood. QUICK FIX: Remove all pencil lines using a rag soaked with denatured alcohol before sanding. 12. You Ruin One of the Critical Parts to Your Project PROBLEM: This is painful for woodworkers to discuss. After machining a part so it's almost 62 Popular Woodworking August 2003 |


