Popular Woodworking 2003-12 № 138, страница 56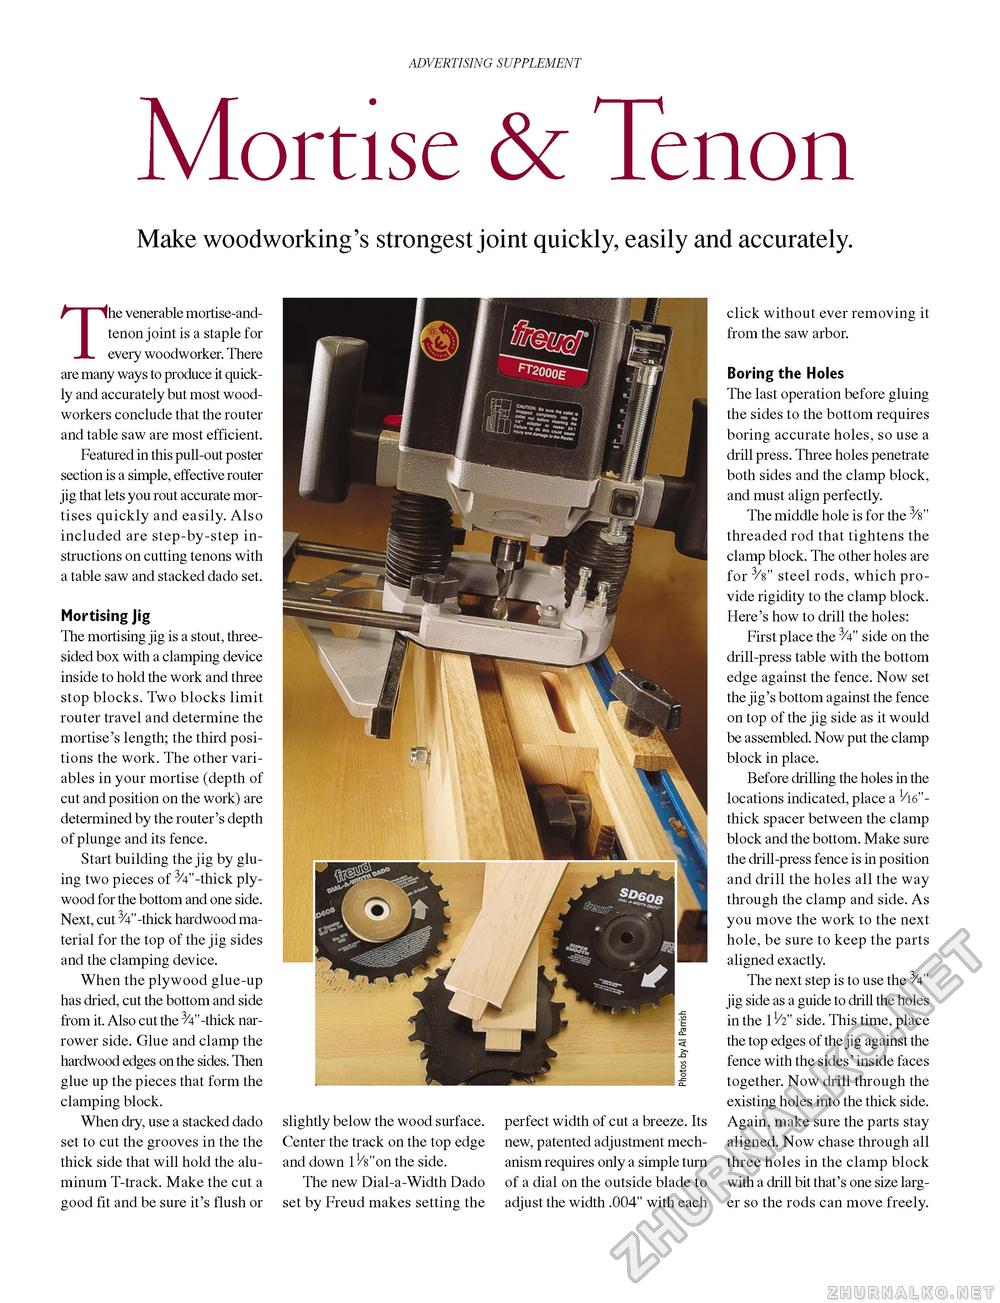
ADVERTISING SUPPLEMENT Mortise & Tenon Make woodworking's strongest joint quickly, easily and accurately. The venerable mortise-and-tenon joint is a staple for every woodworker. There are many ways to produce it quickly and accurately but most woodworkers conclude that the router and table saw are most efficient. Featured in this pull-out poster section is a simple, effective router jig that lets you rout accurate mortises quickly and easily. Also included are step-by-step instructions on cutting tenons with a table saw and stacked dado set. Mortising Jig The mortising jig is a stout, three-sided box with a clamping device inside to hold the work and three stop blocks. Two blocks limit router travel and determine the mortise's length; the third positions the work. The other variables in your mortise (depth of cut and position on the work) are determined by the router's depth of plunge and its fence. Start building the jig by gluing two pieces of 3/4"-thick plywood for the bottom and one side. Next, cut 3/4"-thick hardwood material for the top of the jig sides and the clamping device. When the plywood glue-up has dried, cut the bottom and side from it. Also cut the ^"-thick narrower side. Glue and clamp the hardwood edges on the sides. Then glue up the pieces that form the clamping block. When dry, use a stacked dado set to cut the grooves in the the thick side that will hold the aluminum T-track. Make the cut a good fit and be sure it's flush or slightly below the wood surface. Center the track on the top edge and down lVs"on the side. The new Dial-a-Width Dado set by Freud makes setting the perfect width of cut a breeze. Its new, patented adjustment mechanism requires only a simple turn of a dial on the outside blade to adjust the width .004" with each click without ever removing it from the saw arbor. Boring the Holes The last operation before gluing the sides to the bottom requires boring accurate holes, so use a drill press. Three holes penetrate both sides and the clamp block, and must align perfectly. The middle hole is for the 3/8" threaded rod that tightens the clamp block. The other holes are for 3/8" steel rods, which provide rigidity to the clamp block. Here's how to drill the holes: First place the 3/4" side on the drill-press table with the bottom edge against the fence. Now set the jig's bottom against the fence on top of the jig side as it would be assembled. Now put the clamp block in place. Before drilling the holes in the locations indicated, place a thick spacer between the clamp block and the bottom. Make sure the drill-press fence is in position and drill the holes all the way through the clamp and side. As you move the work to the next hole, be sure to keep the parts aligned exactly. The next step is to use the jig side as a guide to drill the holes in the 11/2" side. This time, place the top edges of the jig against the fence with the sides' inside faces together. Now drill through the existing holes into the thick side. Again, make sure the parts stay aligned. Now chase through all three holes in the clamp block with a drill bit that's one size larger so the rods can move freely. |


