Popular Woodworking 2003-12 № 138, страница 58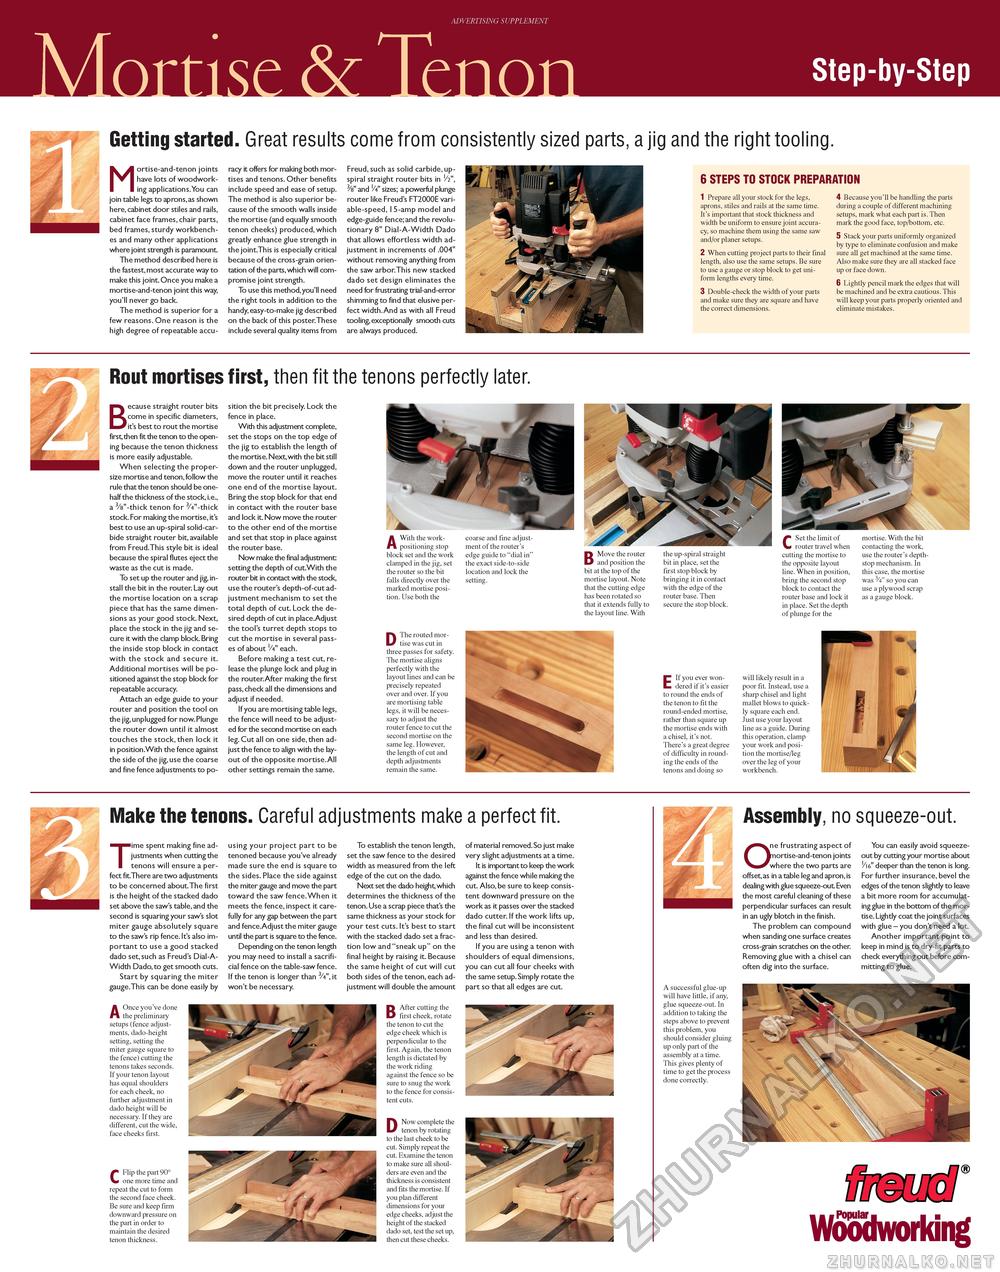
Step-by-Step Getting started. Great results come from consistently sized parts, a jig and the right tooling. Mortise-and-tenon joints have lots of woodworking applications.You can join table legs to aprons, as shown here,cabinet door stiles and rails, cabinet face frames, chair parts, bed frames, sturdy workbenches and many other applications where joint strength is paramount. The method described here is the fastest, most accurate way to make this joint. Once you make a mortise-and-tenon joint this way, you'll never go back. The method is superior for a few reasons. One reason is the high degree of repeatable accu racy it offers for making both mortises and tenons. Other benefits include speed and ease of setup. The method is also superior because of the smooth walls inside the mortise (and equally smooth tenon cheeks) produced, which greatly enhance glue strength in the joint.This is especially critical because of the cross-grain orientation of the parts, which will compromise joint strength. To use this method, you'll need the right tools in addition to the handy, easy-to-make jig described on the back of this poster.These include several quality items from Freud, such as solid carbide, up-spiral straight router bits in 1/2", 3/b" and 1/4" sizes; a powerful plunge router like Freud's FT2000E variable-speed, 15-amp model and edge-guide fence; and the revolutionary 8" Dial-A-Width Dado that allows effortless width adjustment in increments of .004" without removing anything from the saw arbor.This new stacked dado set design eliminates the need for frustrating trial-and-error shimming to find that elusive perfect width.And as with all Freud tooling,exceptionally smooth cuts are always produced. 6 STEPS TO STOCK PREPARATION 1 Prepare all your stock for the legs, aprons, stiles and rails at the same time. It's important that stock thickness and width be uniform to ensure joint accuracy, so machine them using the same saw and/or planer setups. 2 When cutting project parts to their final length, also use the same setups. Be sure to use a gauge or stop block to get uniform lengths every time. 3 Double-check the width of your parts and make sure they are square and have the correct dimensions. 4 Because you'll be handling the parts during a couple of different machining setups, mark what each part is. Then mark the good face, top/bottom, etc. 5 Stack your parts uniformly organized by type to eliminate confusion and make sure all get machined at the same time. Also make sure they are all stacked face up or face down. 6 Lightly pencil mark the edges that will be machined and be extra cautious. This will keep your parts properly oriented and eliminate mistakes. Rout mortises first, then fit the tenons perfectly later. Because straight router bits come in specific diameters, it's best to rout the mortise first,then fit the tenon to the opening because the tenon thickness is more easily adjustable. When selecting the proper-size mortise and tenon,follow the rule that the tenon should be one-half the thickness of the stock, i.e., a 3/8"-thick tenon for 3/4"-thick stock. For making the mortise, it's best to use an up-spiral solid-carbide straight router bit, available from Freud.This style bit is ideal because the spiral flutes eject the waste as the cut is made. To set up the router and jig, install the bit in the router. Lay out the mortise location on a scrap piece that has the same dimensions as your good stock. Next, place the stock in the jig and secure it with the clamp block. Bring the inside stop block in contact with the stock and secure it. Additional mortises will be positioned against the stop block for repeatable accuracy. Attach an edge guide to your router and position the tool on the jig,unplugged for now.Plunge the router down until it almost touches the stock, then lock it in position.With the fence against the side of the jig, use the coarse and fine fence adjustments to po sition the bit precisely. Lock the fence in place. With this adjustment complete, set the stops on the top edge of the jig to establish the length of the mortise. Next,with the bit still down and the router unplugged, move the router until it reaches one end of the mortise layout. Bring the stop block for that end in contact with the router base and lock it. Now move the router to the other end of the mortise and set that stop in place against the router base. Now make the final adjustment: setting the depth of cut.With the router bit in contact with the stock, use the router's depth-of-cut adjustment mechanism to set the total depth of cut. Lock the desired depth of cut in place.Adjust the tool's turret depth stops to cut the mortise in several passes of about '/4" each. Before making a test cut, release the plunge lock and plug in the router.After making the first pass, check all the dimensions and adjust if needed. If you are mortising table legs, the fence will need to be adjusted for the second mortise on each leg. Cut all on one side, then adjust the fence to align with the layout of the opposite mortise. All other settings remain the same. A With the work-positioning stop block set and the work clamped in the jig, set the router so the bit falls directly over the marked mortise position. Use both the DThe routed mortise was cut in three passes for safety. The mortise aligns perfectly with the layout lines and can be precisely repeated over and over. If you are mortising table legs, it will be necessary to adjust the router fence to cut the second mortise on the same leg. However, the length of cut and depth adjustments remain the same. coarse and fine adjust ment of the router's edge guide to "dial in' the exact side-to-side location and lock the setting. BMove the router and position the bit at the top of the mortise layout. Note that the cutting edge has been rotated so that it extends fully to the layout line. With the up-spiral straight bit in place, set the first stop block by bringing it in contact with the edge of the router base. Then secure the stop block. CSet the limit of router travel when cutting the mortise to the opposite layout line. When in position, bring the second stop block to contact the router base and lock it in place. Set the depth of plunge for the mortise. With the bit contacting the work, use the router's depth-stop mechanism. In this case, the mortise was H" so you can use a plywood scrap as a gauge block. EIf you ever wondered if it's easier to round the ends of the tenon to fit the round-ended mortise, rather than square up the mortise ends with a chisel, it's not. There's a great degree of difficulty in rounding the ends of the tenons and doing so will likely result in a poor fit. Instead, use a sharp chisel and light mallet blows to quickly square each end. Just use your layout line as a guide. During this operation, clamp your work and position the mortise/leg over the leg of your workbench. Make the tenons. Careful adjustments make a perfect fit. T t ime spent making fine adjustments when cutting the tenons will ensure a perfect fit.There are two adjustments to be concerned about.The first is the height of the stacked dado set above the saw's table, and the second is squaring your saw's slot miter gauge absolutely square to the saw's rip fence. It's also important to use a good stacked dado set, such as Freud's Dial-A-Width Dado, to get smooth cuts. Start by squaring the miter gauge.This can be done easily by A Once you've done the preliminary setups (fence adjustments, dado-height setting, setting the miter gauge square to the fence) cutting the tenons takes seconds. If your tenon layout has equal shoulders for each cheek, no further adjustment in dado height will be necessary. If they are different, cut the wide, face cheeks first. CFlip the part 90° one more time and repeat the cut to form the second face cheek. Be sure and keep firm downward pressure on the part in order to maintain the desired tenon thickness. using your project part to be tenoned because you've already made sure the end is square to the sides. Place the side against the miter gauge and move the part toward the saw fence.When it meets the fence, inspect it carefully for any gap between the part and fence.Adjust the miter gauge until the part is square to the fence. Depending on the tenon length you may need to install a sacrificial fence on the table-saw fence. If the tenon is longer than 3/4", it won't be necessary. To establish the tenon length, set the saw fence to the desired width as measured from the left edge of the cut on the dado. Next set the dado height,which determines the thickness of the tenon. Use a scrap piece that's the same thickness as your stock for your test cuts. It's best to start with the stacked dado set a fraction low and "sneak up" on the final height by raising it. Because the same height of cut will cut both sides of the tenon, each adjustment will double the amount B After cutting the first cheek, rotate the tenon to cut the edge cheek which is perpendicular to the first. Again, the tenon length is dictated by the work riding against the fence so be sure to snug the work to the fence for consistent cuts. DNow complete the tenon by rotating to the last cheek to be cut. Simply repeat the cut. Examine the tenon to make sure all shoulders are even and the thickness is consistent and fits the mortise. If you plan different dimensions for your edge cheeks, adjust the height of the stacked dado set, test the set up, then cut these cheeks. of material removed. So just make very slight adjustments at a time. It is important to keep the work against the fence while making the cut. Also, be sure to keep consistent downward pressure on the work as it passes over the stacked dado cutter. If the work lifts up, the final cut will be inconsistent and less than desired. If you are using a tenon with shoulders of equal dimensions, you can cut all four cheeks with the same setup. Simply rotate the part so that all edges are cut. Assembly, no squeeze-out. A successful glue-up will have little, if any, glue squeeze-out. In addition to taking the steps above to prevent this problem, you should consider gluing up only part of the assembly at a time. This gives plenty of time to get the process done correctly. nmeo wh ne frustrating aspect of ortise-and-tenon joints where the two parts are offset,as in a table leg and apron,is dealing with glue squeeze-out. Even the most careful cleaning of these perpendicular surfaces can result in an ugly blotch in the finish. The problem can compound when sanding one surface creates cross-grain scratches on the other; Removing glue with a chisel can often dig into the surface. You can easily avoid squeeze-out by cutting your mortise about 1/16" deeper than the tenon is long. For further insurance, bevel the edges of the tenon slightly to leave a bit more room for accumulating glue in the bottom of the mortise. Lightly coat the joint surfaces with glue - you don't need a lot. Another important point to keep in mind is to dry-fit parts to check everything out before committing to glue. ® Woodworking |


