Popular Woodworking 2004-06 № 141, страница 30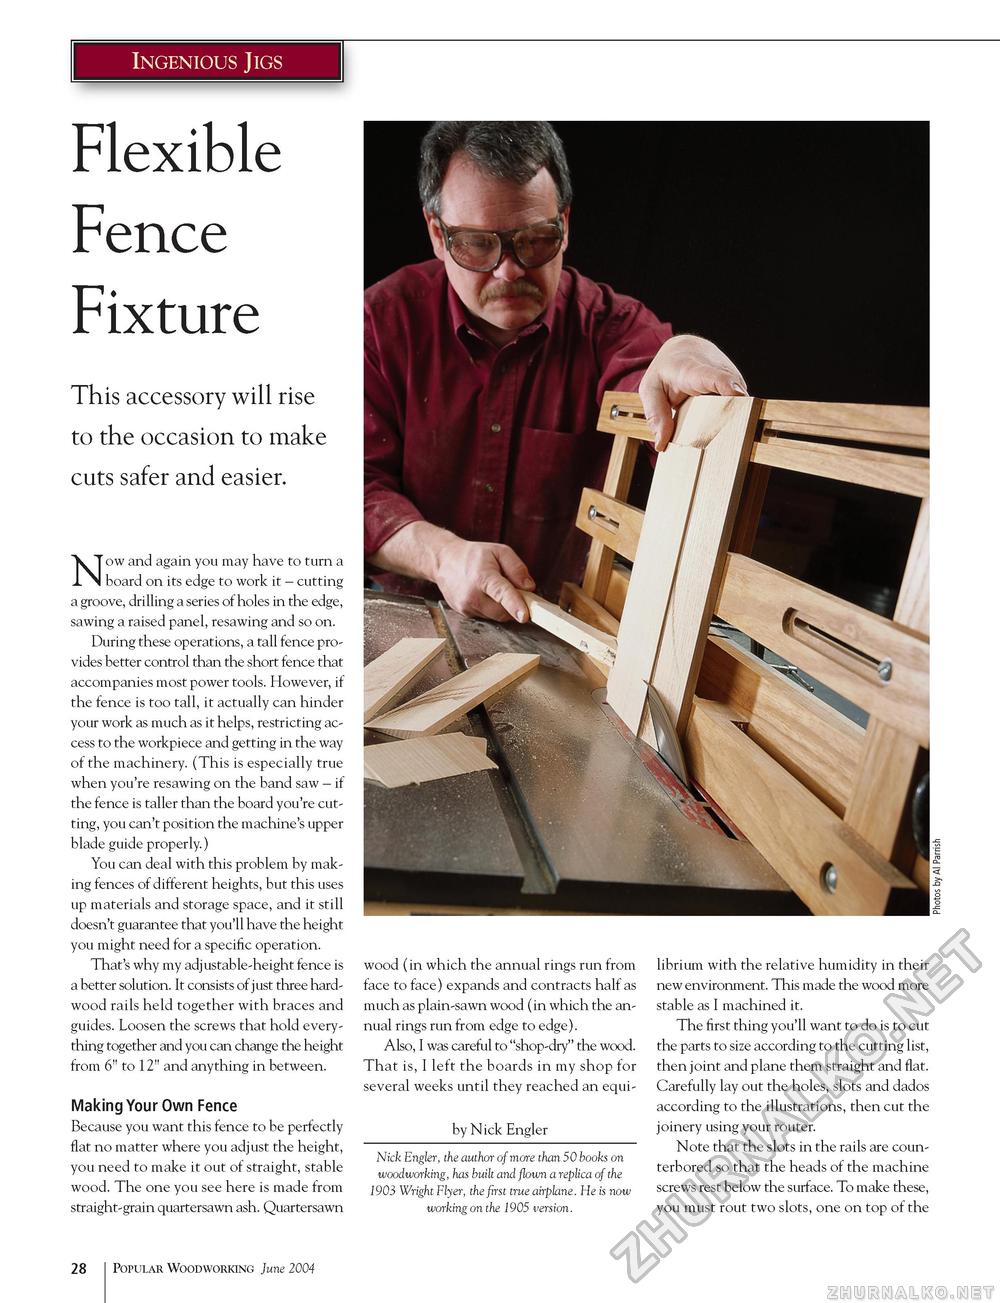
Ingenious Jigs Flexible Fence Fixture This accessory will rise to the occasion to make cuts safer and easier. Now and again you may have to turn a board on its edge to work it - cutting a groove, drilling a series of holes in the edge, sawing a raised panel, resawing and so on. During these operations, a tall fence provides better control than the short fence that accompanies most power tools. However, if the fence is too tall, it actually can hinder your work as much as it helps, restricting access to the workpiece and getting in the way of the machinery. (This is especially true when you're resawing on the band saw - if the fence is taller than the board you're cutting, you can't position the machine's upper blade guide properly.) You can deal with this problem by making fences of different heights, but this uses up materials and storage space, and it still doesn't guarantee that you'll have the height you might need for a specific operation. That's why my adjustable-height fence is a better solution. It consists of just three hardwood rails held together with braces and guides. Loosen the screws that hold everything together and you can change the height from 6" to 12" and anything in between. Making Your Own Fence Because you want this fence to be perfectly flat no matter where you adjust the height, you need to make it out of straight, stable wood. The one you see here is made from straight-grain quartersawn ash. Quartersawn wood (in which the annual rings run from face to face) expands and contracts half as much as plain-sawn wood (in which the annual rings run from edge to edge). Also, I was careful to "shop-dry" the wood. That is, I left the boards in my shop for several weeks until they reached an equi- by Nick Engler Nick Engler, the author of more than 50 books on woodworking, has built and flown a replica of the 1903 Wright Flyer, the first true airplane. He is now working on the 1905 version. librium with the relative humidity in their new environment. This made the wood more stable as I machined it. The first thing you'll want to do is to cut the parts to size according to the cutting list, then joint and plane them straight and flat. Carefully lay out the holes, slots and dados according to the illustrations, then cut the joinery using your router. Note that the slots in the rails are coun-terbored so that the heads of the machine screws rest below the surface. To make these, you must rout two slots, one on top of the 28 Popular Woodworking June 2004 |


