Popular Woodworking 2004-12 № 145, страница 37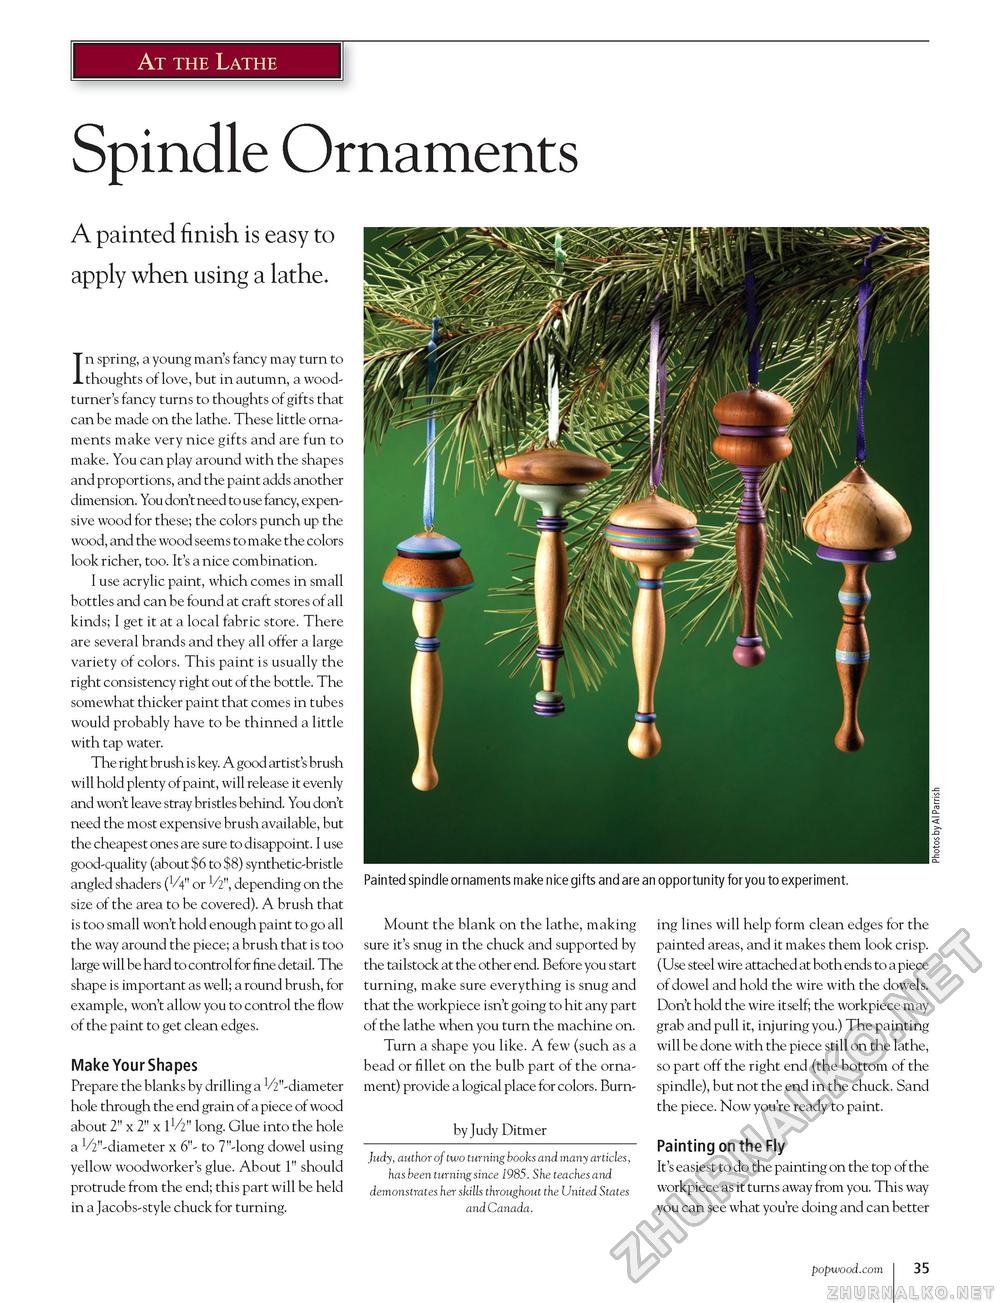
At the Lathe Spindle Ornaments Painted spindle ornaments make nice gifts and are an opportunity for you to experiment. A painted finish is easy to apply when using a lathe. In spring, a young man's fancy may turn to thoughts of love, but in autumn, a woodturner's fancy turns to thoughts of gifts that can be made on the lathe. These little ornaments make very nice gifts and are fun to make. You can play around with the shapes and proportions, and the paint adds another dimension. You don't need to use fancy, expensive wood for these; the colors punch up the wood, and the wood seems to make the colors look richer, too. It's a nice combination. I use acrylic paint, which comes in small bottles and can be found at craft stores of all kinds; I get it at a local fabric store. There are several brands and they all offer a large variety of colors. This paint is usually the right consistency right out of the bottle. The somewhat thicker paint that comes in tubes would probably have to be thinned a little with tap water. The right brush is key. A good artist's brush will hold plenty of paint, will release it evenly and won't leave stray bristles behind. You don't need the most expensive brush available, but the cheapest ones are sure to disappoint. I use good-quality (about $6 to $8) synthetic-bristle angled shaders (V4" or 1/2", depending on the size of the area to be covered). A brush that is too small won't hold enough paint to go all the way around the piece; a brush that is too large will be hard to control for fine detail. The shape is important as well; a round brush, for example, won't allow you to control the flow of the paint to get clean edges. Make Your Shapes Prepare the blanks by drilling a ^"-diameter hole through the end grain of a piece of wood about 2" x 2" x l1/"" long. Glue into the hole a ^"-diameter x 6"- to 7"-long dowel using yellow woodworker's glue. About 1" should protrude from the end; this part will be held in a Jacobs-style chuck for turning. Mount the blank on the lathe, making sure it's snug in the chuck and supported by the tailstock at the other end. Before you start turning, make sure everything is snug and that the workpiece isn't going to hit any part of the lathe when you turn the machine on. Turn a shape you like. A few (such as a bead or fillet on the bulb part of the ornament) provide a logical place for colors. Burn- by Judy Ditmer Judy, author of two turning books and many articles, has been turning since 1985. She teaches and demonstrates her skills throughout the United States and Canada. ing lines will help form clean edges for the painted areas, and it makes them look crisp. (Use steel wire attached at both ends to a piece of dowel and hold the wire with the dowels. Don't hold the wire itself; the workpiece may grab and pull it, injuring you.) The painting will be done with the piece still on the lathe, so part off the right end (the bottom of the spindle), but not the end in the chuck. Sand the piece. Now you're ready to paint. Painting on the Fly It's easiest to do the painting on the top of the workpiece as it turns away from you. This way you can see what you're doing and can better popwood.com 101 |


