Popular Woodworking 2005-08 № 149, страница 32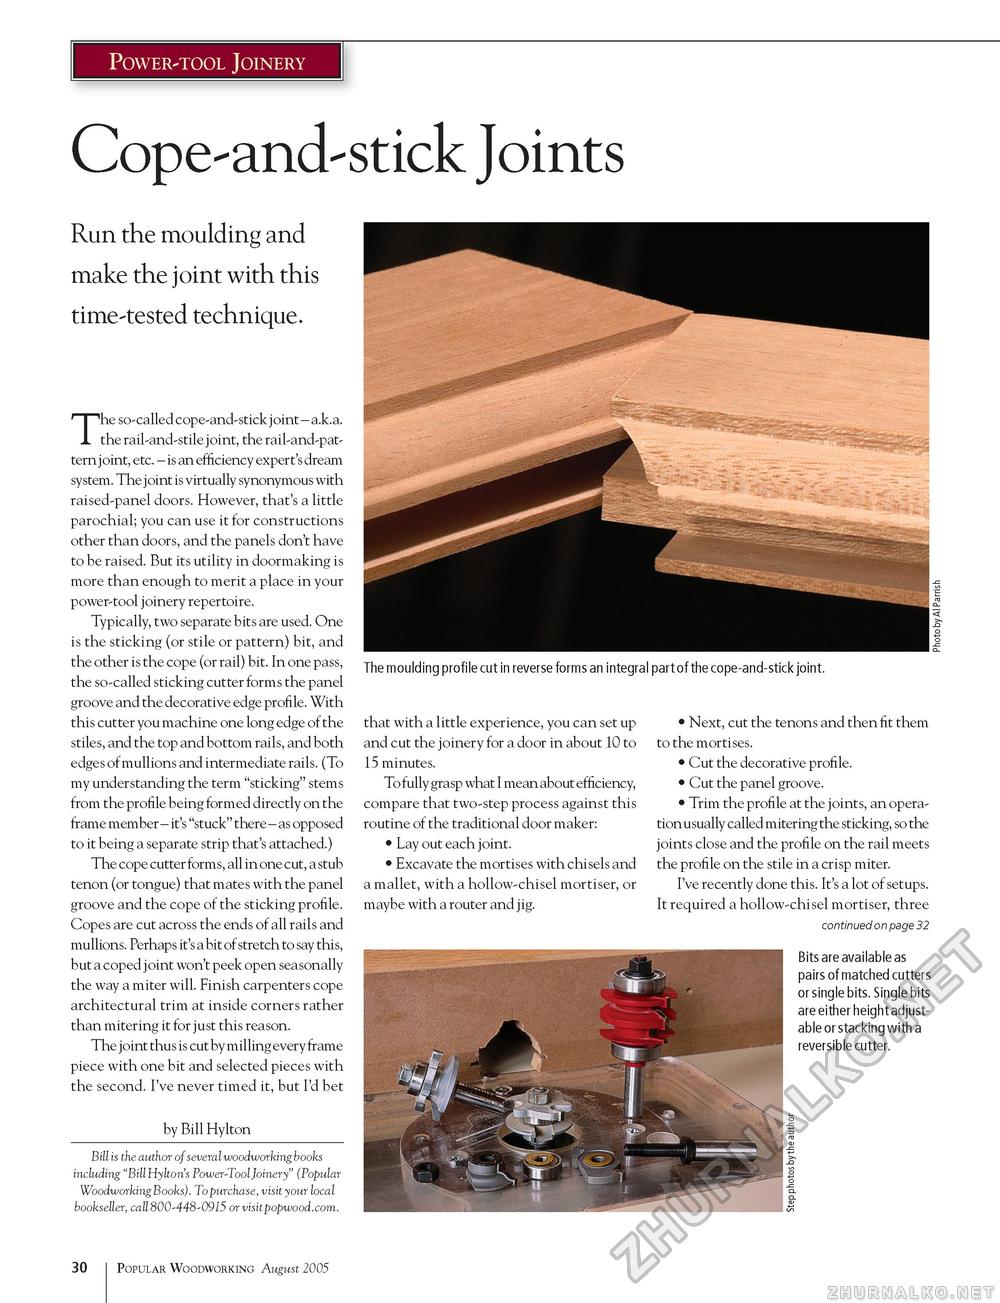
Power-tool Joinery Cope-and-stick JointsRun the moulding and make the joint with this time-tested technique. The so-called cope-and-stick joint - a.k.a. the rail-and-stile joint, the rail-and-pat-tern joint, etc. - is an efficiency expert's dream system. The j oint is virtually synonymous with raised-panel doors. However, that's a little parochial; you can use it for constructions other than doors, and the panels don't have to be raised. But its utility in doormaking is more than enough to merit a place in your power-tool joinery repertoire. Typically, two separate bits are used. One is the sticking (or stile or pattern) bit, and the other is the cope (or rail) bit. In one pass, the so-called sticking cutter forms the panel groove and the decorative edge profile. With this cutter you machine one long edge of the stiles, and the top and bottom rails, and both edges of mullions and intermediate rails. (To my understanding the term "sticking" stems from the profile being formed directly on the frame member - it's "stuck" there - as opposed to it being a separate strip that's attached.) The cope cutter forms, all in one cut, a stub tenon (or tongue) that mates with the panel groove and the cope of the sticking profile. Copes are cut across the ends of all rails and mullions. Perhaps it's a bit of stretch to say this, but a coped j oint won't peek open seasonally the way a miter will. Finish carpenters cope architectural trim at inside corners rather than mitering it for just this reason. The joint thus is cut by milling every frame piece with one bit and selected pieces with the second. I've never timed it, but I'd bet by Bill Hylton Bill is the author of several woodworking books including "Bill Hylton's Power-Tool Joinery" (Popular Woodworking Books). To purchase, visit your local bookseller, call 800-448-0915 or visitpopwood.com. The moulding profile cut in reverse forms an integral part of the cope-and-stick joint. that with a little experience, you can set up and cut the joinery for a door in about 10 to 15 minutes. To fully grasp what I mean about efficiency, compare that two-step process against this routine of the traditional door maker: • Lay out each joint. • Excavate the mortises with chisels and a mallet, with a hollow-chisel mortiser, or maybe with a router and j ig. ■ • Next, cut the tenons and then fit them to the mortises. • Cut the decorative profile. • Cut the panel groove. • Trim the profile at the joints, an operation usually called mitering the sticking, so the joints close and the profile on the rail meets the profile on the stile in a crisp miter. I've recently done this. It's a lot of setups. It required a hollow-chisel mortiser, three continued on page 32 Bits are available as pairs of matched cutters or single bits. Single bits are either height adjustable or stacking with a reversible cutter. 30 Popular Woodworking August 2005 |


