Popular Woodworking 2005-08 № 149, страница 35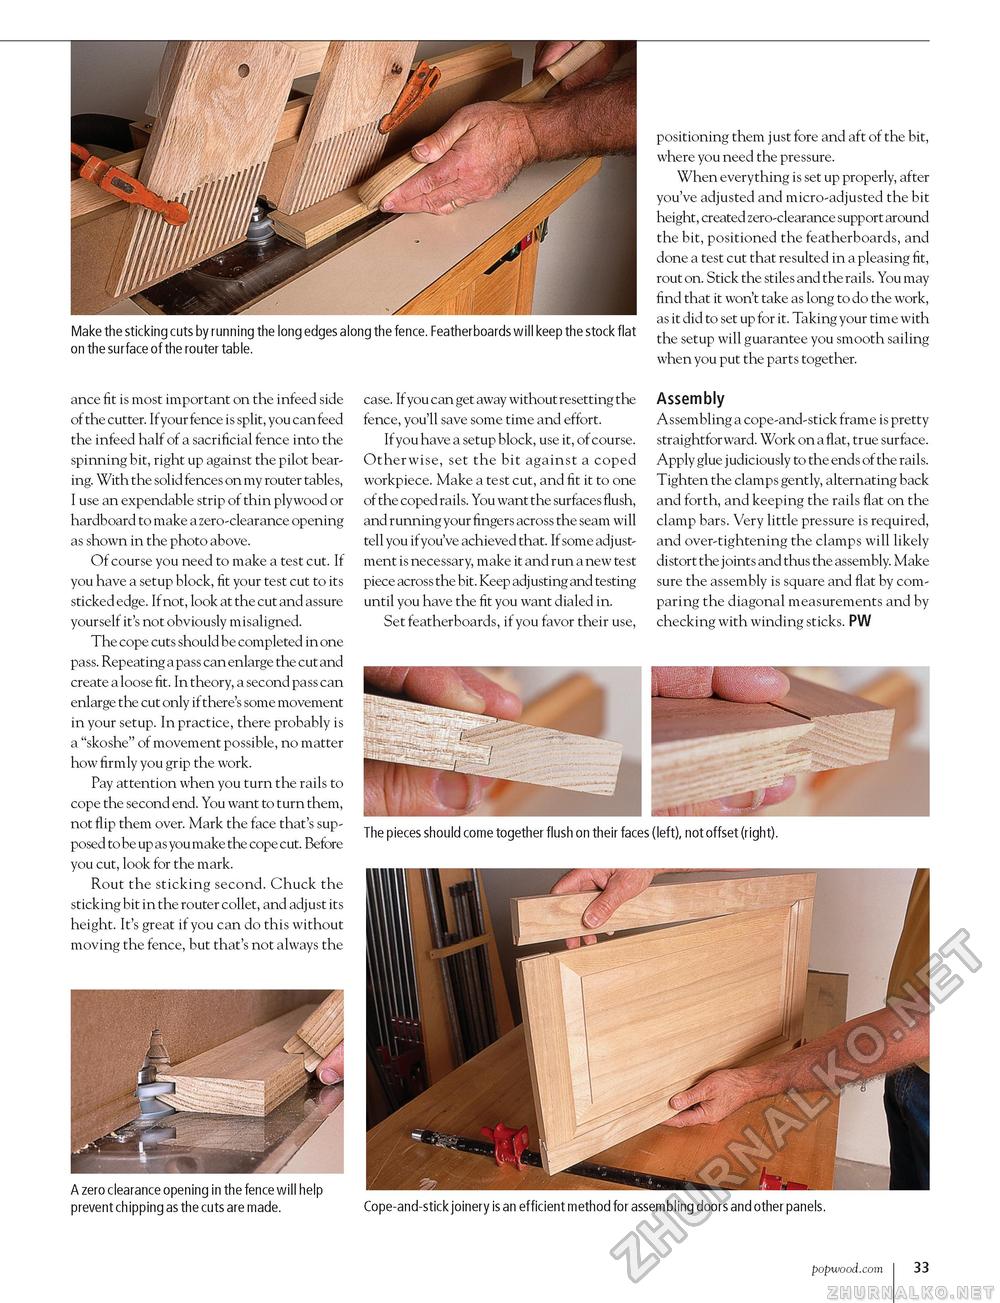
Make the sticking cuts by running the long edges along the fence. Featherboards will keep the stock flat on the surface of the router table. ance fit is most important on the infeed side of the cutter. Ifyour fence is split, you can feed the infeed half of a sacrificial fence into the spinning bit, right up against the pilot bearing. With the solid fences on my router tables, I use an expendable strip of thin plywood or hardboard to make a zero-clearance opening as shown in the photo above. Of course you need to make a test cut. If you have a setup block, fit your test cut to its sticked edge. If not, look at the cut and assure yourself it's not obviously misaligned. The cope cuts should be completed in one pass. Repeating a pass can enlarge the cut and create a loose fit. In theory, a second pass can enlarge the cut only if there's some movement in your setup. In practice, there probably is a "skoshe" of movement possible, no matter how firmly you grip the work. Pay attention when you turn the rails to cope the second end. You want to turn them, not flip them over. Mark the face that's supposed to be up as you make the cope cut. Before you cut, look for the mark. Rout the sticking second. Chuck the sticking bit in the router collet, and adjust its height. It's great if you can do this without moving the fence, but that's not always the A zero clearance opening in the fence will help prevent chipping as the cuts are made. case. If you can get away without resetting the fence, you'll save some time and effort. If you have a setup block, use it, of course. Otherwise, set the bit against a coped workpiece. Make a test cut, and fit it to one of the coped rails. You want the surfaces flush, and running your fingers across the seam will tell you if you've achieved that. If some adjustment is necessary, make it and run a new test piece across the bit. Keep adjusting and testing until you have the fit you want dialed in. Set featherboards, if you favor their use, positioning them just fore and aft of the bit, where you need the pressure. When everything is set up properly, after you've adjusted and micro-adjusted the bit height, created zero-clearance support around the bit, positioned the featherboards, and done a test cut that resulted in a pleasing fit, rout on. Stick the stiles and the rails. You may find that it won't take as long to do the work, as it did to set up for it. Taking your time with the setup will guarantee you smooth sailing when you put the parts together. Assembly Assembling a cope-and-stick frame is pretty straightforward. Work on a flat, true surface. Apply glue judiciously to the ends of the rails. Tighten the clamps gently, alternating back and forth, and keeping the rails flat on the clamp bars. Very little pressure is required, and over-tightening the clamps will likely distort the joints and thus the assembly. Make sure the assembly is square and flat by comparing the diagonal measurements and by checking with winding sticks. PW The pieces should come together flush on their faces (left), not offset (right). Cope-and-stick joinery is an efficient method for assembling doors and other panels. popwood.com I 33 |


