Popular Woodworking 2006-10 № 157, страница 21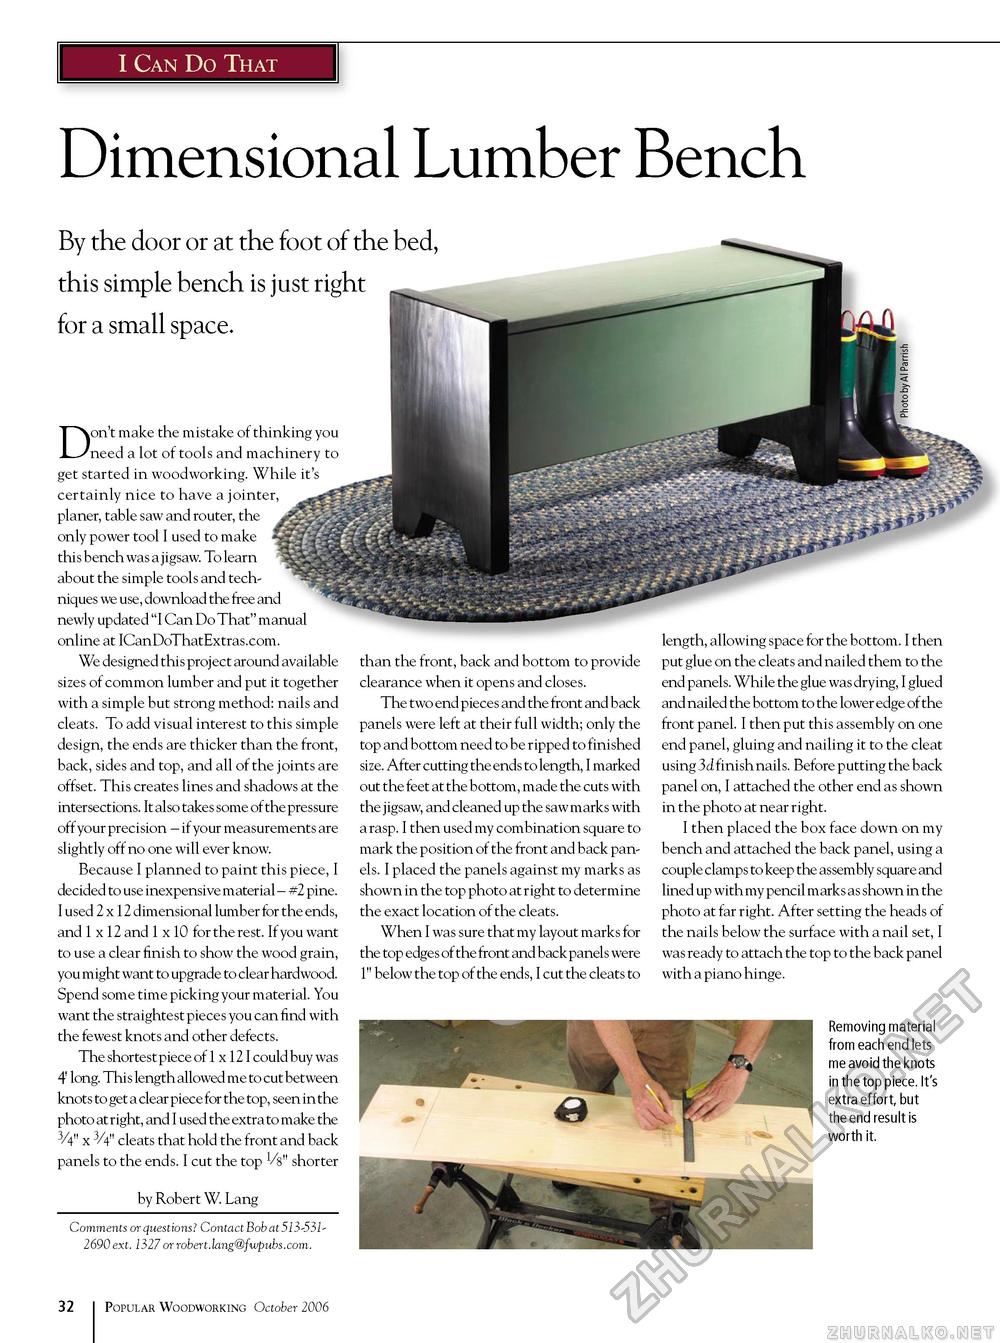
I Can Do That Dimensional Lumber Bench By the door or at the foot of the bed, this simple bench is just right for a small space. Don't make the mistake of thinking you need a lot of tools and machinery to get started in woodworking. While it's certainly nice to have a jointer. planer, table saw and router, the only power tool I used to make this bench was a jigsaw. To learn about the simple tools and techniques we use, download the free and newly updated "I Can Do That" manual online at ICanDoThatExtras.com. We designed this project around available sizes of common lumber and put it together with a simple but strong method: nails and cleats. To add visual interest to this simple design, the ends are thicker than the front, back, sides and top, and all of the joints are offset. This creates lines and shadows at the intersections. It also takes some of the pressure off your precision - if your measurements are slightly off no one will ever know. Because I planned to paint this piece, I decided to use inexpensive material - #2 pine. I used 2 x 12 dimensional lumber for the ends, and 1 x 12 and 1 x 10 for the rest. If you want to use a clear finish to show the wood grain, you might want to upgrade to clear hardwood. Spend some time picking your material. You want the straightest pieces you can find with the fewest knots and other defects. The shortest piece of 1 x 12 I could buy was 4' long. This length allowed me to cut between knots to get a clear piece for the top, seen in the photo at right, and I used the extra to make the 3/4" x 3/4" cleats that hold the front and back panels to the ends. I cut the top Vs" shorter by Robert W. Lang Comments or questions? Contact Bob at 513-5312690 ext. 1327 or robert.lang@fwpubs.com. than the front, back and bottom to provide clearance when it opens and closes. The two end pieces and the front and back panels were left at their full width; only the top and bottom need to be ripped to finished size. After cutting the ends to length, I marked out the feet at the bottom, made the cuts with the jigsaw, and cleaned up the saw marks with a rasp. I then used my combination square to mark the position of the front and back panels. I placed the panels against my marks as shown in the top photo at right to determine the exact location of the cleats. When I was sure that my layout marks for the top edges of the front and back panels were 1" below the top of the ends, I cut the cleats to length, allowing space for the bottom. I then put glue on the cleats and nailed them to the end panels. While the glue was drying, I glued and nailed the bottom to the lower edge of the front panel. I then put this assembly on one end panel, gluing and nailing it to the cleat using 3d finish nails. Before putting the back panel on, I attached the other end as shown in the photo at near right. I then placed the box face down on my bench and attached the back panel, using a couple clamps to keep the assembly square and lined up with my pencil marks as shown in the photo at far right. After setting the heads of the nails below the surface with a nail set, I was ready to attach the top to the back panel with a piano hinge. Removing material from each end lets me avoid the knots in the top piece. It's extra effort, but the end result is worth it. 32 Popular Woodworking October 2006 |


