Popular Woodworking 2006-11 № 158, страница 15
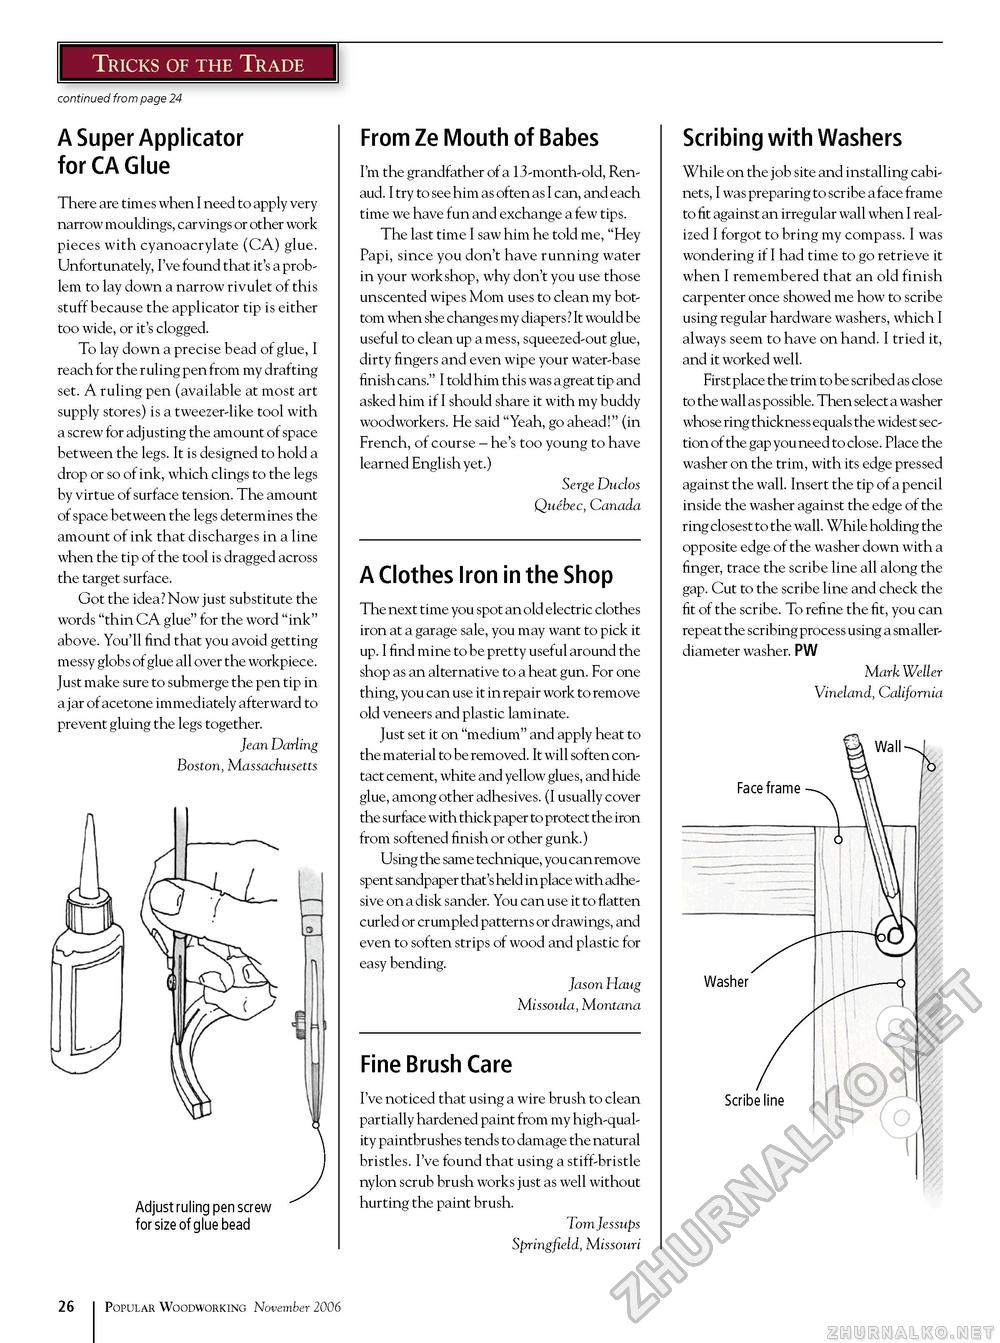
Tricks of the Trade continued from page 24 A Super Applicator for CA Glue There are times when I need to apply very narrow mouldings, carvings or other work pieces with cyanoacrylate (CA) glue. Unfortunately, I've found that it's a problem to lay down a narrow rivulet of this stuff because the applicator tip is either too wide, or it's clogged. To lay down a precise bead of glue, I reach for the ruling pen from my drafting set. A ruling pen (available at most art supply stores) is a tweezer-like tool with a screw for adjusting the amount of space between the legs. It is designed to hold a drop or so of ink, which clings to the legs by virtue of surface tension. The amount of space between the legs determines the amount of ink that discharges in a line when the tip of the tool is dragged across the target surface. Got the idea? Now just substitute the words "thin CA glue" for the word "ink" above. You'll find that you avoid getting messy globs of glue all over the workpiece. Just make sure to submerge the pen tip in a jar of acetone immediately afterward to prevent gluing the legs together. Jean Darling Boston, Massachusetts Adjust ruling pen screw for size of glue bead From Ze Mouth of Babes I'm the grandfather of a 13-month-old, Ren-aud. I try to see him as often as I can, and each time we have fun and exchange a few tips. The last time I saw him he told me, "Hey Papi, since you don't have running water in your workshop, why don't you use those unscented wipes Mom uses to clean my bottom when she changes my diapers ? It would be useful to clean up a mess, squeezed-out glue, dirty fingers and even wipe your water-base finish cans." I told him this was a great tip and asked him if I should share it with my buddy woodworkers. He said "Yeah, go ahead!" (in French, of course - he's too young to have learned English yet.) Serge Duclos Quebec, Canada A Clothes Iron in the Shop The next time you spot an old electric clothes iron at a garage sale, you may want to pick it up. I find mine to be pretty useful around the shop as an alternative to a heat gun. For one thing, you can use it in repair work to remove old veneers and plastic laminate. Just set it on "medium" and apply heat to the material to be removed. It will soften contact cement, white and yellow glues, and hide glue, among other adhesives. (I usually cover the surface with thick paper to protect the iron from softened finish or other gunk.) Using the same technique, you can remove spent sandpaper that's held in place with adhesive on a disk sander. You can use it to flatten curled or crumpled patterns or drawings, and even to soften strips of wood and plastic for easy bending. Jason Haug Missoula, Montana Fine Brush Care I've noticed that using a wire brush to clean partially hardened paint from my high-quality paintbrushes tends to damage the natural bristles. I've found that using a stiff-bristle nylon scrub brush works just as well without hurting the paint brush. Tom Jessups Springfield, Missouri Scribing with Washers While on the job site and installing cabinets, I was preparing to scribe a face frame to fit against an irregular wall when I realized I forgot to bring my compass. I was wondering if I had time to go retrieve it when I remembered that an old finish carpenter once showed me how to scribe using regular hardware washers, which I always seem to have on hand. I tried it, and it worked well. First place the trim to be scribed as close to the wall as possible. Then select a washer whose ring thickness equals the widest section of the gap you need to close. Place the washer on the trim, with its edge pressed against the wall. Insert the tip of a pencil inside the washer against the edge of the ring closest to the wall. While holding the opposite edge of the washer down with a finger, trace the scribe line all along the gap. Cut to the scribe line and check the fit of the scribe. To refine the fit, you can repeat the scribing process using a smaller-diameter washer. PW Mark Weller Vineland, California 26 Popular Woodworking November 2006 |


