Popular Woodworking 2006-11 № 158, страница 40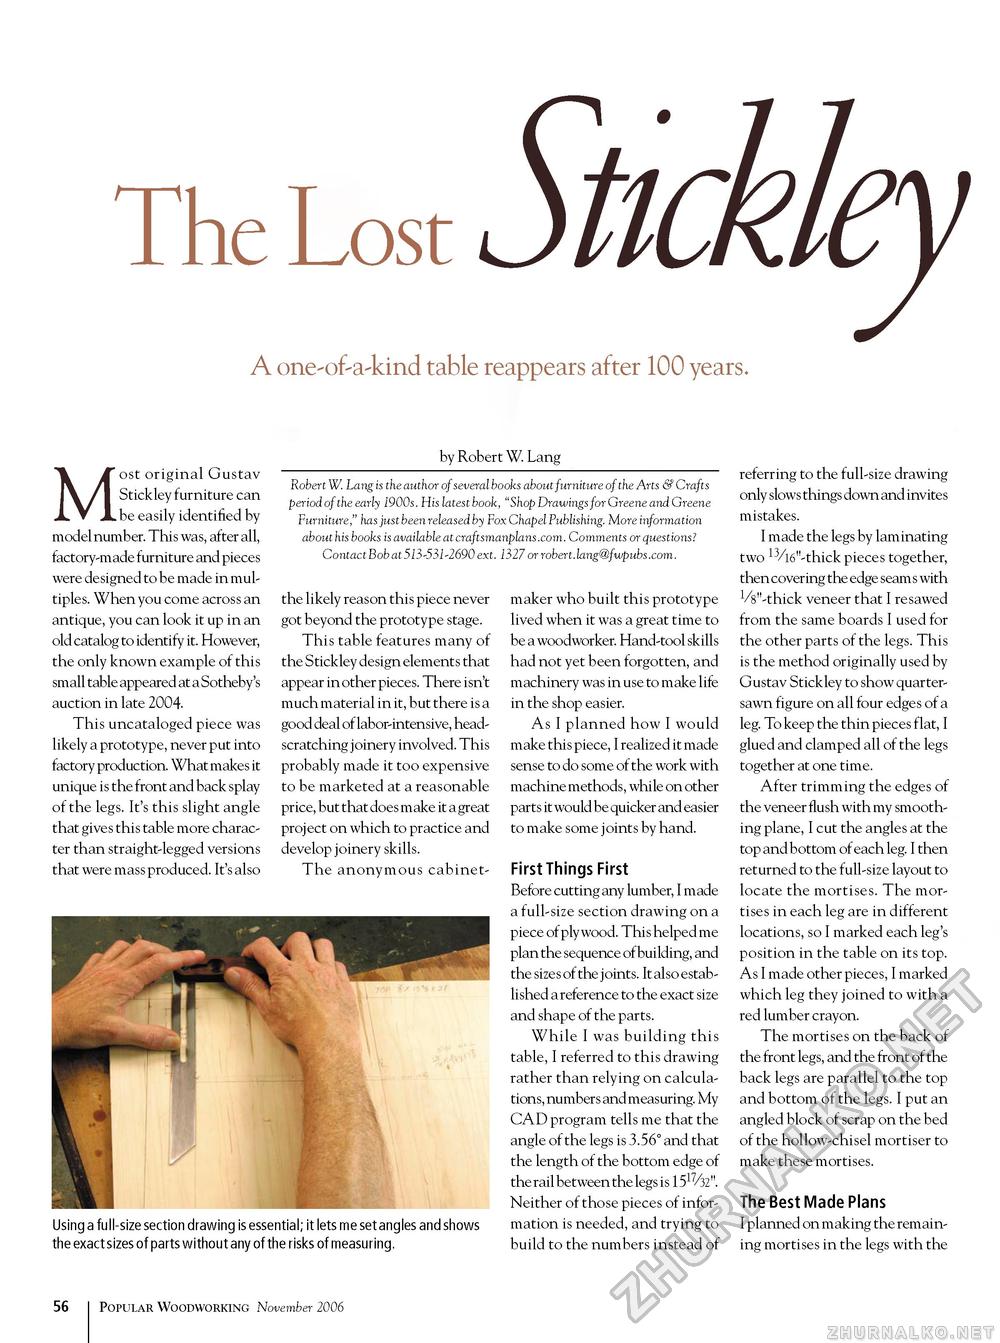
The Lost StickleyA one-of-a-kind table reappears after 100 years. by Robert W. Lang Robert W. Lang is the author of several books about furniture of the Arts & Crafts period of the early 1900s. His latest book, "Shop Drawings for Greene and Greene Furniture," has just been released by Fox Chapel Publishing. More information about his books is available at craftsmanplans.com. Comments or questions? Contact Bob at 513-531-2690 ext. 1327 or robert.lang@fwpubs.com. Most original Gustav Stickley furniture can be easily identified by model number. This was, after all, factory-made furniture and pieces were designed to be made in multiples. When you come across an antique, you can look it up in an old catalog to identify it. However, the only known example of this small table appeared at a Sotheby's auction in late 2004- This uncataloged piece was likely a prototype, never put into factory production. What makes it unique is the front and back splay of the legs. It's this slight angle that gives this table more character than straight-legged versions that were mass produced. It's also the likely reason this piece never got beyond the prototype stage. This table features many of the Stickley design elements that appear in other pieces. There isn't much material in it, but there is a good deal of labor-intensive, head-scratching joinery involved. This probably made it too expensive to be marketed at a reasonable price, but that does make it a great project on which to practice and develop joinery skills. The anonymous cabinet maker who built this prototype lived when it was a great time to be a woodworker. Hand-tool skills had not yet been forgotten, and machinery was in use to make life in the shop easier. As I planned how I would make this piece, I realized it made sense to do some of the work with machine methods, while on other parts it would be quicker and easier to make some joints by hand. First Things First Before cutting any lumber, I made a full-size section drawing on a piece of ply wood. This helped me plan the sequence of building, and the sizes of the joints. It also established areference to the exact size and shape of the parts. While I was building this table, I referred to this drawing rather than relying on calculations, numbers and measuring. My CAD program tells me that the angle of the legs is 3.56° and that the length of the bottom edge of the rail between the legs is Neither of those pieces of information is needed, and trying to build to the numbers instead of referring to the full-size drawing only slows things down and invites mistakes. I made the legs by laminating two 13/i6"-thick pieces together, then covering the edge seam s with VV'-thick veneer that I resawed from the same boards I used for the other parts of the legs. This is the method originally used by Gustav Stickley to show quarter-sawn figure on all four edges of a leg. To keep the thin pieces flat, I glued and clamped all of the legs together at one time. After trimming the edges of the veneer flush with my smoothing plane, I cut the angles at the topandbottomofeachleg. Ithen returned to the full-size layout to locate the mortises. The mortises in each leg are in different locations, so I marked each leg's position in the table on its top. As I made other pieces, I marked which leg they joined to with a red lumber crayon. The mortises on the back of the front legs, and the front of the back legs are parallel to the top and bottom of the legs. I put an angled block of scrap on the bed of the hollow-chisel mortiser to make these mortises. The Best Made Plans I planned on making the remaining mortises in the legs with the Using a full-size section drawing is essential; it lets me setangles and shows the exact sizes of parts without any of the risks of measuring. 56 Popular Woodworking November 2006 |


