Popular Woodworking 2007-06 № 162, страница 33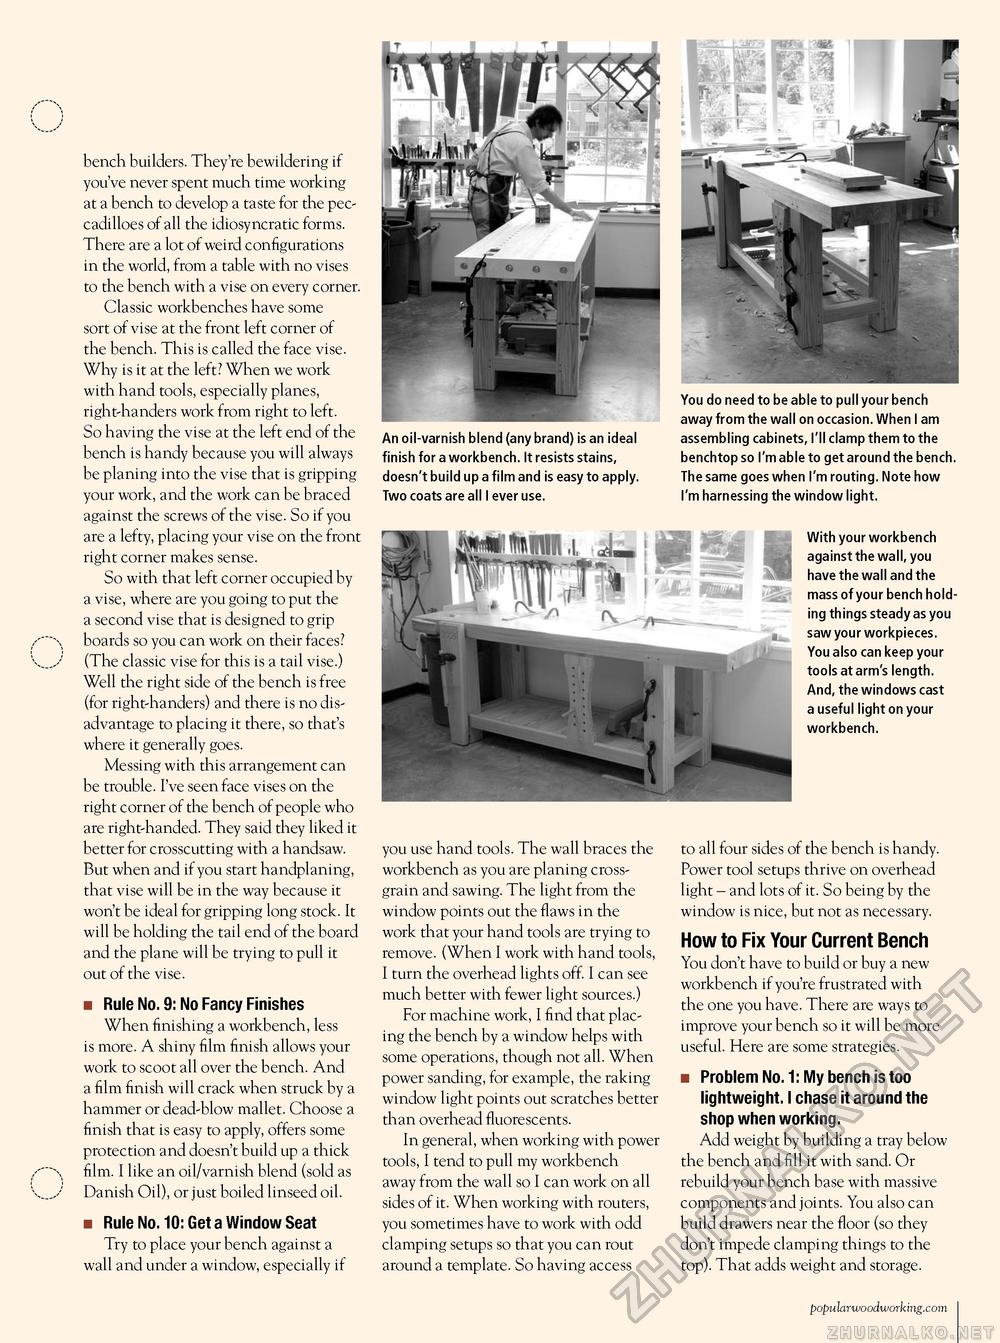
bench builders. They're bewildering if you've never spent much time working at a bench to develop a taste for the peccadilloes of all the idiosyncratic forms. There are a lot of weird configurations in the world, from a table with no vises to the bench with a vise on every corner. Classic workbenches have some sort of vise at the front left corner of the bench. This is called the face vise. Why is it at the left? When we work with hand tools, especially planes, right-handers work from right to left. So having the vise at the left end of the bench is handy because you will always be planing into the vise that is gripping your work, and the work can be braced against the screws of the vise. So if you are a lefty, placing your vise on the front right corner makes sense. So with that left corner occupied by a vise, where are you going to put the a second vise that is designed to grip boards so you can work on their faces? (The classic vise for this is a tail vise.) Well the right side of the bench is free (for right-handers) and there is no disadvantage to placing it there, so that's where it generally goes. Messing with this arrangement can be trouble. I've seen face vises on the right corner of the bench of people who are right-handed. They said they liked it better for crosscutting with a handsaw. But when and if you start handplaning, that vise will be in the way because it won't be ideal for gripping long stock. It will be holding the tail end of the board and the plane will be trying to pull it out of the vise. ■ Rule No. 9: No Fancy Finishes When finishing a workbench, less is more. A shiny film finish allows your work to scoot all over the bench. And a film finish will crack when struck by a hammer or dead-blow mallet. Choose a finish that is easy to apply, offers some protection and doesn't build up a thick film. I like an oil/varnish blend (sold as Danish Oil), or just boiled linseed oil. ■ Rule No. 10: Get a Window Seat Try to place your bench against a wall and under a window, especially if An oil-varnish blend (any brand) is an ideal finish for a workbench. It resists stains, doesn't build up a film and is easy to apply. Two coats are all I ever use. you use hand tools. The wall braces the workbench as you are planing cross-grain and sawing. The light from the window points out the flaws in the work that your hand tools are trying to remove. (When I work with hand tools, I turn the overhead lights off. I can see much better with fewer light sources.) For machine work, I find that placing the bench by a window helps with some operations, though not all. When power sanding, for example, the raking window light points out scratches better than overhead fluorescents. In general, when working with power tools, I tend to pull my workbench away from the wall so I can work on all sides of it. When working with routers, you sometimes have to work with odd clamping setups so that you can rout around a template. So having access You do need to be able to pull your bench away from the wall on occasion. When I am assembling cabinets, I'll clamp them to the benchtop so I'm able to get around the bench. The same goes when I'm routing. Note how I'm harnessing the window light. With your workbench against the wall, you have the wall and the mass of your bench holding things steady as you saw your workpieces. You also can keep your tools at arm's length. And, the windows cast a useful light on your workbench. to all four sides of the bench is handy. Power tool setups thrive on overhead light - and lots of it. So being by the window is nice, but not as necessary. How to Fix Your Current Bench You don't have to build or buy a new workbench if you're frustrated with the one you have. There are ways to improve your bench so it will be more useful. Here are some strategies. ■ Problem No. 1: My bench is too lightweight. I chase it around the shop when working. Add weight by building a tray below the bench and fill it with sand. Or rebuild your bench base with massive components and joints. You also can build drawers near the floor (so they don't impede clamping things to the top). That adds weight and storage. popularwoodworking.com 23 |


