Popular Woodworking 2007-06 № 162, страница 58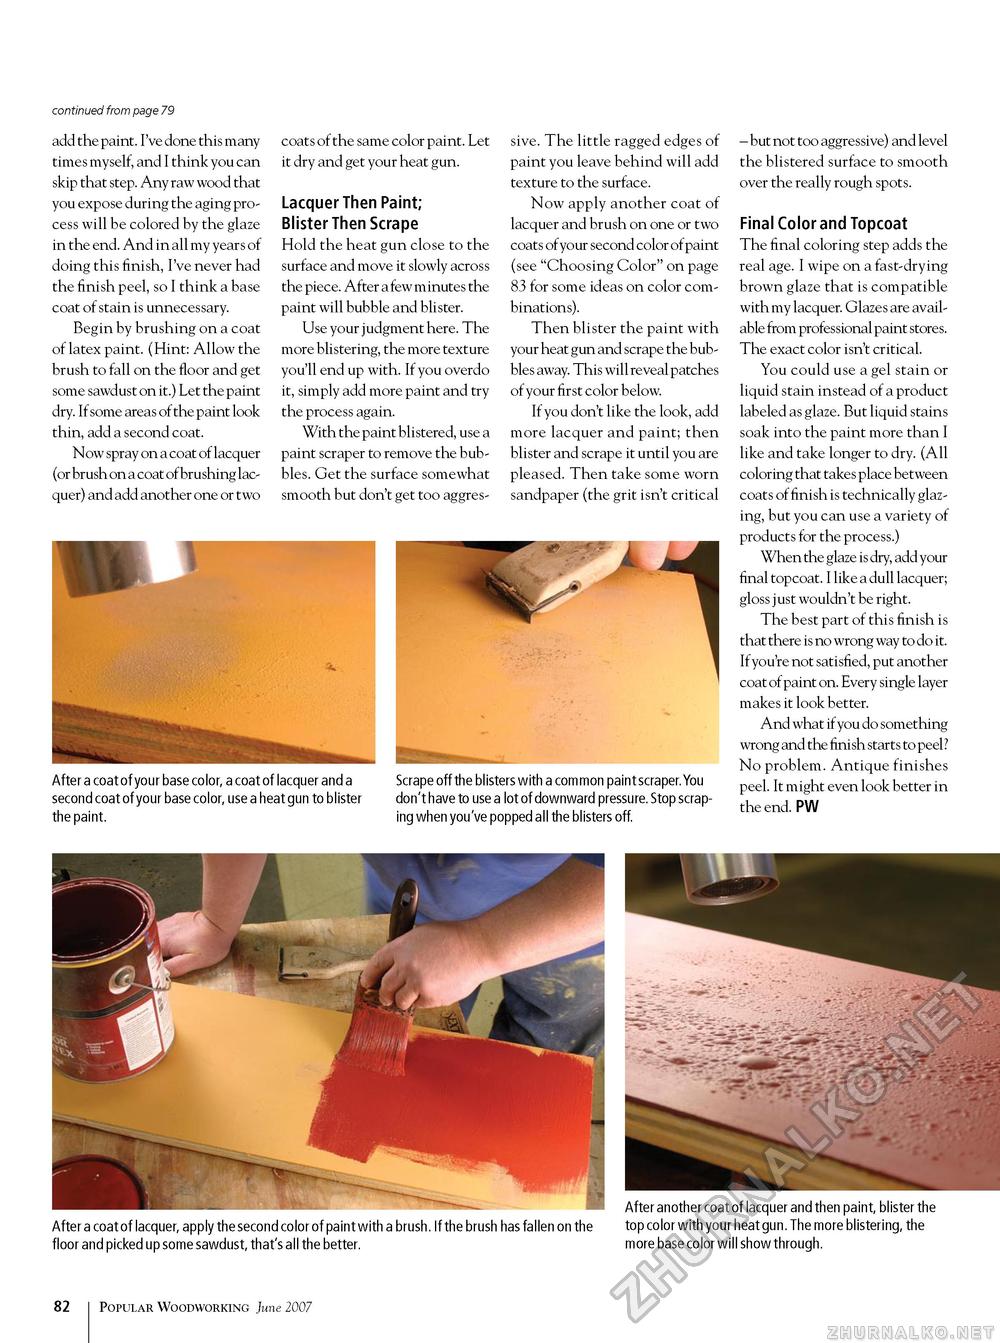
continued from page 79 add the paint. I've done this many times myself, and I think you can skip that step. Any raw wood that you expose during the aging process will be colored by the glaze in the end. And in all my years of doing this finish, I've never had the finish peel, so I think a base coat of stain is unnecessary. Begin by brushing on a coat of latex paint. (Hint: Allow the brush to fall on the floor and get some sawdust on it.) Let the paint dry. If some areas of the paint look thin, add a second coat. Now spray on a coat of lacquer (or brush on a coat of brushing lacquer) and add another one or two coats of the same color paint. Let it dry and get your heat gun. Lacquer Then Paint; Blister Then Scrape Hold the heat gun close to the surface and move it slowly across the piece. After a few minutes the paint will bubble and blister. Use your judgment here. The more blistering, the more texture you'll end up with. If you overdo it, simply add more paint and try the process again. With the paint blistered, use a paint scraper to remove the bubbles. Get the surface somewhat smooth but don't get too aggres sive. The little ragged edges of paint you leave behind will add texture to the surface. Now apply another coat of lacquer and brush on one or two coats of your second color of paint (see "Choosing Color" on page 83 for some ideas on color combinations). Then blister the paint with your heat gun and scrape the bubbles away. This will reveal patches of your first color below. If you don't like the look, add more lacquer and paint; then blister and scrape it until you are pleased. Then take some worn sandpaper (the grit isn't critical After a coat of your base color, a coat of lacquer and a second coat of your base color, use a heat gun to blister the paint. Scrape off the blisters with a common paint scraper. You don't have to use a lot of downward pressure. Stop scraping when you've popped all the blisters off. - but not too aggressive) and level the blistered surface to smooth over the really rough spots. Final Color and Topcoat The final coloring step adds the real age. I wipe on a fast-drying brown glaze that is compatible with my lacquer. Glazes are available from professional paint stores. The exact color isn't critical. You could use a gel stain or liquid stain instead of a product labeled as glaze. But liquid stains soak into the paint more than I like and take longer to dry. (All coloring that takes place between coats of finish is technically glazing, but you can use a variety of products for the process.) When the glaze is dry, add your final topcoat. I like a dull lacquer; gloss j ust wouldn't be right. The best part of this finish is that there is no wrong way to do it. If you're not satisfied, put another coat of paint on. Every single layer makes it look better. And what if you do something wrong and the finish starts to peel? No problem. Antique finishes peel. It might even look better in the end. PW After a coat of lacquer, apply the second color of paint with a brush. If the brush has fallen on the floor and picked up some sawdust, that's all the better. After another coat of lacquer and then paint, blister the top color with your heat gun. The more blistering, the more base color will show through. 10 Popular Woodworking June 2007 |


