Popular Woodworking 2007-08 № 163, страница 23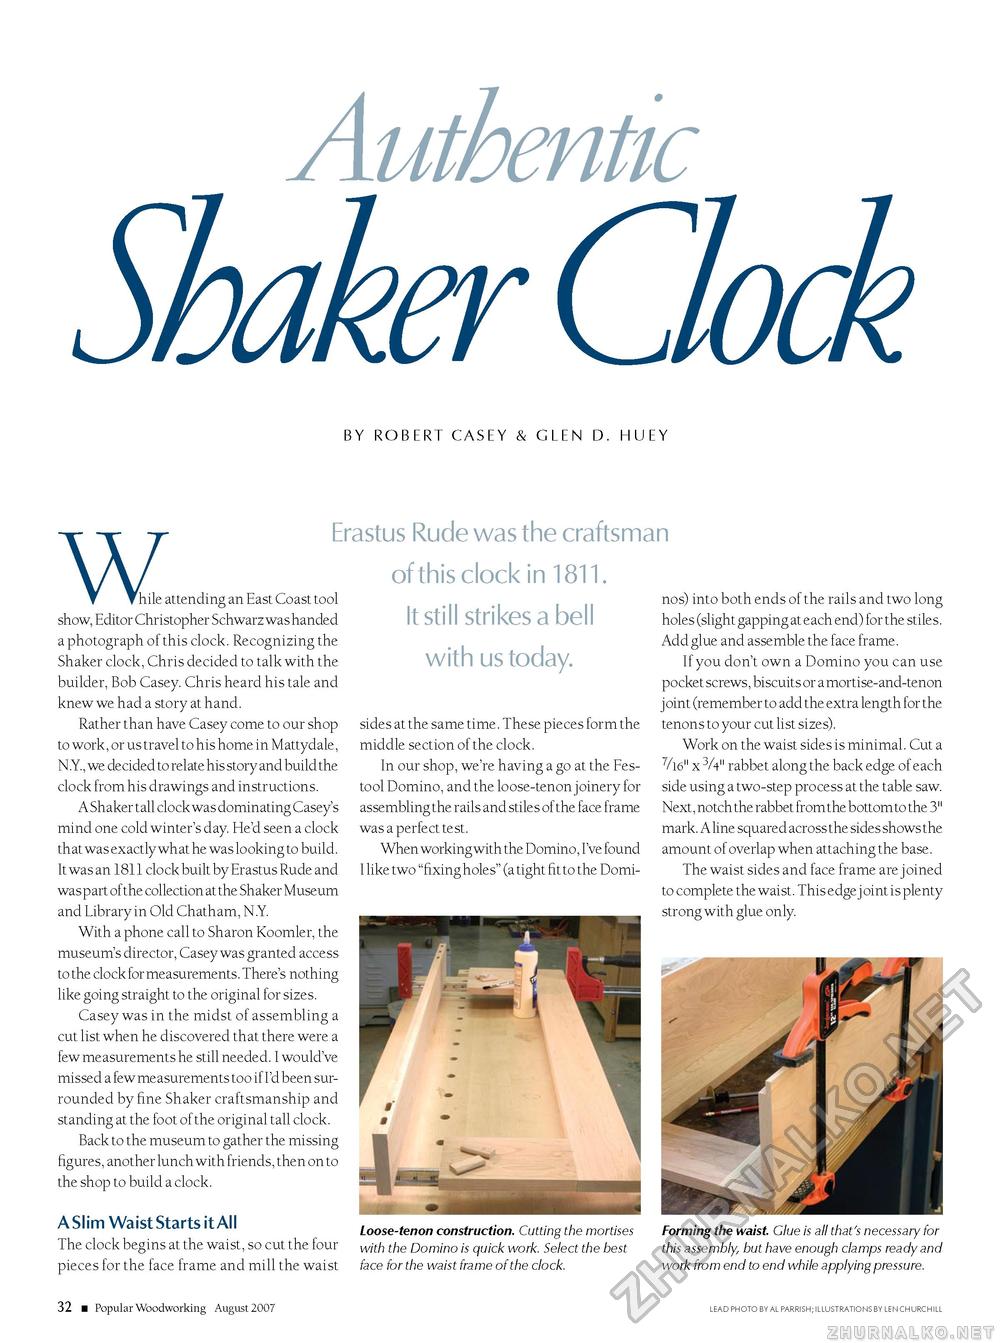
BY ROBERT CASEY & GLEN D. HUEY W hile at hile attending an East Coast tool show, Editor Christopher Schwarz was handed a photograph of this clock. Recognizing the Shaker clock, Chris decided to talk with the builder, Bob Casey. Chris heard his tale and knew we had a story at hand. Rather than have Casey come to our shop to work, or us travel to his home in Mattydale, N .Y., we decided to relate his story and build the clock from his drawings and instructions. A Shaker tall clock was dominating Casey's mind one cold winter's day. He'd seen a clock that was exactly what he was looking to build. It was an 1811 clock built by Erastus Rude and was part of the collection at the Shaker Museum and Library in Old Chatham, N.Y. With a phone call to Sharon Koomler, the museum's director, Casey was granted access to the clock for measurements. There's nothing like going straight to the original for sizes. Casey was in the midst of assembling a cut list when he discovered that there were a few measurements he still needed. I would've missed a few measurements too if I'd been surrounded by fine Shaker craftsmanship and standing at the foot of the original tall clock. Back to the museum to gather the missing figures, another lunch with friends, then on to the shop to build a clock. A Slim Waist Starts it All The clock begins at the waist, so cut the four pieces for the face frame and mill the waist Erastus Rude was the craftsman of this clock in 1811. It still strikes a bell with us today. sides at the same time. These pieces form the middle section of the clock. In our shop, we're having a go at the Fes-tool Domino, and the loose-tenon joinery for assembling the rails and stiles of the face frame was a perfect test. When working with the Domino, I've found I like two "fixing holes" (a tight fit to the Domi- nos) into both ends of the rails and two long holes (slight gapping at each end) for the stiles. Add glue and assemble the face frame. If you don't own a Domino you can use pocket screws, biscuits or a mortise-and-tenon joint (remember to add the extra length for the tenons to your cut list sizes). Work on the waist sides is minimal. Cut a V16" x 3A" rabbet along the back edge of each side using a two-step process at the table saw. Next, notch the rabbet from the bottom to the 3" mark. A line squared across the sides shows the amount of overlap when attaching the base. The waist sides and face frame are joined to complete the waist. This edge j oint is plenty strong with glue only. Loose-tenon construction. Cutting the mortises with the Domino is quick work. Select the best face for the waist frame of the clock. Forming the waist. Glue is all that's necessary for this assembly, but have enough clamps ready and work from end to end while applying pressure. 32 ■ Popular Woodworking August 2007 lead photo by al parrish; illustrations by len churchill |


