Popular Woodworking 2007-08 № 163, страница 26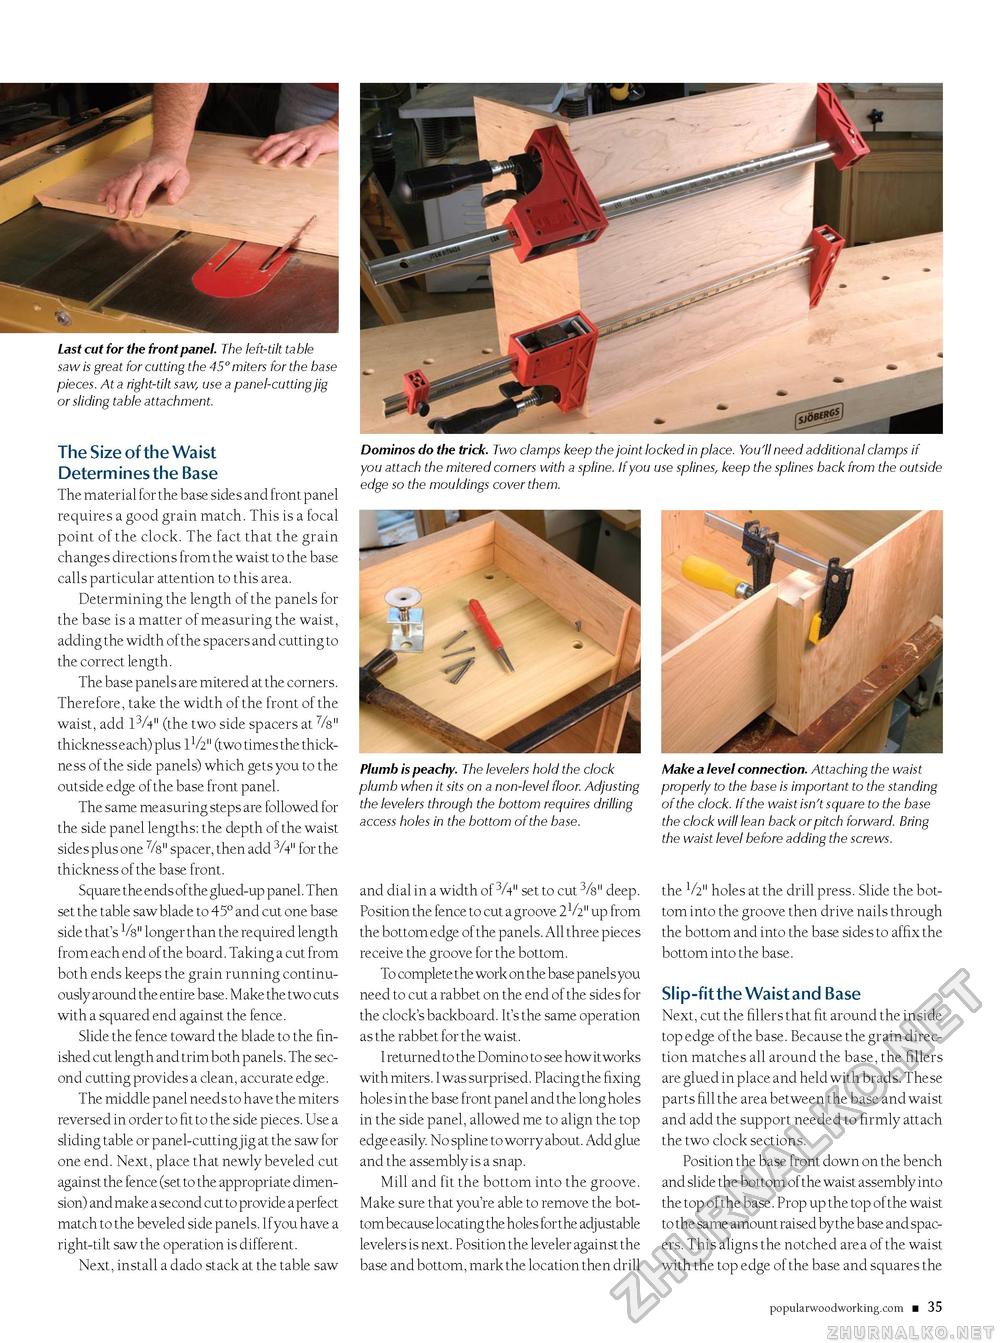
Last cut for the front panel. The left-tilt ta ble saw is great for cutting the 45° miters for the base pieces. At a right-tilt saw, use a panel-cutting jig or sliding table attachment. The Size of the Waist Determines the Base The material for the base sides and front panel requires a good grain match. This is a focal point of the clock. The fact that the grain changes directions from the waist to the base calls particular attention to this area. Determining the length of the panels for the base is a matter of measuring the waist, adding the width of the spacers and cutting to the correct length. The base panels are mitered at the corners. Therefore, take the width of the front of the waist, add 13A" (the two side spacers at %" thickness each) plus 11/2" (two times the thickness of the side panels) which gets you to the outside edge of the base front panel. The same measuring steps are followed for the side panel lengths: the depth of the waist sides plus one spacer, then add 3A" for the thickness of the base front. Square the ends of the glued-up panel. Then set the table saw blade to 45° and cut one base side that's Vs" longer than the required length from each end of the board. Taking a cut from both ends keeps the grain running continuously around the entire base. M ake the two cuts with a squared end against the fence. Slide the fence toward the blade to the finished cut length and trim both panels. The second cutting provides a clean, accurate edge. The middle panel needs to have the miters reversed in order to fit to the side pieces. Use a sliding table or panel-cutting jig at the saw for one end. Next, place that newly beveled cut against the fence (set to the appropriate dimension) and make a second cut to provide a perfect match to the beveled side panels. Ifyou have a right-tilt saw the operation is different. Next, install a dado stack at the table saw Dominos do the trick. Two clamps keep the joint locked in place. You'll need additional clamps if you attach the mitered corners with a spline. If you use splines, keep the splines back from the outside edge so the mouldings cover them. Plumb is peachy. The levelers hold the clock plumb when it sits on a non-level floor. Adjusting the levelers through the bottom requires drilling access holes in the bottom of the base. and dial in a width of 3/4" set to cut 3/s" deep. Position the fence to cut a groove 21/2" up from the bottom edge of the panels. All three pieces receive the groove for the bottom. To complete the work on the base panels you need to cut a rabbet on the end of the sides for the clock's backboard. It's the same operation as the rabbet for the waist. I returned to the Domino to see how it works with miters. I was surprised. Placing the fixing holes in the base front panel and the long holes in the side panel, allowed me to align the top edge easily. No spline to worry about. Add glue and the assembly is a snap. Mill and fit the bottom into the groove. Make sure that you're able to remove the bottom because locating the holes for the adjustable levelers is next. Position the leveler against the base and bottom, mark the location then drill Make a level connection. Attaching the waist properly to the base is important to the standing of the clock. If the waist isn't square to the base the clock will lean back or pitch forward. Bring the waist level before adding the screws. the 1/2" holes at the drill press. Slide the bottom into the groove then drive nails through the bottom and into the base sides to affix the bottom into the base. Slip-fit the Waist and Base Next, cut the fillers that fit around the inside top edge of the base. Because the grain direction matches all around the base, the fillers are glued in place and held with brads. These parts fill the area between the base and waist and add the support needed to firmly attach the two clock sections. Position the base front down on the bench and slide the bottom of the waist assembly into the top of the base. Prop up the top of the waist to the same amount raised by the base and spacers. This aligns the notched area of the waist with the top edge of the base and squares the popularwoodworking.com ■ 35 |


