Popular Woodworking 2007-11 № 165, страница 30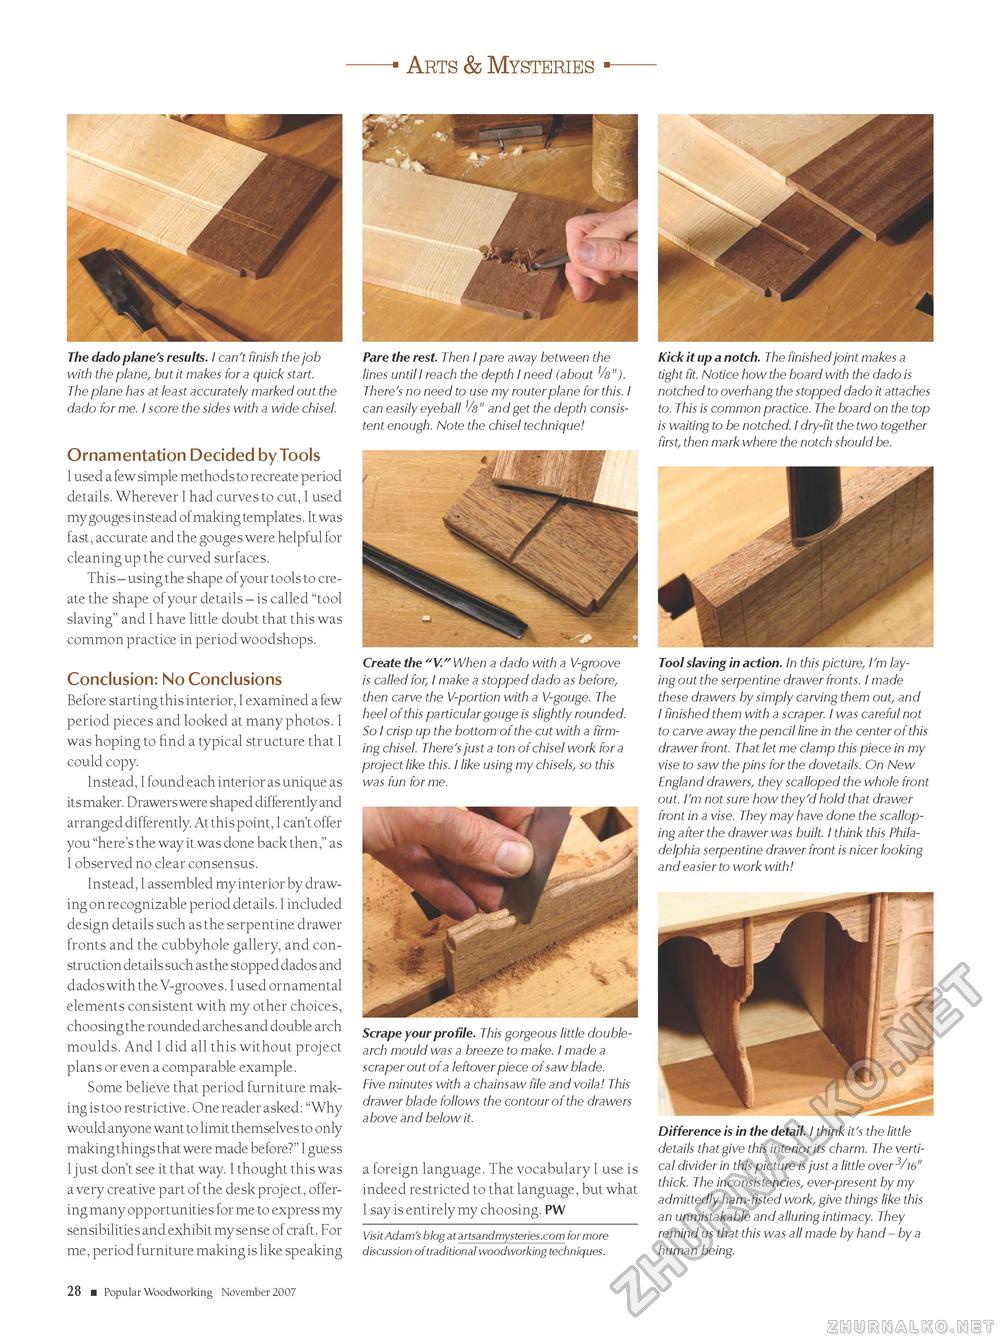
Arts & Mysteries The dado plane's results. I can't finish the job with the plane, but it makes for a quick start. The plane has at least accurately marked out the dado for me. I score the sides with a wide chisel. Ornamentation Decided by Tools I used a few simple methods to recreate period details. Wherever I had curves to cut, I used my gouges instead of making templates. It was fast, accurate and the gouges were helpful for cleaning up the curved surfaces. This - using the shape of your tools to create the shape of your details - is called "tool slaving" and I have little doubt that this was common practice in period woodshops. Conclusion: No Conclusions Before starting this interior, I examined a few period pieces and looked at many photos. I was hoping to find a typical structure that I could copy. Instead, I found each interior as unique as its maker. Drawers were shaped differently and arranged differently. At this point, I can't offer you "here's the way it was done back then," as I observed no clear consensus. Instead, I assembled my interior by drawing on recognizable period details. I included design details such as the serpentine drawer fronts and the cubbyhole gallery, and construction details such as the stopped dados and dados with the V-grooves. I used ornamental elements consistent with my other choices, choosing the rounded arches and double arch moulds. And I did all this without project plans or even a comparable example. Some believe that period furniture making is too restrictive. One reader asked: "Why would anyone want to limit themselves to only making things that were made before?" I guess I just don't see it that way. I thought this was a very creative part of the desk project, offering many opportunities for me to express my sensibilities and exhibit my sense of craft. For me, period furniture making is like speaking Pare the rest. Then I pare away between the lines until I reach the depth I need (about Vs"). There's no need to use my router plane for this. I can easily eyeball Vs" and get the depth consistent enough. Note the chisel technique! Create the "V." When a dado with a V-groove is called for, I make a stopped dado as before, then carve the V-portion with a V-gouge. The heel of this particular gouge is slightly rounded. So I crisp up the bottom of the cut with a firming chisel. There's just a ton of chisel work for a project like this. I like using my chisels, so this was fun for me. Scrape your profile. This gorgeous little double-arch mould was a breeze to make. I made a scraper out of a leftover piece of saw blade. Five minutes with a chainsaw file and voila! This drawer blade follows the contour of the drawers above and below it. a foreign language. The vocabulary I use is indeed restricted to that language, but what I say is entirely my choosing. PW Visit Adam's blog at artsandmysteries.com for more discussion of traditional woodworking techniques. Kick it up a notch. The finished joint makes a tight fit. Notice how the board with the dado is notched to overhang the stopped dado it attaches to. This is common practice. The board on the top is waiting to be notched. I dry-fit the two together first, then mark where the notch should be. Tool slaving in action. In this picture, I'm laying out the serpentine drawer fronts. I made these drawers by simply carving them out, and I finished them with a scraper. I was careful not to carve away the pencil line in the center of this drawer front. That let me clamp this piece in my vise to saw the pins for the dovetails. On New England drawers, they scalloped the whole front out. I'm not sure how they'd hold that drawer front in a vise. They may have done the scalloping after the drawer was built. I think this Philadelphia serpentine drawer front is nicer looking and easier to work with! Difference is in the detail. I think it's the little details that give this interior its charm. The vertical divider in this picture is just a little over 3/l6" thick. The inconsistencies, ever-present by my admittedly ham-fisted work, give things like this an unmistakable and alluring intimacy. They remind us that this was all made by hand - by a human being. 28 ■ Popular Woodworking November 2007 |


