Popular Woodworking 2007-12 № 166, страница 26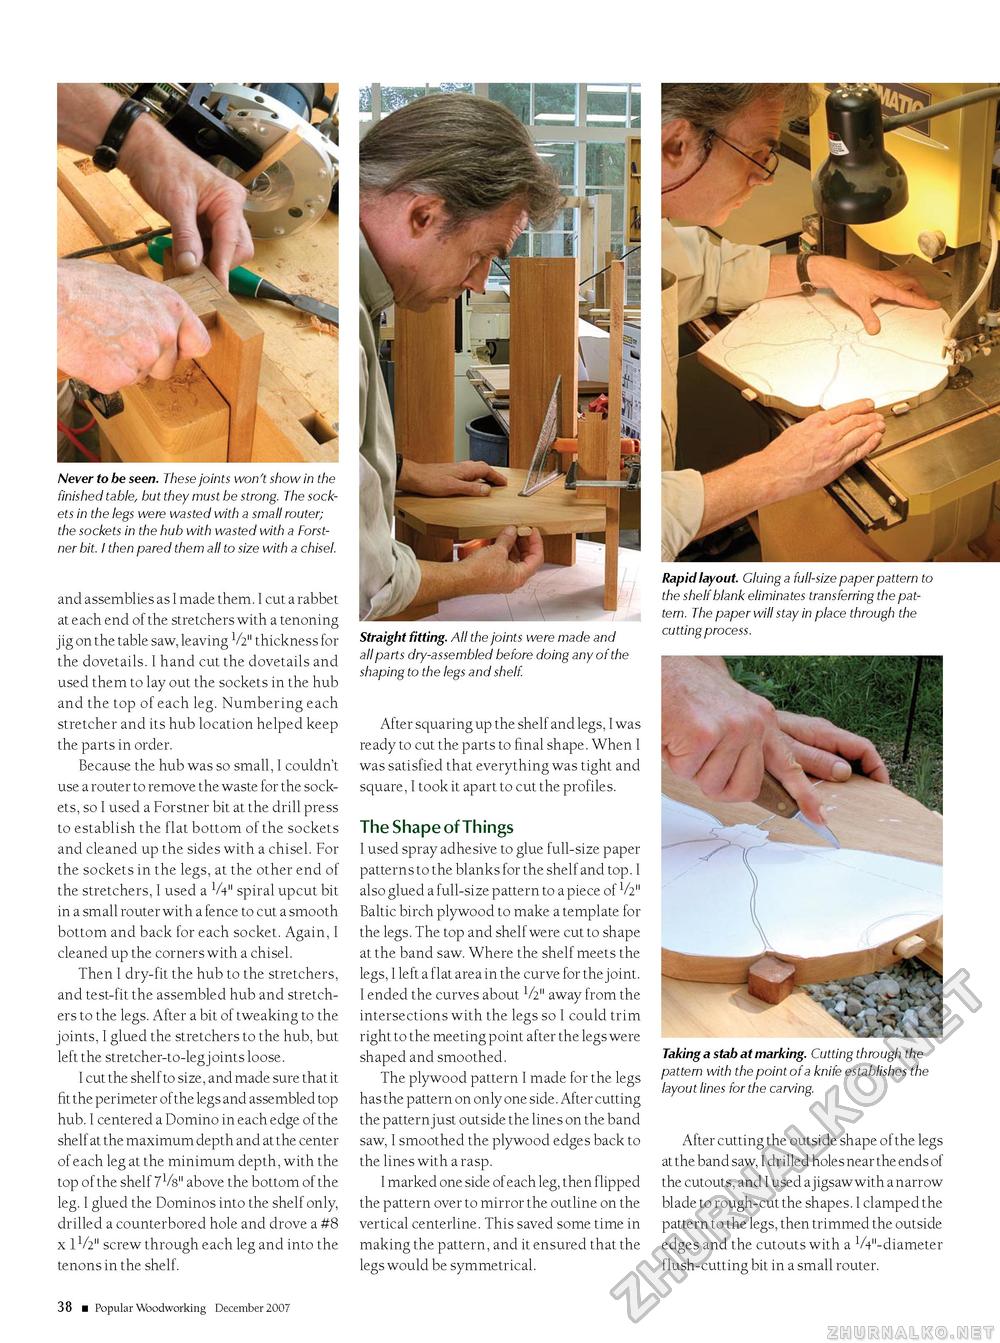
Never to be seen. These joints won't show in the finished table, but they must be strong. The sockets in the legs were wasted with a small router; the sockets in the hub with wasted with a Forstner bit. I then pared them all to size with a chisel. and assemblies as I made them. I cut a rabbet at e ach end of the stretchers with a tenoning jig on the table saw, leaving V2" thickness for the dovetails. I hand cut the dovetails and used them to lay out the sockets in the hub and the top of each leg. Numbering each stretcher and its hub location helped keep the parts in order. Because the hub was so small, I couldn't use a router to remove the waste for the sockets, so I used a Forstner bit at the drill press to establish the flat bottom of the sockets and cleaned up the sides with a chisel. For the sockets in the legs, at the other end of the stretchers, I used a V4" spiral upcut bit in a small router with a fence to cut a smooth bottom and back for each socket. Again, I cleaned up the corners with a chisel. Then I dry-fit the hub to the stretchers, and test-fit the assembled hub and stretchers to the legs. After a bit of tweaking to the joints, I glued the stretchers to the hub, but left the stretcher-to-leg joints loose. I cut the shelf to size, and made sure that it fit the perimeter of the legs and assembled top hub. I centered a Domino in each edge of the shelf at the maximum depth and at the center of each leg at the minimum depth, with the top of the shelf 7V8" above the bottom of the leg. I glued the Dominos into the shelf only, drilled a counterbored hole and drove a #8 x 1V2" screw through each leg and into the tenons in the shelf. Straight fitting. All the joints were made and all parts dry-assembled before doing any of the shaping to the legs and shelf. After squaring up the shelf and legs, I was ready to cut the parts to final shape. When I was satisfied that everything was tight and square, I took it apart to cut the profiles. The Shape of Things I used spray adhesive to glue full-size paper patterns to the blanks for the shelf and top. I also glued a full-size pattern to a piece of V2" Baltic birch plywood to make a template for the legs. The top and shelf were cut to shape at the band saw. Where the shelf meets the legs, I left a flat area in the curve for the joint. I ended the curves about 1/2" away from the intersections with the legs so I could trim right to the meeting p oint after the legs were shaped and smoothed. The plywood pattern I made for the legs has the pattern on only one side. After cutting the pattern just outside the lines on the band saw, I smoothed the plywood edges back to the lines with a rasp. I marked one side of each leg, then flipped the pattern over to mirror the outline on the vertical centerline. This saved some time in making the pattern, and it ensured that the legs would be symmetrical. Rapid layout. Cluing a full-size paper pattern to the shelf blank eliminates transferring the pattern. The paper will stay in place through the cutting process. Taking a stab at marking. Cutting through the pattern with the point of a knife establishes the layout lines for the carving. After cutting the outside shape of the legs at the band saw, I drilled holes near the ends of the cutouts, and I used a jigsaw with a narrow blade to rough-cut the shapes. I clamped the pattern to the legs, then trimmed the outside edges and the cutouts with a 1/4"-diameter flush-cutting bit in a small router. 38 ■ Popular Woodworking December 2007 |


