Popular Woodworking 2007-12 № 166, страница 34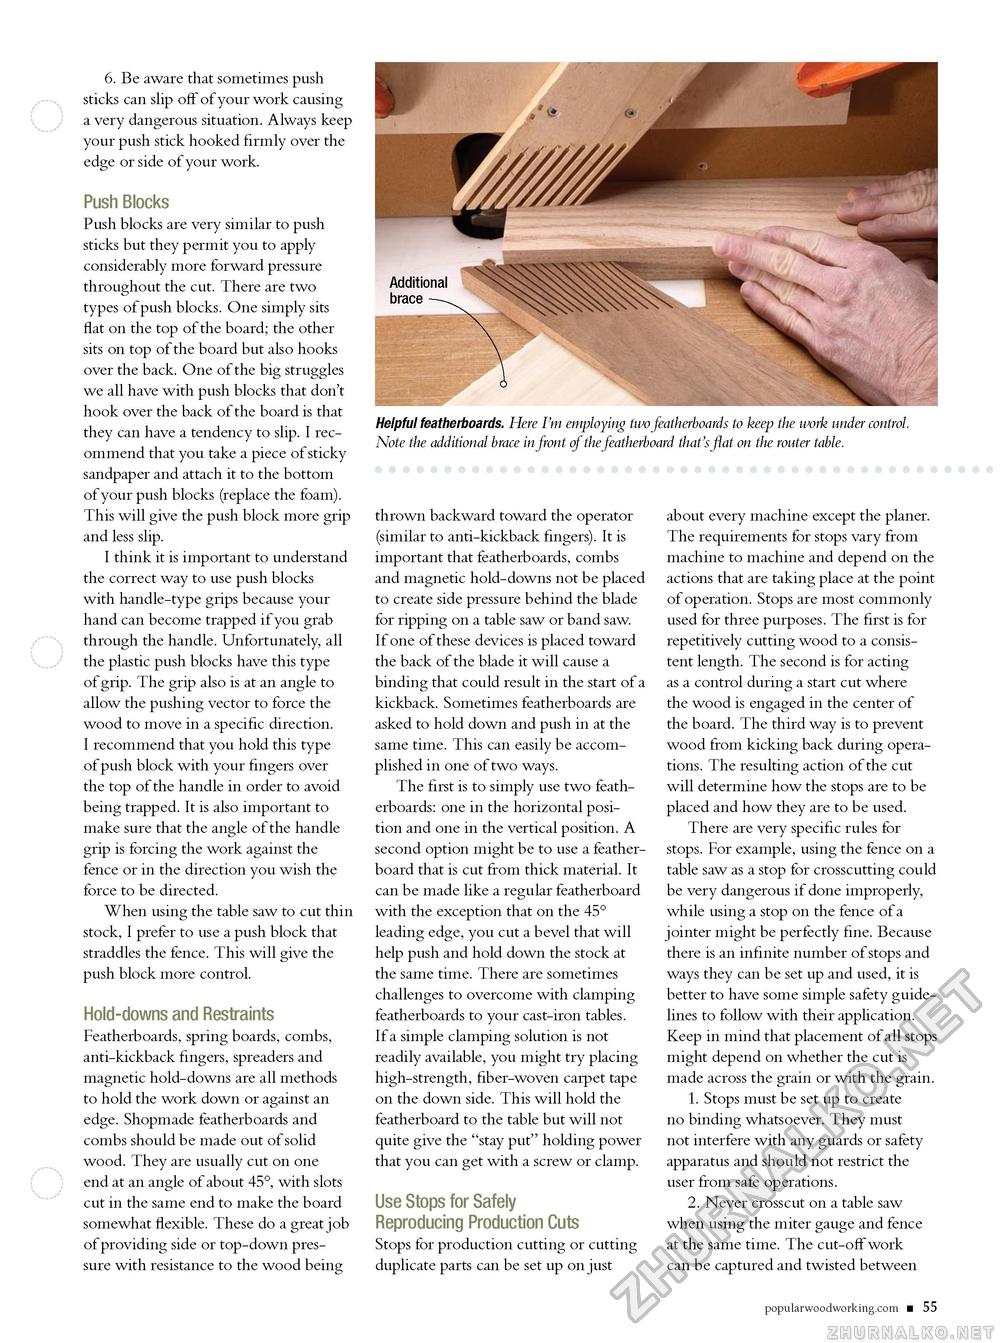
Helpful featherboards. Here I'm employing two featherboards to keep the work under control. Note the additional brace in front of the featherboard that's flat on the router table. 6. Be aware that sometimes push sticks can slip off of your work causing a very dangerous situation. Always keep your push stick hooked firmly over the edge or side of your work. Push Blocks Push blocks are very similar to push sticks but they permit you to apply considerably more forward pressure throughout the cut. There are two types of push blocks. One simply sits flat on the top of the board; the other sits on top of the board but also hooks over the back. One of the big struggles we all have with push blocks that don't hook over the back of the board is that they can have a tendency to slip. I recommend that you take a piece of sticky sandpaper and attach it to the bottom of your push blocks (replace the foam). This will give the push block more grip and less slip. I think it is important to understand the correct way to use push blocks with handle-type grips because your hand can become trapped if you grab through the handle. Unfortunately, all the plastic push blocks have this type of grip. The grip also is at an angle to allow the pushing vector to force the wood to move in a specific direction. I recommend that you hold this type of push block with your fingers over the top of the handle in order to avoid being trapped. It is also important to make sure that the angle of the handle grip is forcing the work against the fence or in the direction you wish the force to be directed. When using the table saw to cut thin stock, I prefer to use a push block that straddles the fence. This will give the push block more control. Hold-downs and Restraints Featherboards, spring boards, combs, anti-kickback fingers, spreaders and magnetic hold-downs are all methods to hold the work down or against an edge. Shopmade featherboards and combs should be made out of solid wood. They are usually cut on one end at an angle of about 45°, with slots cut in the same end to make the board somewhat flexible. These do a great job of providing side or top-down pressure with resistance to the wood being thrown backward toward the operator (similar to anti-kickback fingers). It is important that featherboards, combs and magnetic hold-downs not be placed to create side pressure behind the blade for ripping on a table saw or band saw. If one of these devices is placed toward the back of the blade it will cause a binding that could result in the start of a kickback. Sometimes featherboards are asked to hold down and push in at the same time. This can easily be accomplished in one of two ways. The first is to simply use two feath-erboards: one in the horizontal position and one in the vertical position. A second option might be to use a feather-board that is cut from thick material. It can be made like a regular featherboard with the exception that on the 45° leading edge, you cut a bevel that will help push and hold down the stock at the same time. There are sometimes challenges to overcome with clamping featherboards to your cast-iron tables. If a simple clamping solution is not readily available, you might try placing high-strength, fiber-woven carpet tape on the down side. This will hold the featherboard to the table but will not quite give the "stay put" holding power that you can get with a screw or clamp. Use Stops for Safely Reproducing Production Cuts Stops for production cutting or cutting duplicate parts can be set up on just about every machine except the planer. The requirements for stops vary from machine to machine and depend on the actions that are taking place at the point of operation. Stops are most commonly used for three purposes. The first is for repetitively cutting wood to a consistent length. The second is for acting as a control during a start cut where the wood is engaged in the center of the board. The third way is to prevent wood from kicking back during operations. The resulting action of the cut will determine how the stops are to be placed and how they are to be used. There are very specific rules for stops. For example, using the fence on a table saw as a stop for crosscutting could be very dangerous if done improperly, while using a stop on the fence of a jointer might be perfectly fine. Because there is an infinite number of stops and ways they can be set up and used, it is better to have some simple safety guidelines to follow with their application. Keep in mind that placement of all stops might depend on whether the cut is made across the grain or with the grain. 1. Stops must be set up to create no binding whatsoever. They must not interfere with any guards or safety apparatus and should not restrict the user from safe operations. 2. Never crosscut on a table saw when using the miter gauge and fence at the same time. The cut-off work can be captured and twisted between popularwoodworking.com ■ 55 |


