Popular Woodworking 2008-06 № 169, страница 21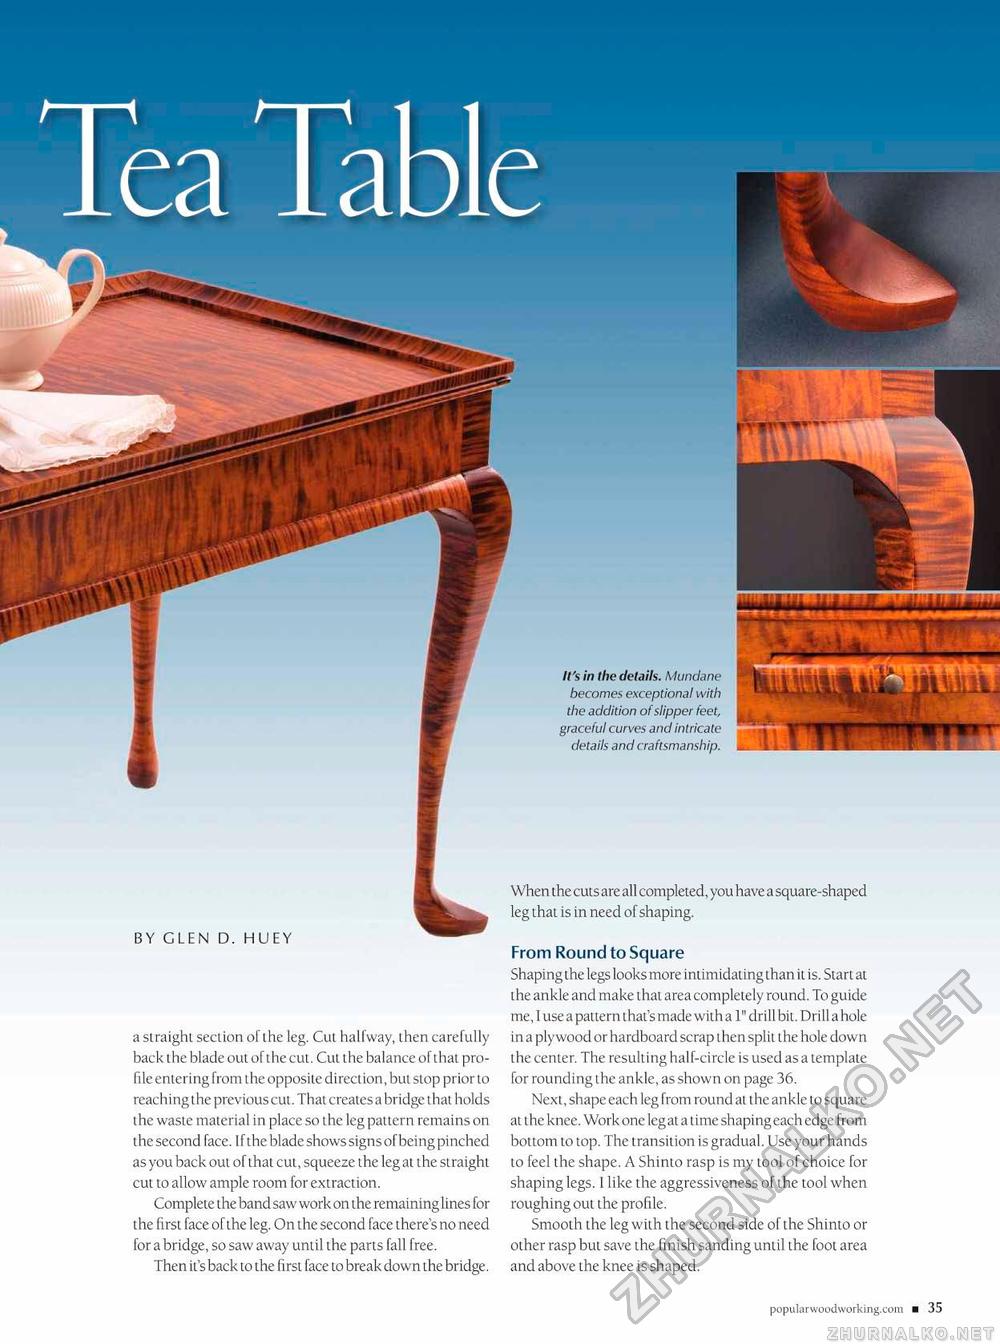
a straight section of the leg. Cut halfway, then carefully back the blade out of the cut. Cut the balance of that profile entering from the opposite direction, but stop prior to reaching the previous cut. That creates a bridge that holds the waste material in place so the leg pattern remains on the second face. If the blade shows signs of being pinched as you back out of that cut, squeeze the leg at the straight cut to allow ample room for extraction. Complete the band saw work on the remaininglines for the first face ofthe leg. On the second face there's no need for a bridge, so saw away until the parts fall free. Then it's back to the first face to break down the bridge. When the cuts are all completed, you have a square-shaped leg that is in need of shaping. From Round to Square Shaping the legs looks more intimidating than it is. Start at the ankle and make that area completely round. To guide me, I use a pattern that's made with a 1" drill bit. Drill a hole in a plywood or hardboard scrap then split the hole down the center. The resulting hal f-circle is used as a template for rounding the ankle, as shown on page 36. Next, shape each leg from round at the ankle to square at the knee. Work one leg at a time shaping each edge from bottom to top. The transition is gradual. Use your hands to feel the shape. A Shinto rasp is my tool of choice for shaping legs. 1 like the aggressiveness of the tool when roughing out the profile. Smooth the leg with the second side of the Shinto or other rasp but save the finish sanding until the foot area and above the knee is shaped. |


