Popular Woodworking 2008-06 № 169, страница 22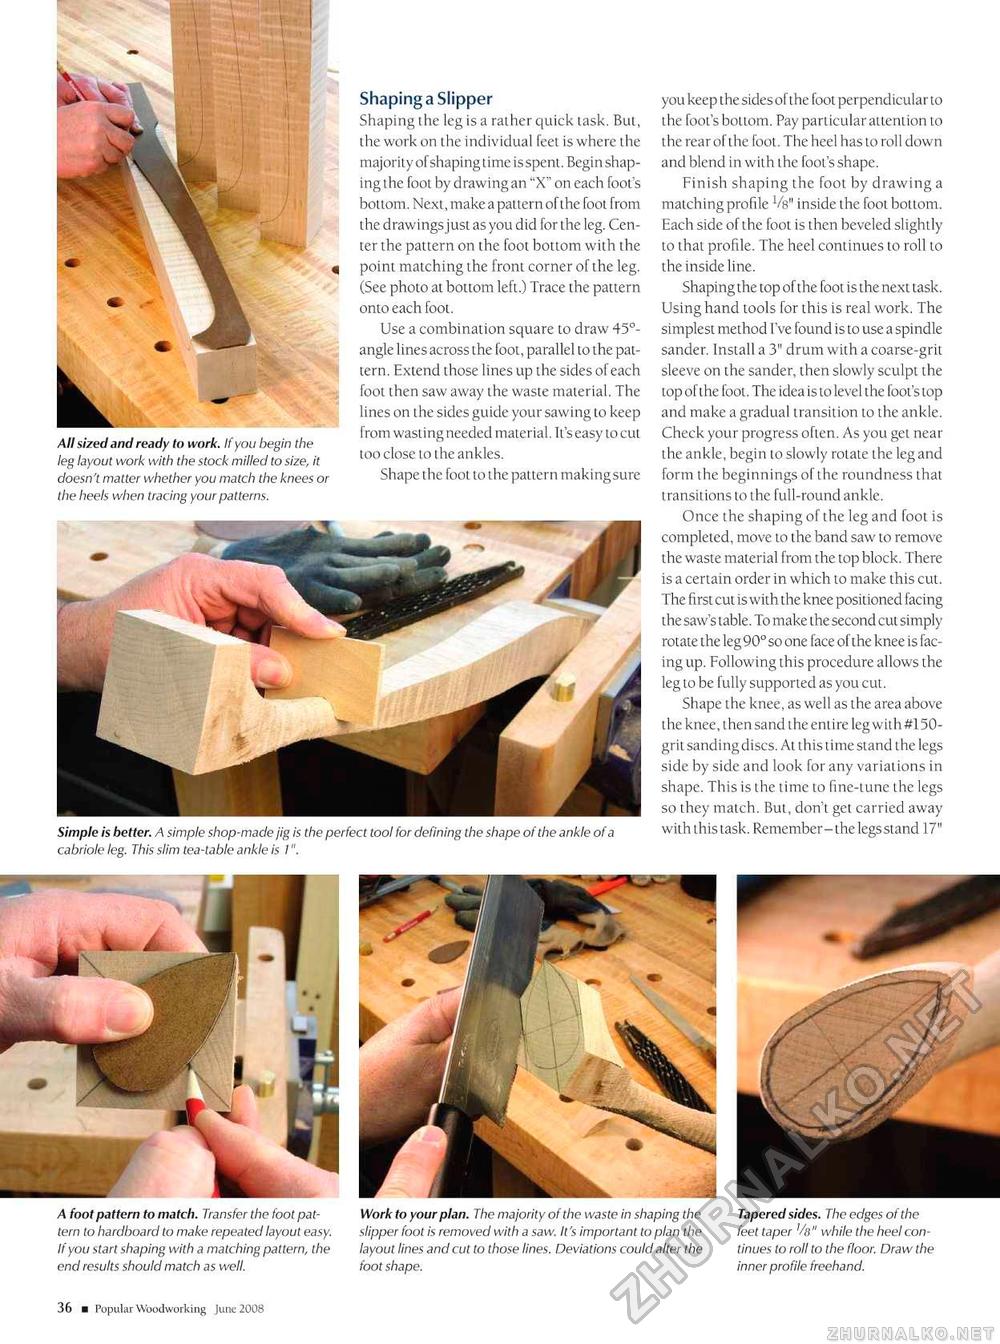
All sized and ready lo work. Ifyou begin the leg layout work with the stock milled to size, it doesn't matter whether you match the knees 01 the heels when tracing your patterns. Shaping a Slipper Shaping the leg is a rather quick task. But, the work on the individual feet is where the majority of shaping time isspent. Begin shaping the foot by drawing an "X" on each foot's bottom. Next, make a pattern of the foot from the drawings just as you did for the leg. Center the pattern on the foot bottom with the point matching the front corner of the leg. (See photo at bottom left.) Trace the pattern onto each foot. Use a combination square to draw 45°-angle linesacross the foot, parallel to the pattern. Extend those lines up the sides of each foot then saw away the waste material. The lines on the sides guide your sawing to keep from wastingneeded material. It's easy to cut too close to the ankles. Shape the foot to the pattern makingsure Simple is better. A simple shop-made jig is the perfect tool for defining the shape of the ankle of a cabriole leg. This slim tea-table ankle is I". you keep the sides of the foot perpendicular to the foot's bottom. Pay particular attention to the rear of the foot. The heel has to roll down and blend in with the foot's shape. Finish shaping the foot by drawing a matching profile Ve" inside the foot bottom. Each side of the foot is then beveled slightly to that profile. The heel continues to roll to the inside line. Shaping the top of the foot is the next task. Using hand tools for this is real work. The simplest method I've found is to use a spindle sander. Install a 3" drum with a coarse-grit sleeve on the sander, then slowly sculpt the top of the foot. The idea is to level the foot's top and make a gradual transition to the ankle. Check your progress often. As you gel near the ankle, begin 10 slowly rotate the leg and form the beginnings of the roundness thai transitions to the full-round ankle. Once the shaping of the leg and foot is completed, move to the band saw to remove the waste material from the top block. There is a certain order in which to make this cut. The first cut is with the knee positioned facing the saw's table. To make the second cut simply rotate the leg 90° so one face of the knee is facing up. Following this procedure allows the leg to be fully supported as you cut. Shape the knee, as well as the area above the knee, then sand the entire leg with #150-grit sandingdiscs. At this lime stand the legs side by side and look for any variations in shape. This is the time to fine-tune the legs so they match. But, don't get carried away with this task. Remember-thelegsstand 17" A foot pattern to match. Transfer the foot pattern to hardboard to make repeated layout easy. If you start shaping with a matching pattern, the end results should match as well. Work to your plan. The majority of the waste in shaping the slipper foot is removed with a saw. It's important to plan the layout lines and cut to those lines. Deviations could alter the foot shape. Tapered sides. The edges of the feet taper '/«" while the heel continues to roll to the floor. Draw the inner profile freehand. 12 ■ Popular Woodworking June 2008 |


