Popular Woodworking 2008-06 № 169, страница 56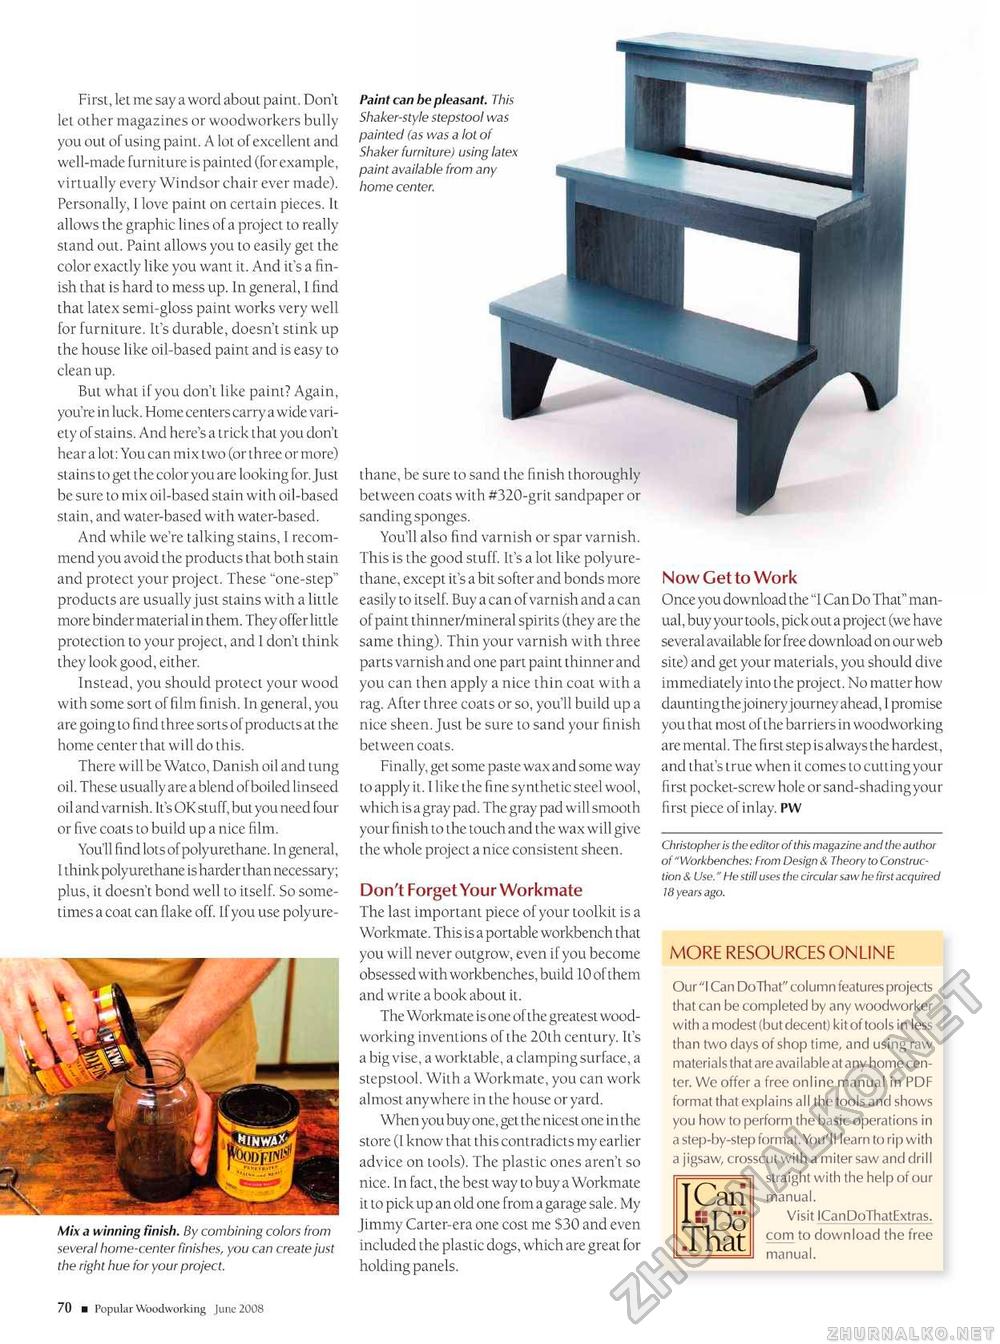
First, let me say a word about paint. Don't let other magazines or woodworkers bully you out of using paint. A lot of excellent and well-made furniture is painted (for example, virtually every Windsor chair ever made). Personally, I love paint on certain pieces. It allows the graphic lines of a project to really stand out. Paint allows you to easily get the color exactly like you want it. And it's a finish that is hard to mess up. In general, I find that latex semi-gloss paint works very well for furniture. It's durable, doesn't stink up the house like oil-based paint and is easy to clean up. But what ifyou don't like paint? Again, you're in luck. Home centers carry a wide variety of stains. And here's a trick that you don't hear a lot: You can mix two (or three or more) stains to get the color you are looking for. Just be sure to mix oil-based stain with oil-based stain, and water-based with water-based. And while we're talking stains, 1 recommend you avoid the products that both stain and protect your project. These "one-step" products are usually just stains with a little more binder material in them. They offer little protection to your project, and I don't think they look good, either. Instead, you should protect your wood with some sort of film finish. In general, you are going to find three sorts of products at the home center that will do this. There will be Watco, Danish oil and tung oil. These usually are a blend of boiled linseed oil and varnish. It's OK stuff, but you need four or five coats to build up a nice film. You'll findlotsofpolyurethane. In general, I think polyurethane is harder than necessary; plus, it doesn't bond well to itself. So sometimes a coat can flake off. Ifyou use polyure- Mix a winning finish. By combining colors from several home-center finishes, you can create just the right hue for your project. Paint can be pleasant. This Shaker-style stepstool was painted (as was a lot of Shaker furniture) using latex paint available from any thane, be sure to sand the finish thoroughly between coats with #320-grit sandpaper or sanding sponges. You'll also find varnish or spar varnish. This is the good stuff. It's a lot like polyurethane, except it's a bit softer and bonds more easily to itself. Buy a can of varnish and a can of paint thinner/mineral spirits (they are the same thing). Thin your varnish with three parts varnish and one part paint thinner and you can then apply a nice thin coat with a rag. After three coats or so, you'll build up a nice sheen. Just be sure to sand your finish between coats. Finally, get some paste wax and some way to apply it. I like the fine synthetic steel wool, which is a gray pad. The gray pad will smooth your finish to the touch and the wax will give the whole project a nice consistent sheen. Don't Forget Your Workmate The last important piece of your toolkit is a Workmate. This is a portable workbench that you will never outgrow, even ifyou become obsessed with workbenches, build 10 of them and write a book about it. The Workmate is one of the greatest woodworking inventions of the 20th century. It's a big vise, a worktable, a clamping surface, a stepstool. With a Workmate, you can work almost anywhere in the house or yard. When you buy one, get the nicest one in the store (1 know that this contradicts my earlier advice on tools). The plastic ones aren't so nice. In fact, the best way to buy a Workmate it to pick up an old one from a garage sale. My Jimmy Carter-era one cost me S30 and even included the plastic dogs, which are great for holding panels. Now Get to Work Once you download the "I Can Do That" manual, buy your tools, pick out a project (we have several available for free download on our web site) and get your materials, you should dive immediately into the project. No matter how dauntingthejoineryjourney ahead, I promise you that most of the barriers in woodworking are mental. The first step isalways the hardest, and that's true when it comes to cutting your first pocket-screw hole or sand-shadingyour first piece of inlay. PW Christopher is the editor of this magazine and the author of "Workbenches: From Design & Theory to Construction & Use." He still uses the circular saw he first acquired 18 years ago. MORE RESOURCES ONLINE Our "I Can DoThat" column features projects that can be completed by any woodworker with a modest (but decent) kit of tools in less than two days of shop time, and using raw materials that are available at any home center. We offer a free online manual in PDF format that explains all the tools and shows you how to perform the basic operations in a step-by-step format. You'll learn to rip with a jigsaw, crosscut with a miter saw and drill straight with the help of our Visit ICanDoThatExtras. com to download the free manual. 12 ■ Popular Woodworking June 2008 |


