Popular Woodworking 2008-10 № 171, страница 39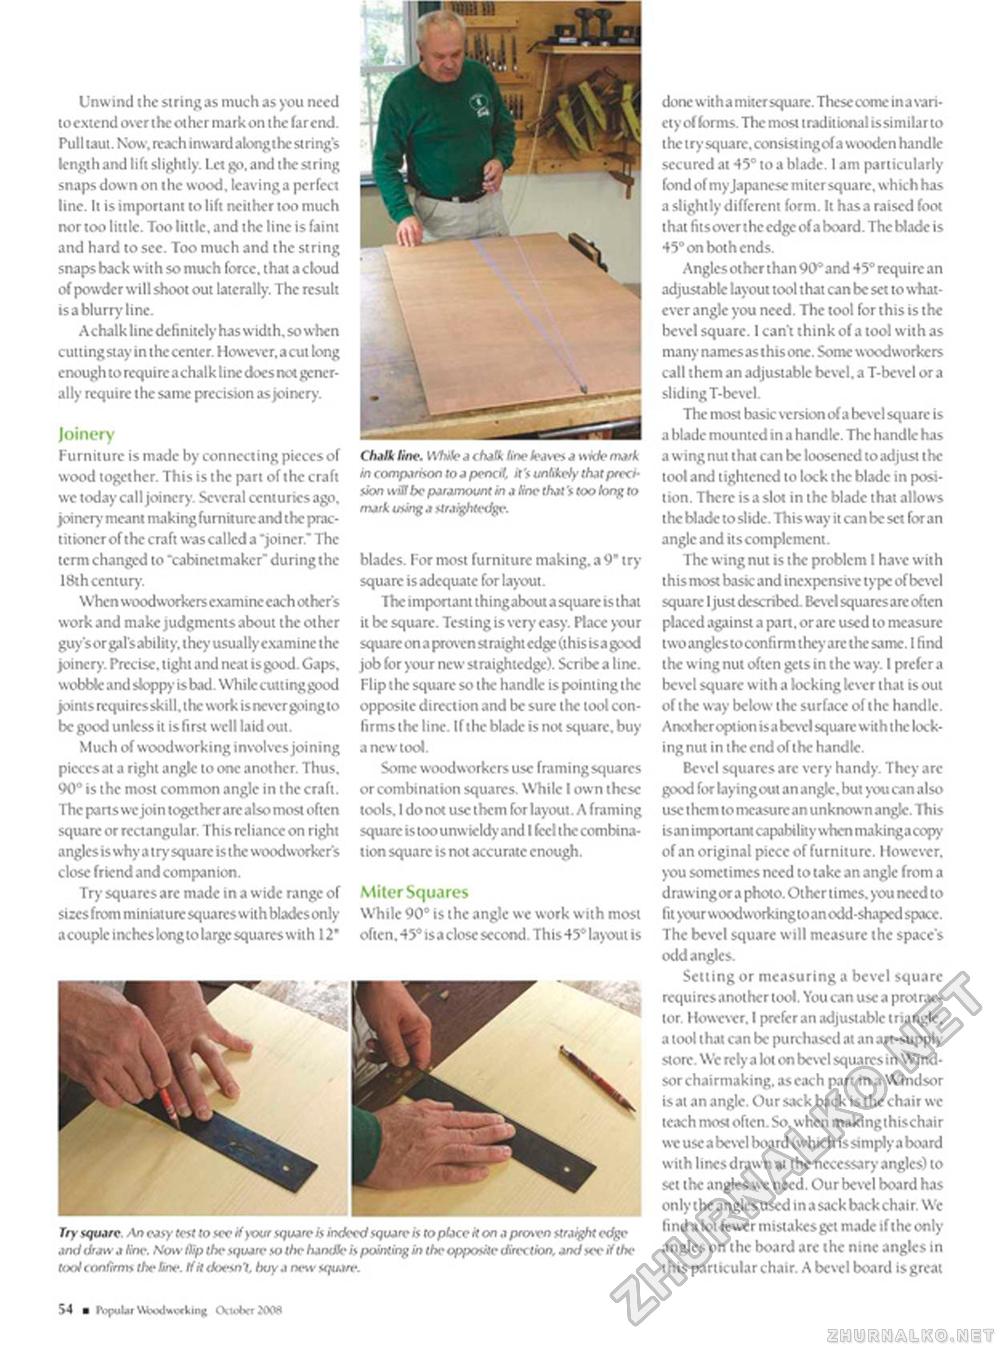
Unwind the siring as much as you need locxtend over the other mark on the far end. Pull taut. Now. reach inward alongthc strings length and lift slightly. Let go. and the string snaps down on the wood, Icavinga pcrfcct line. It is important to lift neither too much nor too little. Too little, and the line is faint and hard to see. Too much and the string snaps hack with so much force, that a cloud of powder will shoot out laterally. The result is a blurry line. Achalkline definitely has width, so when cutting stay in the center. However, a cut long enough to require achalk line docs not generally require the same precision as joinery. Joinery Furniture is made by connecting pieces of wood together. This is the part of the craft we today call joinery. Several centuries ago. joinery meant makingfumiiureand the practitioner of the craft was called a "joiner* The term changed to "cabinetmaker" during the 18th century. When woodworkers examine each others work and make judgments about the other guysorgal'sability. they usuallycxamine the joinery. Precise, tight and neat is good. Gaps, wobbk and sloppy is bad. Whilccuttinggood joints requires skill, the work isncvergoingto be good unless il is first well laid out. Much of woodworking involves joining pieces at a right angk to one another. Thus. 90° is the most common angle in the craft. The pans we join togcthcrarc also most often square or rectangular. This reliance on right angks is why a try square is the woodworker's close friend and companion. Try squares arc made in a wide range of sizes from miniature squares with blades only acoupk inches long to large squares with 12* ChaH line. Vifule a chalk line leave-, a wide mark in comparison lo a pencil, it '<■ unSkefy that precision wiB be paramount in aline that's too long to mark using a straightedge. blades. For most furniture making, a 9" try square isadequate for layout. The important thing about a square is that it be square. Testing is very easy. Place your square on a proven straight edge (this isa good job for your new straightedge). Scribe a line. Flip the square so the handk is pointing the opposite direction and be sure the tool confirms the line. If the blade is not square, buy a new tool. Some w oodworkers use framing squares or combination squares. While I own these tools. I do not use them for layout. A framing square is too unwieldy and I kcl the combination square is not accurate enough. Miter Squares While 90° is the angle we work with most often, 45° isa close second. This45® layout is Try square \n easy test lo see if ywr square is indeed square is to place it on a prenvn straight edge and draw a line. Now Dip the situate so the handle is pointing in the opposite direc lion, and see if the toohonfrmrs the tine. If it doesn't, buy a new square. 54 ■ r\>puUf WWxlvwcVin* (XtohftXKW done witha miter square. These come in a variety of forms. The most traditional issimilarto the try square, consistingof a wxwden handk secured at 45° to a blade. I am particularly fond of my Japanese miter square, which has a slightly different form. It has a raised foot that fitsoverthe edge of aboard. The Made is 45° on both ends. Angles other than 90° and 45° require an adjustabk layout tool that can be set to whatever angk you need. The tool for this is the bevel square. 1 can't think of a tool with as many names as this one. Some woodworkers call them an adjustable bevel, a T-bevel or a sliding T-bevel. The most basic version of a bevel square is a blade mounted in a handle. The handk has a wing nut that can be loosened to adjust the tool and tightened to lock the blade in position. There isa slot in the blade that allows the Made to slide. This way it can be set foran angle and its complement. The wing nut is the problem I have with this most basic and inexpensive typeofbevel square I just described. Bevel squares arc often placed against a pan, or arc used to measure iwoangkstoconfirm they arc the same. I find the wing nut often gets in the way. I prefer a bevel square w ith a locking lever that is out of the way below the surface of the handle. Anothcroptwn isa bevel square with the locking nut in the end of the handle. Bevel squares arc very handy. They arc good for layingout an angk. but you can also use them to measure an unknown angk. This is an important capability when makingacopy of an original piece of furniture. However, you sometimes need to take an angk from a drawingor a photo. Other times, you need to fit your woodwotkingtoanodd-shaped space. The bevel square will measure the space's odd angks. Setting or measuring a bevel square requires another tool. You can use a protractor. However. 1 prefer an adjustabk triangle, a tool that can be purchased at an art-supply store. We rely a lot on bevel squares in Windsor chairmaking. as each part in a Windsor is at an angle. Our sack back is the chair we teach most often. So. when makingthischair wc use a bevel board {which is simply a board with lines drawn at the necessary angles) to set the angles we need. Our bevel board has only the angles used in a sack back chair. Wc find a lot fewer mistakesget made if the only angles on the board are the nine angks in this particular chair. A bevel board is great |


