Popular Woodworking 2008-12 № 173, страница 62
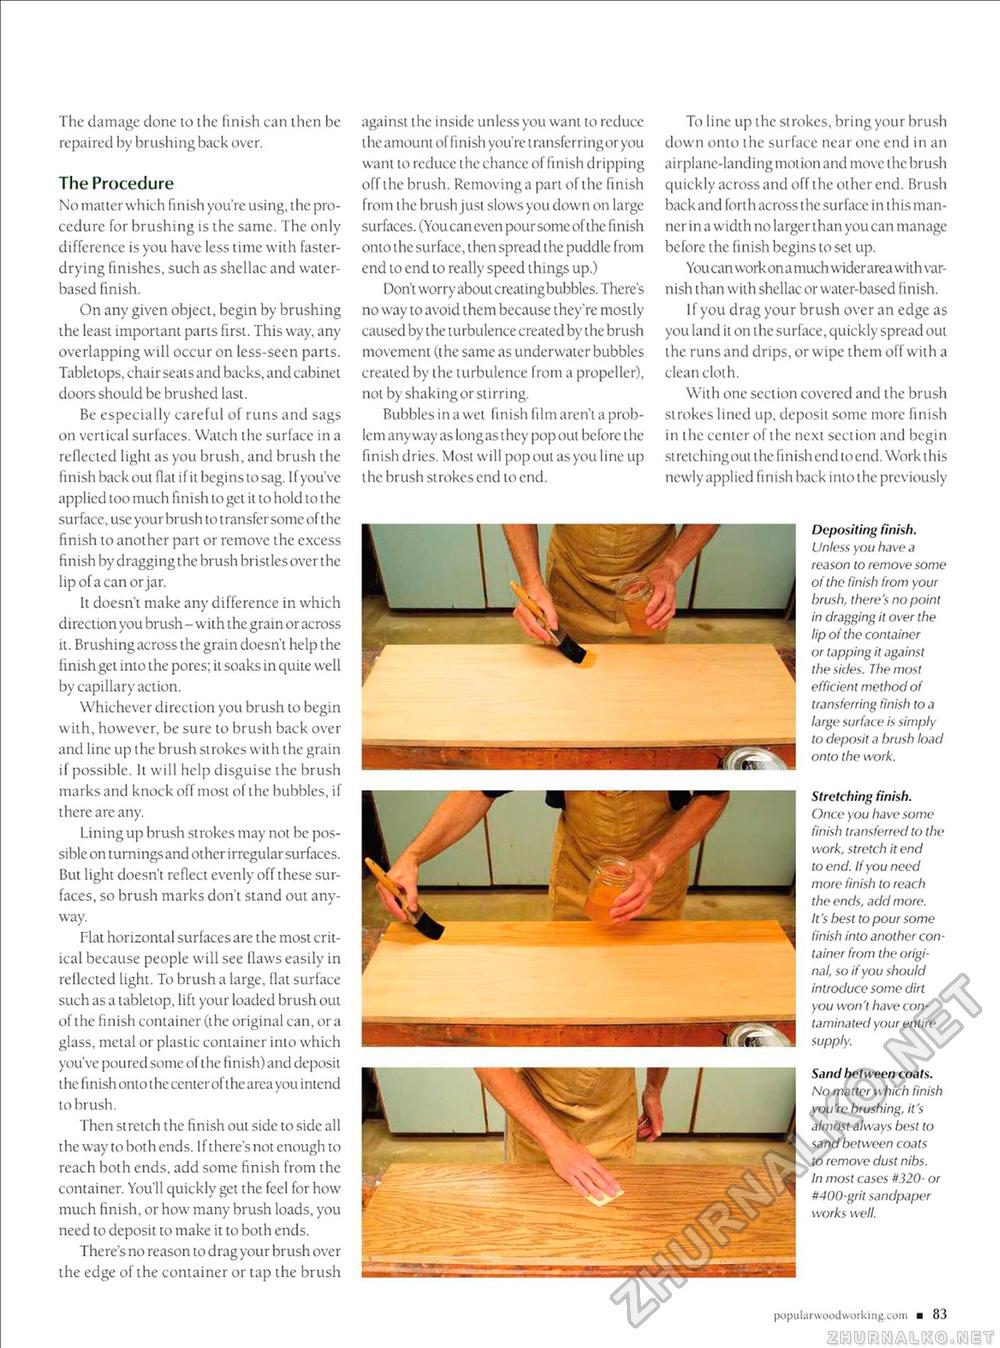
The damage clone 10 the finish can then be repaired by brushing back over. The Procedure No matter which finish you're using, the procedure for brushing is the same. The only difference is you have less time with faster-drying finishes, such as shellac and water-based finish. On any given object, begin by brushing the least important parts first. This way, any overlapping will occur on less-seen parts. Tableiops. chair seats and backs, and cabinet doors should be brushed last. Be especially careful of runs and sags on vertical surfaces. Watch the surface in a reflected light as you brush, and brush the finish back out fiat ifit begins to sag. Ifyou've applied too much finish to get it to hold to the surface, use your brush to t ransfer some of t he finish to another part or remove the excess finish bydraggingthe brush bristles over the lip of a can or jar. It doesn't make any difference in which direction you brush- with the grain or across it. Brushing across the grain doesn't help the finish get into the pores; it soaks in quite well by capillary action. Whichever direction you brush to begin with, however, be sure to brush back over and line up the brushstrokes with the grain if possible. It will help disguise the brush marksand knock off most of the bubbles, if there are any. Lining up brush strokes may not be possible on turnings and other irregular surfaces. But light doesn't reflect evenly off these surfaces, so brush marks don't stand out anyway. Flat horizontal surfaces are the most critical because people will see flaws easily in reflected light. To brush a large, flat surface such as a tabletop, lift your loaded brush out of the finish container (the original can, or a glass, metal or plastic container into which you've poured some ol the finish) and deposit t he li nish onto t he center of the area you intend to brush. Then stretch the finish out side to side all the way to both ends. If there's not enough to reach both ends, add some finish from the container. You'll quickly get the feel for how much finish, or how many brush loads, you need to deposit to make it to both ends. There's no reason to drag your brush over the edge of the container or tap the brush against the inside unless you want to reduce the amount of finish you're transferring or you want to reduce the chance of finish dripping off the brush. Removing a part of the finish from the brush just slows you down on large surfaces. (You can even pour some of the finish onto the surface, then spread the puddle from end to end to really speed things up.) Don't worr\' about creat ing bubbles. There's no way to avoid them because they're mostly caused by the t urbulence created by the brush movement (the same as underwater bubbles created by the turbulence from a propeller), not by shaking or stirring. Bubbles in a wet finish film aren't a problem anyway as longas they pop out before the finish dries. Most will pop out as you line up the brush strokes end to end. To line up the strokes, bring your brush down onto the surface near one end in an ai r plane-land i ng mot ion and move t he brush quickly across and off the other end. Brush back and forth across t he surface in this manner in a width no larger than you can manage before the finish begins to set up. You can work on a much wider area with var-nish than with shellac or water-based finish. If you drag your brush over an edge as you land it on the surface, quickly spread out the runs and drips, or wipe them off with a clean cloth. With one section covered and the brush strokes lined up, deposit some more finish in the center of the next section and begin stretching out the finish end toend. Work this newlyapplied finish back intothe previously Depositing finish. Unless you have a reason to remove some of the finish from your brush, there's no point in dragging it over the lip of the container or tapping it against the sides. The most efficient method of transferring finish to a large surface is simply to deposit a brush load onto the work. Stretching finish. Once you have some finish transferred to the work, stretch it end to end. If you need more finish to reach the ends, add more. It's best to pour some finish into another container from the original, so if you should introduce some dirt you won't have contaminated your entire supply. Sand between coats. No matter which finish you're brushing, it's almost always best to sand between coats to remove dust nibs. In most cases #320- or #400-grit sandpaper works well. popularwoodvvorking.com ■ 83 |


