Popular Woodworking 2009-12 № 180, страница 33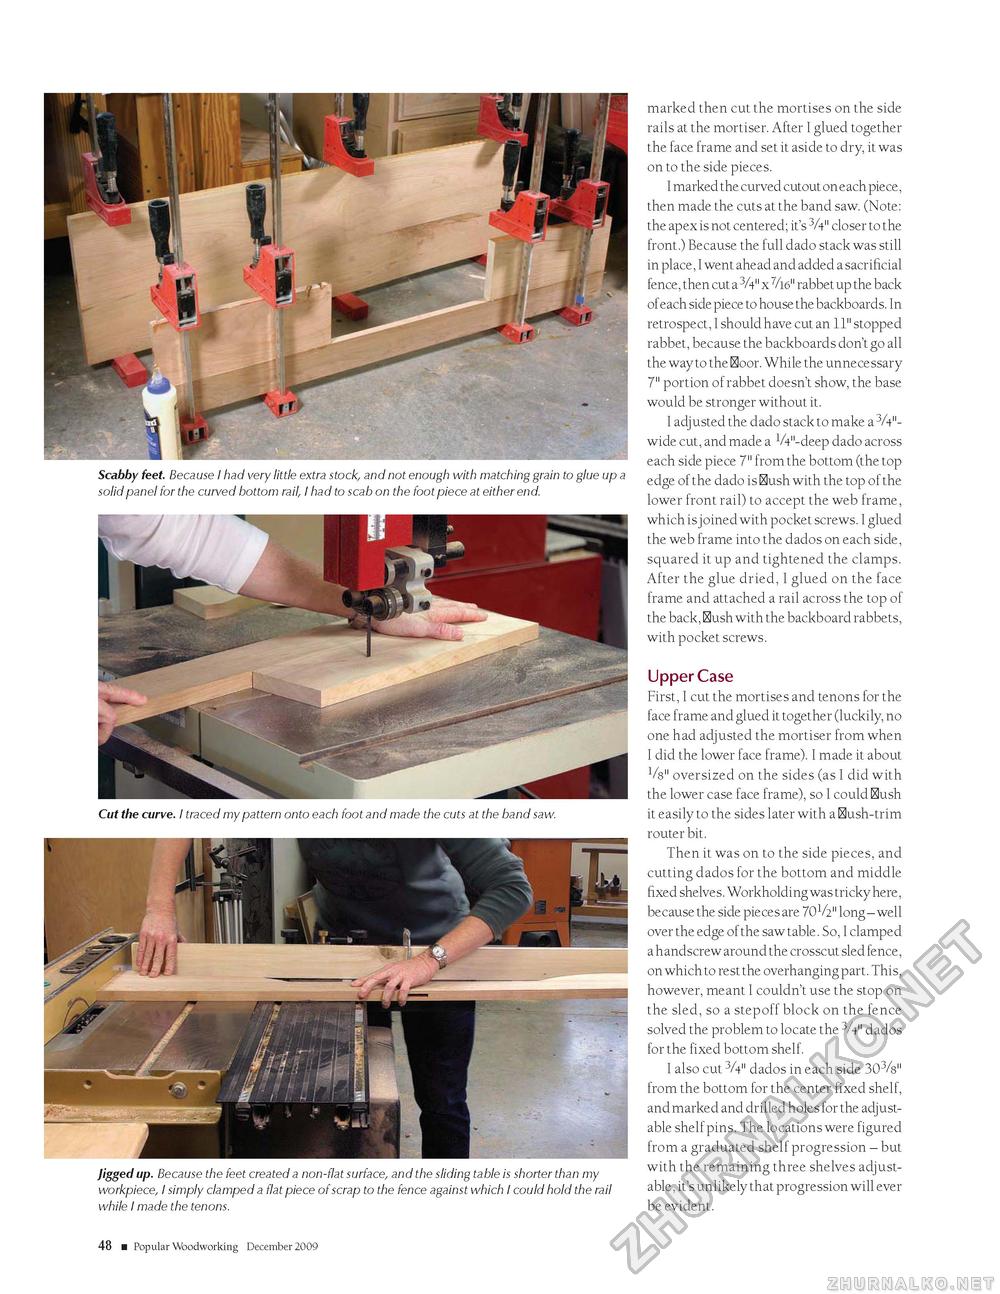
Scabby feet. Because I had very little extra stock, and not enough with matching grain to glue up a solid panel for the curved bottom rail, I had to scab on the foot piece at either end. Jigged up. Because the feet created a non-flat surface, and the sliding table is shorter than my workpiece, I simply clamped a flat piece of scrap to the fence against which I could hold the rail while I made the tenons. marked then cut the mortises on the side rails at the mortiser. After I glued together the face frame and set it aside to dry, it was on to the side pieces. I marked the curved cutout on e ach piece. then made the cuts at the band saw. (Note: the apex is not centered; it's 3A" closer to the front.) Because the full dado stack was still in place, I went ahead and added a sacrificial fence, then cut a 3A" x 7/16" rabbet up the back of each side piece to house the backboards. In retrospect, I should have cut an 11" stopped rabbet, because the backboards don't go all the way to the Hoor. While the unnecessary 7" portion of rabbet doesn't show, the base would be stronger without it. I adjusted the dado stack to make a 3A"-wide cut, and made a VV'-deep dado across each side piece 7" from the bottom (the top edge of the dado is Hush with the top of the lower front rail) to accept the web frame, which is joined with pocket screws. I glued the web frame into the dados on each side, squared it up and tightened the clamps. After the glue dried, I glued on the face frame and attached a rail across the top of the back, Hush with the backboard rabbets, with pocket screws. Upper CaseFirst, I cut the mortises and tenons for the face frame and glued it together (luckily, no one had adjusted the mortiser from when I did the lower face frame). I made it about Vs" oversized on the sides (as I did with the lower case face frame), so I could Hush it easily to the sides later with a Hush-trim router bit. Then it was on to the side pieces, and cutting dados for the bottom and middle fixed shelves. Workholding was tricky here, because the side pieces are 701/2" long - well over the edge of the saw table. So, I clamped a handscrew around the crosscut sled fence, on which to rest the overhanging part. This, however, meant I couldn't use the stop on the sled, so a stepoff block on the fence solved the problem to locate the 3A" dados for the fixed bottom shelf. I also cut 3A" dados in each side 303/8" from the bottom for the center fixed shelf, and marked and drilled holes for the adjustable shelf pins. The locations were figured from a graduated shelf progression - but with the remaining three shelves adjustable, it's unlikely that progression will ever be evident. 14 ■ Popular Woodworking December 2009 |


