57 - A Shop-Built Pin Router, страница 30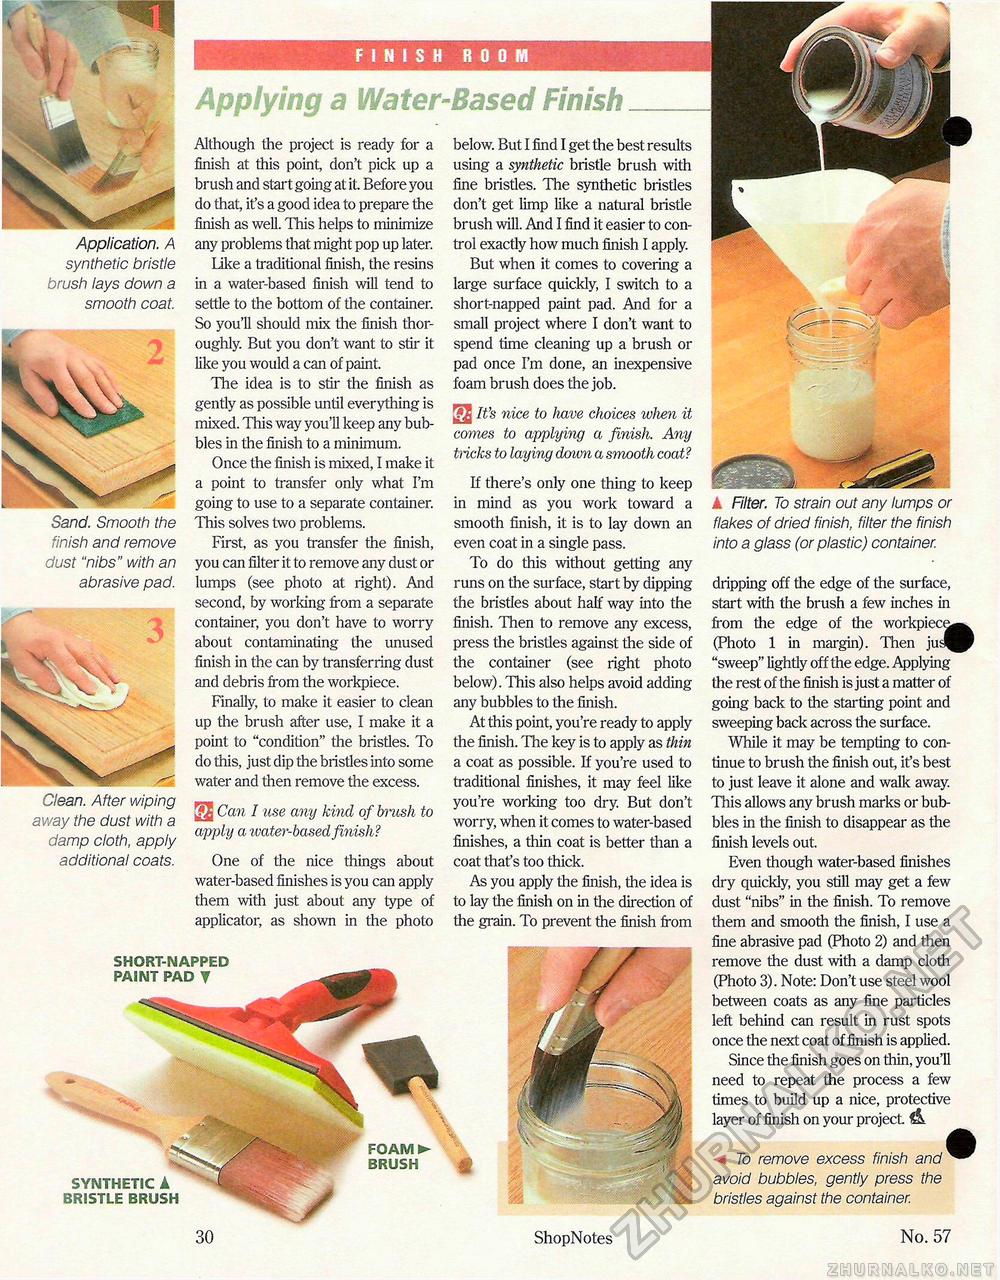
Application. A synthetic bristle brush lays down a smooth coat. Sand. Smooth the finish and remove dust "nibs" with an abrasive pad. Clean. After wiping away the dust with a damp cloth, apply additional coats. Applying a Water-Based Finish Although the project is ready for a finish at this point, don't pick up a brush and start going at it. Before you do that, it's a good idea to prepare the finish as well. This helps to minimize any problems that might pop up later. Like a traditional finish, the resins in a water-based finish will tend to settle to the bottom of the container. So you'll should mix the finish thoroughly. But you don't want to stir it like you would a can of paint. The idea is to stir the finish as gently as possible until everything is mixed. This way you'll keep any bubbles in the finish to a minimum. Once the finish is mixed, I make it a point to transfer only what I'm going to use to a separate container. This solves two problems. First, as you transfer the finish, you can filter it to remove any dust or lumps (see photo at right). And second, by working from a separate container, you don't have to worry about contaminating the unused finish in the can by transferring dust and debris from the workpiece. Finally, to make it easier to clean up the brush after use, I make it a point to "condition" the bristles. To do this, just dip the bristles into some water and then remove the excess. Can I use any kind of brush to apply a water-based finish? One of the nice things about water-based finishes is you can apply them with just about any type of applicator, as shown in the photo below. But I find I get the best results using a synthetic bristle brush with fine bristles. The synthetic bristles don't get limp like a natural bristle brush will. And I find it easier to control exactly how much finish I apply. But when it comes to covering a large surface quickly, I switch to a short-napped paint pad. And for a small project where I don't want to spend time cleaning up a brush or pad once I'm done, an inexpensive foam brush does the job. It's nice to have choices when it comes to applying a finish. Any tricks to laying down a smooth coat? If there's only one thing to keep in mind as you work toward a smooth finish, it is to lay down an even coat in a single pass. To do this without getting any runs on the surface, start by dipping the bristles about half way into the finish. Then to remove any excess, press the bristles against the side of the container (see right photo below). This also helps avoid adding any bubbles to the finish. At this point, you're ready to apply the finish. The key is to apply as thin a coat as possible. If you're used to traditional finishes, it may feel like you're working too dry. But don't worry, when it comes to water-based finishes, a thin coat is better than a coat that's too thick. As you apply the finish, the idea is to lay the finish on in the direction of the grain. To prevent the finish from k Filter. To strain out any lumps or flakes of dried finish, filter the finish into a glass (or plastic) container. dripping off the edge of the surface, start with the brush a few inches in from the edge of the workpiec^^ (Photo 1 in margin). Then jus^P "sweep" lightly off the edge. Applying the rest of the finish is just a matter of going back to the starting point and sweeping back across the surface. While it may be tempting to continue to brush the finish out, it's best to just leave it alone and walk away. This allows any brush marks or bubbles in the finish to disappear as the finish levels out. Even though water-based finishes dry quickly, you still may get a few dust "nibs" in the finish. To remove them and smooth the finish, I use a fine abrasive pad (Photo 2) and then remove the dust with a damp cloth (Photo 3). Note: Don't use steel wool between coats as any fine particles left behind can result in rust spots once the next coat of finish is applied. Since the finish goes on thin, you'll need to repeat the process a few times to build up a nice, protective layer of finish on your project m To remove excess finish and ^^ avoid bubbles, gently press the bristles against the container. SHORT-NAPPED PAINT PAD T SYNTHETIC BRISTLE BRUSH IP FOAM ► BRUSH 30 ShopNotes No. 57 |


