81 - Ultimate Sharpening Station, страница 45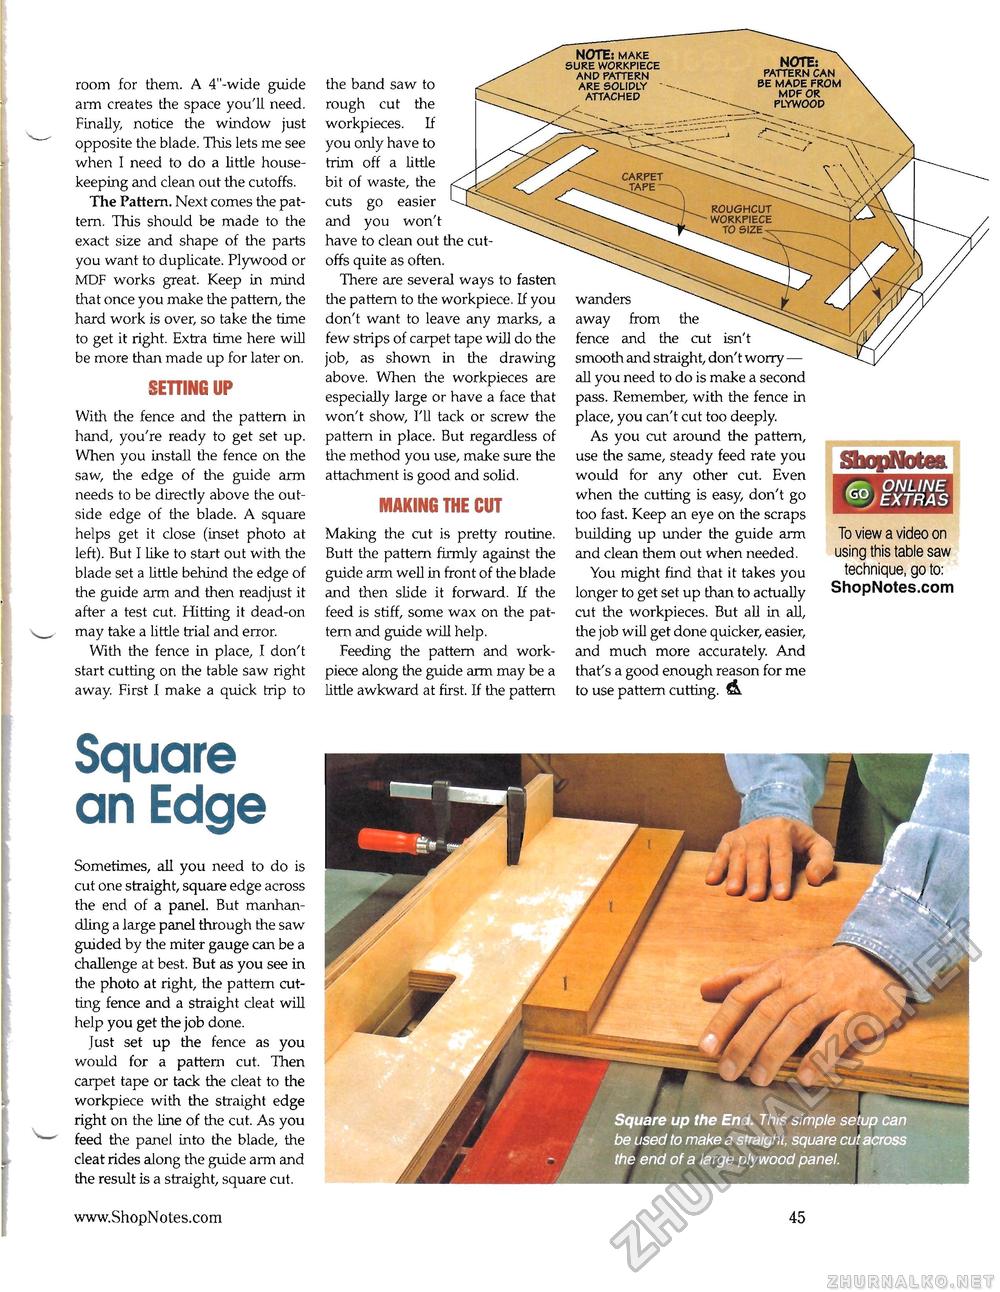
room for them. A 4"-wide guide arm creates the space you'll need. Finally, notice the window just opposite the blade. This lets me see when I need to do a little housekeeping and clean out the cutoffs. The Pattern. Next comes the pattern. This should be made to the exact size and shape of the parts you want to duplicate. Plywood or MDF works great. Keep in mind that once you make the pattern, the hard work is over, so take the time to get it right. Extra time here will be more than made up for later on. SETTING UP With the fence and the pattern in hand, you're ready to get set up. When you install the fence on the saw, the edge of the guide arm needs to be directly above the outside edge of the blade. A square helps get it close (inset photo at left). But I like to start out with the blade set a little behind the edge of the guide arm and then readjust it after a test cut. Hitting it dead-on may take a little trial and error. With the fence in place, I don't start cutting on the table saw right away. First I make a quick trip to Square an Edge Sometimes, all you need to do is cut one straight, square edge across the end of a panel. But manhandling a large panel through the saw guided by the miter gauge can be a challenge at best. But as you see in the photo at right, the pattern cutting fence and a straight cleat will help you get the job done. Just set up the fence as you would for a pattern cut. Then carpet tape or tack the cleat to the workpiece with the straight edge right on the line of the cut. As you feed the panel into the blade, the cleat rides along the guide arm and the result is a straight, square cut. NOTE: make sure workpiece and pattern are solidly " attached NOTE: N pattern can be made from mdf or plywood carpet -.tape ~ roughcut workpiece to size ShopNotea ONLINE jEXTRAS the band saw to rough cut the workpieces. If you only have to trim off a little bit of waste, the cuts go easier and you won't have to clean out the cut-offs quite as often. There are several ways to fasten the pattern to the workpiece. If you don't want to leave any marks, a few strips of carpet tape will do the job, as shown in the drawing above. When the workpieces are especially large or have a face that won't show, I'll tack or screw the pattern in place. But regardless of the method you use, make sure the attachment is good and solid. MAKING THE CUT Making the cut is pretty routine. Butt the pattern firmly against the guide arm well in front of the blade and then slide it forward. If the feed is stiff, some wax on the pattern and guide will help. Feeding the pattern and work-piece along the guide arm may be a little awkward at first. If the pattern wanders away from the fence and the cut isn't smooth and straight, don't worry— all you need to do is make a second pass. Remember, with the fence in place, you can't cut too deeply. As you cut around the pattern, use the same, steady feed rate you would for any other cut. Even when the cutting is easy, don't go too fast. Keep an eye on the scraps building up under the guide arm and clean them out when needed. You might find that it takes you longer to get set up than to actually cut the workpieces. But all in all, the job will get done quicker, easier, and much more accurately. And that's a good enough reason for me to use pattern cutting. & To view a video on using this table saw technique, go to: ShopNotes.com |


